

Mitya is a 5-star Electro Catalyst in Genshin Impact Version 7.2. Built around Stellar-Conduct and Elemental Mastery, he can switch between an on-field Charged Attack DPS and an off-field sub-DPS who also buffs the team.
This Mitya guide covers his best weapons, artifacts, main stats, Talent priority, teams, and rotations, along with his full kit, Constellations, signature weapon, and ascension materials.
Build note: This guide reflects the latest available Version 7.2 gameplay analysis. Weapon rankings and team recommendations can vary with refinements, teammates, and whether Mitya is played on-field or off-field.

Mitya Overview
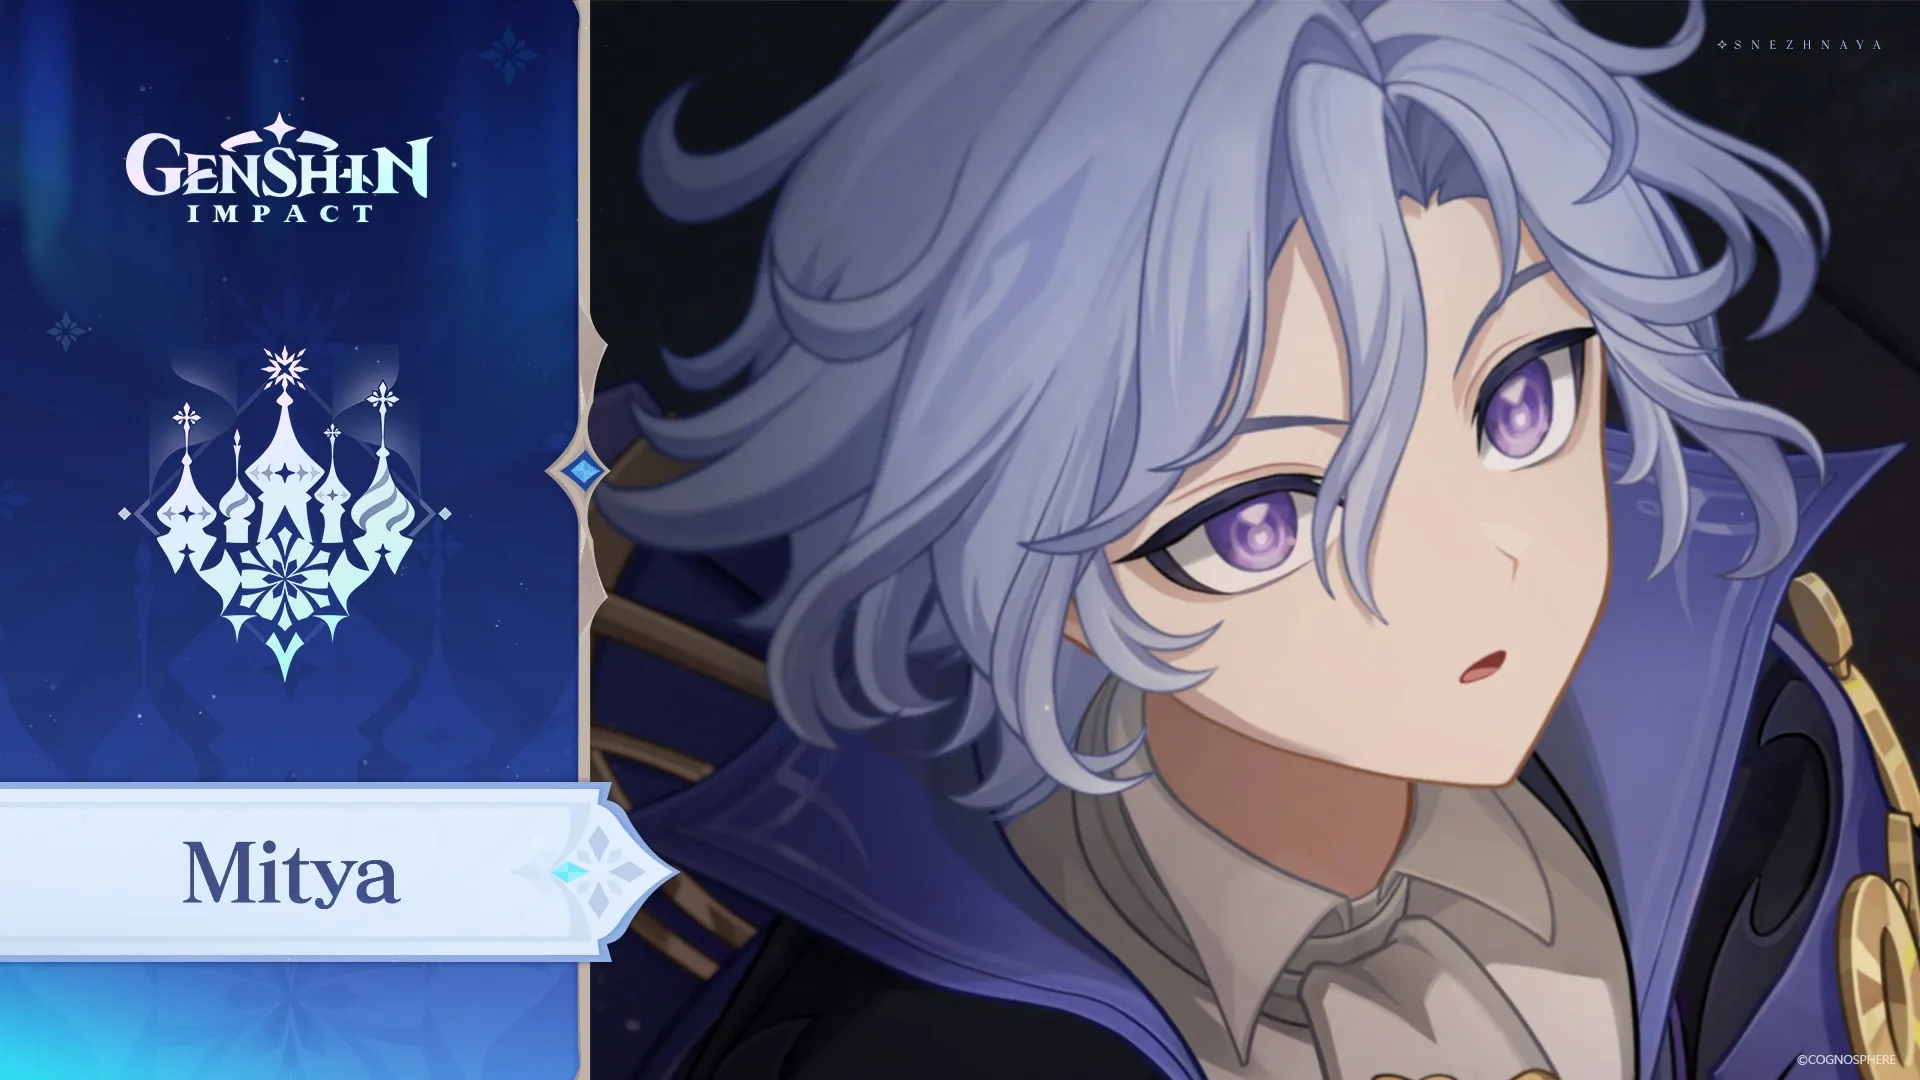
Rarity: 5-star | Element: Electro | Weapon: Catalyst
Mitya is a 5-star Electro Catalyst character built around Stellar-Conduct. His kit generates Gradient Beacons, which can be consumed through his Detection Core or special Charged Attack to deal additional Stellar-Conduct DMG.
His Elemental Skill summons a Detection Core for 25 seconds. Tap it for his off-field sub-DPS mode, or hold it for his on-field mode, which converts Charged Attacks into stamina-free Gradient Detonations. Elemental Mastery powers his Stellar-Conduct damage and increases the reaction damage dealt by the team.
How Gradient Beacons Work
Gradient Beacons are the resource behind both of Mitya's playstyles. He can normally hold up to 4 Beacons, and they follow the active character to create a mobile Stellar-Conduct field rather than keeping the reaction area in one fixed location.
- Generation: When the team triggers Stellar-Conduct, Mitya generates 1 Beacon every 1.5 seconds for 3 seconds, allowing up to 2 Beacons from this effect.
- Duration: Beacons normally last 6 seconds. His A4 passive extends this to 10 seconds.
- Refreshing: Once Mitya reaches the 4-Beacon limit, generating another Beacon refreshes the duration of the Beacons he is holding.
- Elemental Burst: His Burst immediately creates 3 Beacons, helping him set up another round of special Charged Attacks or Core damage.
In Overload mode, his A1 passive extends the Beacon generation window to 6 seconds. This makes it easier to build and maintain a full stack during his on-field rotation.
Mitya Voice Actors
|
Language |
Voice Actor |
|
English |
Brian Ballance |
|
Chinese |
Su Shangqing |
|
Japanese |
Yusuke Kobayashi |
|
Korean |
Choi Woo-seong (최우성) |

Mitya Best Build Overview
| Role | On-field Stellar-Conduct DPS / off-field sub-DPS |
| Best Weapon | Signature Catalyst |
| F2P Weapon | Etherlight Spindlelute / Fruit of Fulfillment |
| Artifacts | 4-piece Disenchantment in Deep Shadow; Gilded Dreams as an alternative |
| Main Stats | EM Sands / EM Goblet / CRIT or EM Circlet |
| Talent Priority | On-field: Normal Attack > Burst; off-field: Skill first |
Mitya Kit
Normal Attack: Chain Reaction
Mitya performs up to 3 attacks that deal Electro DMG. His standard Charged Attack consumes 50 Stamina and deals AoE Electro DMG after a short casting time.
When Detection Core: Overload is on the field and Mitya has at least 1 Gradient Beacon, his Charged Attack becomes Gradient Detonation. This special attack consumes no Stamina and deals an initial AoE Electro hit. Holding the attack continuously consumes Gradient Beacons, each dealing an additional instance of AoE Electro DMG considered Stellar-Conduct reaction DMG.
At Talent Level 10:
| Effect | Talent Lv. 10 |
|---|---|
| 1-Hit / 2-Hit / 3-Hit DMG | 105.8% / 86.9% / 124.2% |
| Standard Charged Attack DMG | 246.4% |
| Gradient Detonation DMG | 302.4% |
| Gradient Detonation Stellar-Conduct DMG | 403.2% Elemental Mastery per Beacon |
Elemental Skill: Principle: Variable Detection
Mitya deals AoE Electro DMG and creates a Detection Core. Tapping or holding the Skill changes how the Core is created. Tapping the Skill again within 6 seconds switches the Core's state, and this switch can be performed once every 1.5 seconds.
The Steady State Core provides damage and consumes Gradient Beacons, while Detection Core: Overload enables Mitya's special Charged Attack. Choose the state according to whether Mitya is dealing damage on-field or contributing through his Core.
At Talent Level 10:
| Effect | Talent Lv. 10 |
|---|---|
| Tap Skill DMG | 163.3% |
| Hold Skill DMG | 233.3% |
| Steady State Core DMG | 129.6% |
| Steady State Core Gradient Beacon Consumption DMG | 144% Elemental Mastery |
| Steady State Core Detonation DMG | 165.6% Elemental Mastery/Beacon |
| Detection Core Duration | 25s |
| Cooldown | 18s |
Elemental Burst: Analysis: Gradient Theory
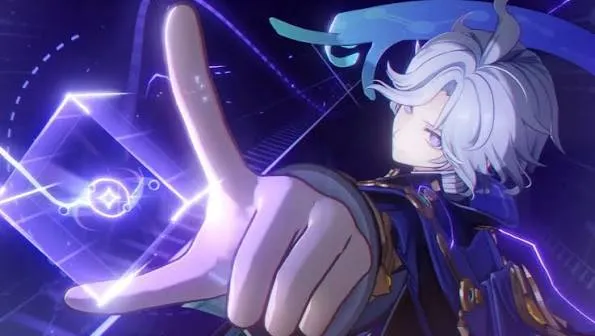
Mitya deals AoE Electro DMG and immediately creates 3 Gradient Beacons, providing resources for his Detection Core and special Charged Attack.
At Talent Level 10:
- Skill DMG: 600.5% ATK + 1201% Elemental Mastery
- Gradient Beacons Generated: 3
- Cooldown: 15s
- Energy Cost: 60
Mitya Passive Talents
Ascension Talent 1
Mitya gains different effects depending on the current Detection Core mode.
Steady State: Each Beacon Mitya holds grants all nearby party members 30 Elemental Mastery.
Overload: Triggering Stellar-Conduct generates 1 Gradient Beacon every 1.5 seconds for 6 seconds. This extends the Beacon-generation window, making it easier to build up his resources during an on-field rotation.
Ascension Talent 2
Collected Gradient Beacons remain for 10 seconds.
Each Beacon collected also increases Mitya's CRIT Rate by 5% for 15 seconds, stacking up to 4 times.
At maximum stacks, Mitya receives 20% CRIT Rate. Triggering the effect again refreshes its duration.
Stellar-Conduct Passive
When party members trigger Superconduct, the reaction is changed into Stellar-Conduct.
Mitya also increases the party's Base Stellar-Conduct DMG according to his Elemental Mastery:
1 Elemental Mastery = 0.028% Base Stellar-Conduct DMG
The bonus can reach a maximum of 14% at 500 Elemental Mastery. Additional EM can still improve Mitya's own Stellar-Conduct damage, but it will not increase this team buff beyond its cap.
When Mitya enters a Polestar Field, he also enters the Radiance: Stellar-Conduct state.
Exploration Passive
In Voxelrock areas, Mitya's Steady State Detection Core can enter a special Excavation Mode and rapidly clear nearby Voxelrock.
Having Mitya in the party also prevents power consumption when crafting a Prime Ice Construct Basic Heat Source.

Mitya Constellations
C1
Mitya's maximum Gradient Beacon capacity increases to 5.
Using his Elemental Skill also generates 1 Gradient Beacon.
While the Detection Core is active, the current active character gains 40% CRIT DMG.
Whenever Mitya consumes a Beacon, he restores 10 Energy. This Energy restoration can trigger once every 8 seconds.
C2
Enemies inside the Detection Core's field have their Cryo RES and Electro RES reduced by 20%.
The device also provides different Elemental Mastery buffs depending on its mode:
- Steady State: All party members gain 123 Elemental Mastery.
- Overload: The active character gains 234 Elemental Mastery.
C3
Increases Mitya's Elemental Skill Level by 3.
Maximum upgrade level: 15.
C4
For every 5 Gradient Beacons consumed, Mitya deals an additional instance of Stellar-Conduct DMG to enemies near the Detection Core.
The attack deals damage equal to 300% of Mitya's Elemental Mastery.
C5
Increases Mitya's Normal Attack Level by 3.
Maximum upgrade level: 15.
C6
Whenever Mitya consumes a Gradient Beacon through his Detection Core, there is a 34% chance to immediately generate another Beacon.
Additionally, all party members gain 20% Elevated Stellar-Conduct DMG.
Additionally, Stellar-Conduct reaction DMG dealt by all party members is Elevated by 20%.
Mitya Ascension Materials
To raise Mitya from Level 1 to Level 90, you will need the following materials:
View Ascension Materials
| Material | Amount |
|---|---|
 Mora |
2,092,600 |
| Crystalfold | 168 |
 Wanderer's Advice |
3 |
 Hero's Wit |
418 |
 Vajrada Amethyst Sliver |
1 |
 Vajrada Amethyst Fragment |
9 |
 Vajrada Amethyst Chunk |
9 |
 Vajrada Amethyst Gemstone |
6 |
 Chimeric Core |
18 |
 Symbiotic Chimeric Nucleus |
30 |
 Prime Chimeric Nexus |
36 |
 Shattered Stabilizing Anchor |
46 |
Mitya Talent Materials
For three Talents from Level 1 to Level 10:
View Talent Materials
| Material | Amount |
|---|---|
|
Mora |
4,957,500 |
 Crown of Insight |
3 |
 Teachings of Charity |
9 |
 Guide to Charity |
63 |
 Philosophies of Charity |
114 |
|
Chimeric Core |
18 |
|
Symbiotic Chimeric Nucleus |
66 |
|
Prime Chimeric Nexus |
93 |
 Mask of the Virtuous Doctor |
18 |
Mitya Talent Priority
On-field DPS: Prioritize Normal Attack, because his special Charged Attacks deal most of his damage in this mode. Level Burst next, since it deals damage and immediately generates 3 Beacons for another attack sequence. Skill talent levels are a lower priority for this playstyle, although taking the Skill to Level 6–8 is reasonable if you also use his off-field mode.
Off-field sub-DPS: Prioritize Elemental Skill, which drives his Detection Core damage. Burst is optional because its direct damage is less important in this mode, while Normal Attack can be left unleveled.
Best Mitya Weapons

Rarity: 5-star | Base ATK: 542 | CRIT DMG: 88.2%
Increases CRIT DMG by 24%.
When the equipping character uses their Elemental Skill, they gain the Formula Association effect: Elemental Mastery increases by 48 for 20s.
While this effect is active, nearby party members triggering Elemental Reactions grant the wielder Formula Dissociation stacks. Each stack adds 24 Elemental Mastery, up to 3 stacks. When the wielder triggers Stellar-Conduct, each stack also grants 12% Stellar-Conduct CRIT DMG. The effect can provide up to 120 additional Elemental Mastery and 36% Stellar-Conduct CRIT DMG on top of the weapon's initial bonuses. Using the wielder's Elemental Skill clears the existing stacks and restarts the effect.
Important: Mitya's main Stellar-Conduct damage does not benefit from ordinary Elemental DMG, Elemental Skill DMG, or Charged Attack DMG bonuses. Prioritize CRIT, Elemental Mastery, and effects that directly improve reaction damage instead of choosing a weapon only for its conventional damage bonus.
Weapon Mats
| Material | Amount |
|---|---|
|
Mora |
225,000 |
 Ethereal Crystalscale |
15/23/27 |
 Snowborn Heart of Ignorance |
23/27/41 |
 The Frost Emperor's Farewell |
5/14/14/6 |
Mitya's signature Catalyst is his best option in both on-field and off-field builds. Its CRIT DMG, Elemental Mastery, and Stellar-Conduct CRIT DMG bonuses all support his reaction-focused damage. You can still build him effectively without it, however, and several CRIT DMG or Elemental Mastery Catalysts remain competitive.
|
Alternative |
Why choose it for Mitya |
|---|---|
|
Kagura's Verity (5-star) |
A strong CRIT DMG stat stick, but its Skill-focused passive does not directly improve Mitya's Stellar-Conduct reaction damage. |
|
Winter's Heavy Heart / Dawning Frost (4-star) |
CRIT DMG alternatives that can perform well at higher refinements, especially for his on-field build. |
|
Etherlight Spindlelute (4-star) |
A practical accessible option with Energy Recharge and an Elemental Mastery bonus after using Skill; useful when he needs more Burst uptime. |
|
Fruit of Fulfillment (4-star) |
Craftable Elemental Mastery option with Energy Recharge; useful when you need a more accessible reaction-focused weapon. |
|
The Widsith (4-star) |
A useful CRIT DMG stat stick, but its random buff makes performance less consistent. |





Best Artifacts for Mitya
Disenchantment in Deep Shadow (4-Piece)

The main damage-oriented set for Stellar-Conduct Mitya. Its 4-piece effect increases Stellar-Conduct reaction damage by 40% and grants 16% CRIT Rate to eligible attacks against affected enemies. Factor that conditional CRIT Rate into your build to avoid overcapping.
Alternative Artifact Sets

Gilded Dreams (4-piece) is a strong alternative whose value depends on the team's element mix. It provides 80 Elemental Mastery, then gains another 50 EM for each teammate who is not Electro. This means it can provide 180 EM with two non-Electro teammates or 230 EM with three. It can compete with or outperform Deep Shadow in teams with multiple Cryo or other non-Electro characters, while Deep Shadow is generally more attractive in teams with several Electro units. 2-piece EM + 2-piece EM remains a convenient transitional option.
For a more supportive build, Mitya can also hold a team-buffing set such as Tenacity of the Millelith or Instructor when no teammate is a better holder. This trades some personal damage for team utility.
Mitya Best Artifact Main Stats
|
Slot |
Recommended Main Stat |
|---|---|
| Sands | Elemental Mastery |
| Goblet | Elemental Mastery |
| Circlet | CRIT Rate / CRIT DMG / Elemental Mastery |
Substat priority: Elemental Mastery to reach the 500 EM threshold for his maximum team Stellar-Conduct bonus, then CRIT Rate and CRIT DMG. Add Energy Recharge according to the playstyle: off-field Mitya can use Burst when available, while an on-field build generally wants enough ER to Burst every rotation. ATK% is a low priority for his main reaction damage.
Recommended Stat Targets
For a high-investment build, the video uses roughly 700 Elemental Mastery, 180%+ CRIT DMG, and around 64% displayed CRIT Rate as reference targets. The CRIT Rate target assumes Mitya has all 4 A4 stacks and the 4-piece Disenchantment in Deep Shadow bonus is active: 64% + 20% from his passive + 16% from the set reaches 100% against eligible enemies.
These are reference targets, not minimum requirements. His passive's teamwide Stellar-Conduct bonus reaches its cap at 500 EM, but additional EM can still improve his own reaction damage. For on-field Mitya, aim for around 150% Energy Recharge if you want to Burst every rotation; off-field Mitya has a much lower Burst requirement and can use it whenever available.
Mitya Best Teams
Mitya needs reliable Electro and Cryo application to maintain Stellar-Conduct. His premium teams can post high theoretical damage, but running without a healer or shielder is risky and can lower real clear speed if you spend too much time dodging. Keep a sustain option unless the active DPS can reliably protect or heal themselves.
Premium On-Field Stellar-Conduct Team
 |
 |
 |
 |
| Mitya
Main DPS |
Yae Miko
Electro |
Odette
Cryo |
Valeriy
Support |
Yae Miko supplies off-field Electro damage, Odette maintains Cryo application, and Valeriy adds support. This is a high-damage setup, but it has no dedicated sustain. Valeriy is particularly valuable at C6; without that investment, consider a defensive support such as Xilonen or Qiqi if survival becomes an issue. The video places Yae Miko ahead of C6 Valeriy for maximum damage, so treat Valeriy as a practical alternative rather than an unconditional upgrade.
Sandrone Off-Field Team
 |
|
|
|
| Sandrone
Main DPS |
Mitya
Sub-DPS |
Odette
Cryo |
Yae Miko
Electro |
Use Mitya's tap Skill to contribute Stellar-Conduct damage off-field while Sandrone occupies most of the field time. Yae Miko offers stronger offensive pressure, but the team can become difficult to play without sustain. If you need healing or interruption protection, replace the final damage slot with a suitable sustain such as Nicole, Xilonen, Escoffier, or Qiqi. The best choice depends on your roster and the encounter.
F2P Stellar-Conduct Team
|
|
 |
 |
| Mitya
Main DPS |
Valeriy
Support |
Sucrose
EM support |
Cryo Traveler
Cryo |
This is an accessible alternative if you lack premium off-field characters. Sucrose provides Elemental Mastery, while Cryo Traveler enables Stellar-Conduct. Valeriy offers shielding and Electro support, but his C6 is a major part of his value in this team. If you do not have C6, consider a more reliable sustain or another well-built Cryo support.
How to Play Mitya: Best Rotation
On-Field DPS Rotation
Hold Elemental Skill → Set up support abilities → Swap back to Mitya → Special Charged Attack until Beacons are consumed → Elemental Burst → Special Charged Attack again.
Start with Mitya's Hold Skill to activate the Overload setup and its Beacon-generation passive, then rotate through your supports. When you return to Mitya, spend the accumulated Beacons with his special Charged Attack. Use Burst to generate 3 more Beacons; during the Burst animation, the team can trigger Stellar-Conduct and generate another Beacon, helping you reach the next attack threshold. If a support buff expires during the Beacon-generation window, briefly swap back to refresh it before returning to Mitya.
Off-Field Sub-DPS Rotation
Use support abilities → Tap Mitya's Elemental Skill → Swap to the on-field DPS → Recast Skill when its duration ends or when you want to detonate the stored Beacons.
Tap Skill places the Detection Core in its off-field mode, allowing it to follow enemies and deal damage while Mitya is away. Once 4 Beacons are available, the Core's attacks convert into stronger Stellar-Conduct hits. Recasting the Skill or letting its duration end consumes the stored Beacons for a final burst of damage. His Burst is useful for extra Beacons but is not mandatory every rotation.
Build Tips
- Keep a Cryo teammate for consistent Stellar-Conduct triggers.
- Choose Hold Skill for on-field Charged Attacks and Tap Skill for off-field support.
- Account for his 20% A4 CRIT Rate and the artifact set's conditional 16% CRIT Rate before adding more CRIT Rate substats.
- For on-field play, aim for enough Energy Recharge to use Burst each rotation; around 150% is the video's reference point.
- Do not expect ordinary Elemental DMG, Skill DMG, or Charged Attack DMG bonuses to increase his Stellar-Conduct reaction damage.
- Check the entire team's artifact sets; a support-oriented set can sometimes benefit the team more on another character.
Final Thoughts
For an on-field Mitya build, prioritize Disenchantment in Deep Shadow or Gilded Dreams depending on your team's element mix, then build Elemental Mastery and enough CRIT to account for his passive and artifact bonuses. His signature Catalyst is the strongest all-round option, while Elemental Mastery and CRIT DMG alternatives can still work well.
Use Hold Skill and special Charged Attacks when Mitya is your main DPS, or Tap Skill when supporting a carry such as Sandrone. His damage depends heavily on maintaining Stellar-Conduct and managing Gradient Beacons, so build around reaction uptime rather than conventional ATK or Elemental DMG bonuses.

Pyro Chronicler Experienced game editor
A seasoned content strategist and game analyst at LDShop.gg, specializing in anime-style RPGs and gacha games. Known for breaking down complex mechanics into smart, resource-efficient strategies, she helps players tackle high-difficulty content without overspending. By combining in-depth system analysis with practical, step-by-step tips, Pyro makes even the most daunting challenges feel approachable. With a sharp focus on games like Wuthering Waves, Zenless Zone Zero, and Honkai: Star Rail, Pyro helps players push past plateaus and master the grind—one frame-perfect dodge at a time.
