


Monster Hunter Outlanders is not a smaller Monster Hunter.
Developed by TiMi Studio Group and officially licensed by Capcom, Outlanders launched globally on October 29, 2026, for iOS and Android. It keeps the familiar loop: explore, hunt, gather, craft, hunt something bigger. What changes ishow you prepare for that loop. Instead of one silent hunter who can use everything, Outlanders hands you a Fated Adventurer you customize, plus a roster of named Adventurers locked to specific weapons and roles. Your squad, your Buddies, and your elemental lineup are part of your build now. Treat them like afterthoughts and early hunts will feel harder than they need to.
This guide focuses on the decisions that actually compound in your first week. Let’s go~~
The One Character You Should Not Ignore: Your Fated Adventurer
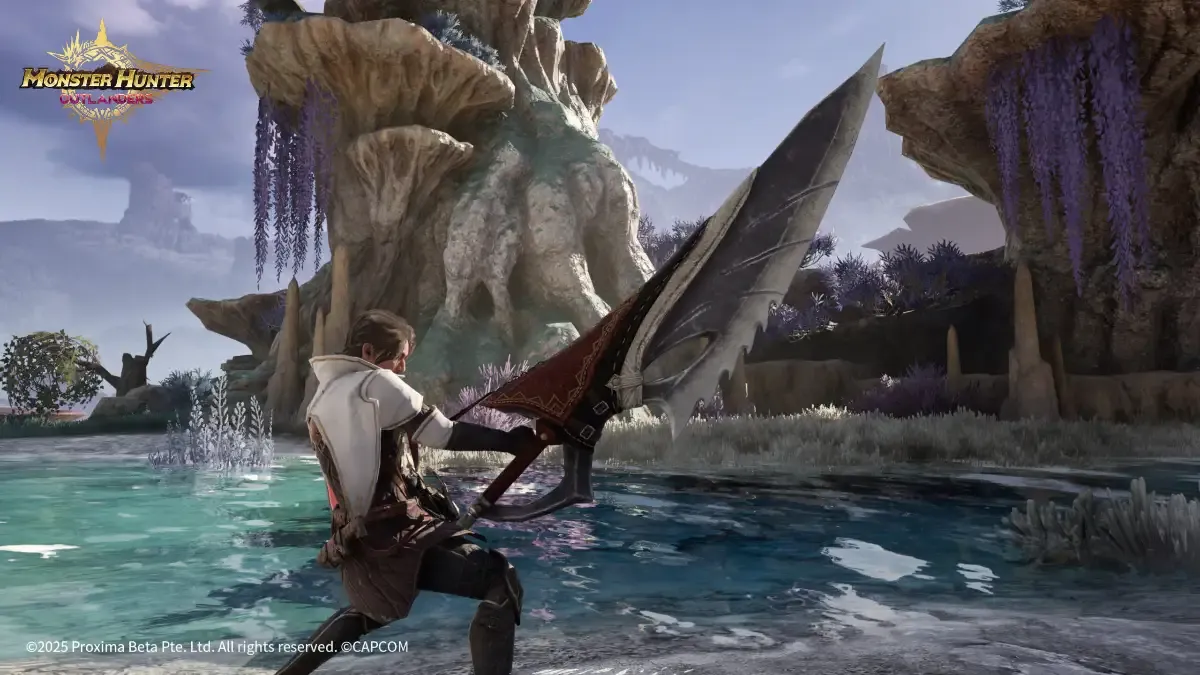
Every account starts with the Fated Adventurer, the customizable protagonist who can swap between every weapon type. Named Adventurers—Midori, Pyro, Luka, Raya, Pepper, Ouyang Varen, Arkaya, Madelyn, Keres, and Freya—each come welded to a single weapon and a single role. They are extra kits, not replacements for learning a weapon.
The practical implication is simple. Do not spend your first week collecting named Adventurers and ignoring the one character who can actually teach you the game. Your Fated Adventurer is the only seat that lets you try Dual Blades on Monday and Lance on Tuesday without pulling out a wallet or a ticket. Use that flexibility to find a weapon rhythm you enjoy before you commit materials to anything.
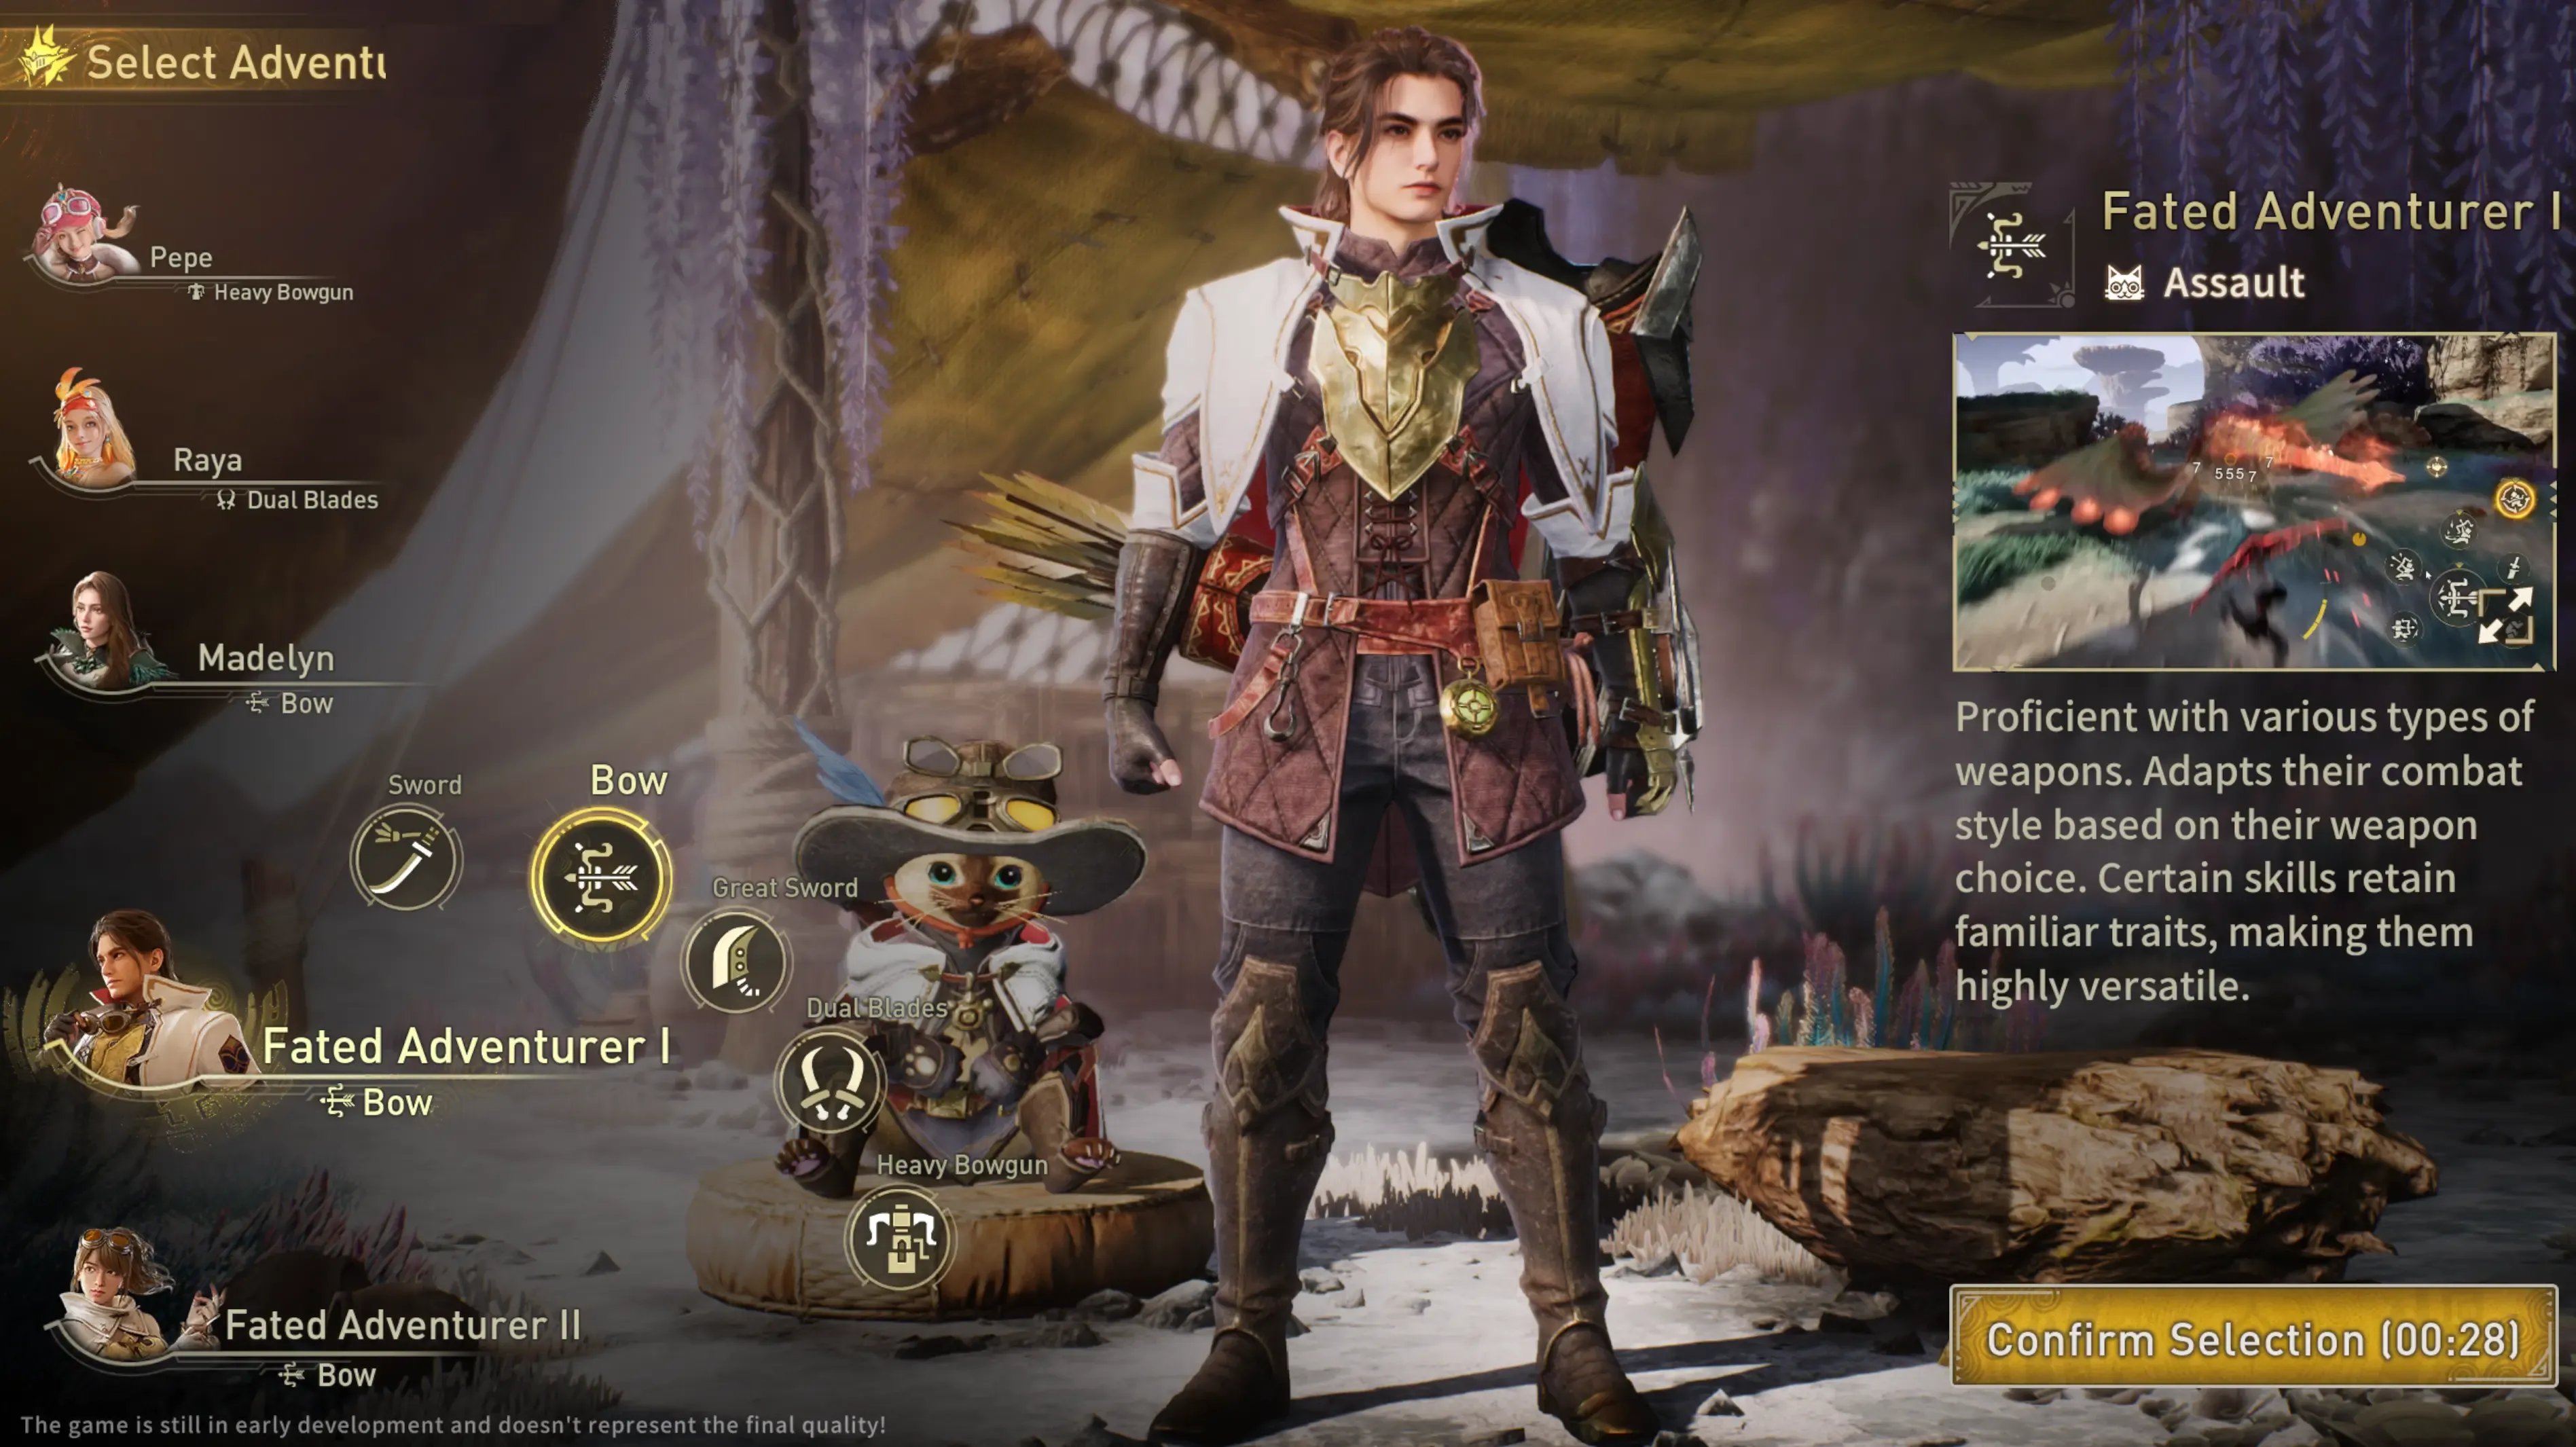
If you have never played a Monster Hunter game, the Lance is the beginner weapon nobody talks about enough. It guards. It counters. It forgives mistakes that would cart a Great Sword user twice. Dual Blades are the other safe entry point for players who prefer speed and aggression. Bow is the answer if touchscreen melee feels clumsy. Leave Great Sword and Long Sword for the second week—they reward muscle memory Outlanders has not given you yet.
Weapons: Eight Options, One Rule, and an Upgrade Order
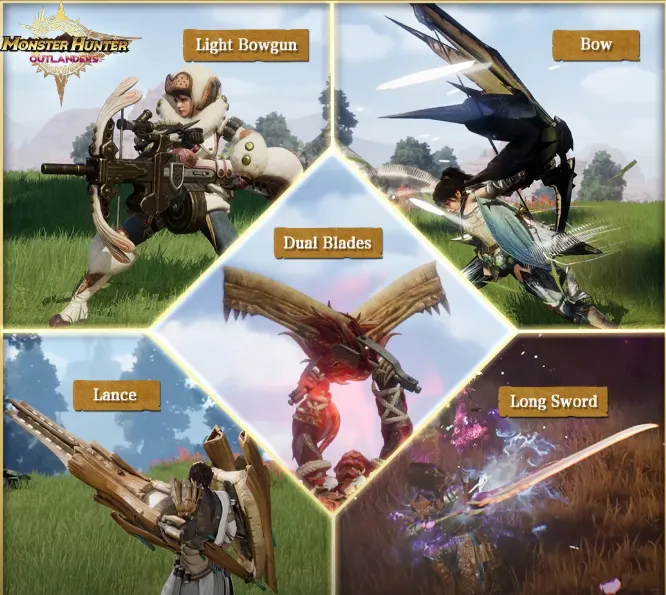
Outlanders launched with eight weapon types: Great Sword, Long Sword, Dual Blades, Hammer, Lance, Heavy Bowgun, Bow, and Charge Blade. The official store listing named seven, but producer Dong Huang confirmed Charge Blade was also available at launch.
Here is the rule that matters more than any weapon overview: pick one, learn its recovery animations, and stop crafting sideways. A common beginner mistake is spreading upgrade materials across four or five weapon trees, leaving every option underpowered for the hunts that gate progression. Weapon mastery beats variety in the early game.
Upgrade priority, specifically. Do not try to build one weapon of every element in week one. The material cost of maintaining five elemental trees at a usable level will stall your armor and keepsake upgrades, which affect every hunt regardless of weapon. Instead, follow a two-stage order:
- Stage one: craft one “general-purpose” weapon. A status weapon—Poison is the usual recommendation—handles a wider range of early monsters than a single element because most early-game targets are not heavily resistant to it, and the damage-over-time gives you free value while you learn patterns. Upgrade this weapon as far as your current materials allow. It is your workhorse.
- Stage two: build elemental answers only when a hunt actually walls you. If a specific monster resists your general weapon hard enough that kill times balloon or you start timing out,then craft a single elemental counter-weapon for that fight. Do not pre-build five elements “just in case.” Let the monster tell you what you need.
This order also protects your armor progression. A fully upgraded general weapon plus a mediocre armor set clears early content faster than five half-upgraded weapons and no survivability.
Every weapon shares a few universal techniques worth drilling in the training area:
Perfect Evade is a precisely timed dodge that preserves a charge on Great Sword, repositions you on Dual Blades, or opens a counter on several other weapons. Perfect Guard is the same idea for blocks, and on Heavy Bowgun it instantly reloads special ammo. These are not advanced tech. They are the difference between trading hits and creating openings.
For a first main, Long Sword is the most rewarding middle ground once you have basic dodge timing down. Its Spirit Gauge builds through counters, and named Adventurers like Midori show how much faster that gauge can fill when you pair the weapon with the right kit. If you want a ranged fallback, Bow builds its charge gauge through evasion, which teaches you to move through attacks rather than away from them.
The Squad Is Not Cosmetic: Roles and Resonance
Outlanders replaces the lone hunter fantasy with a four-seat party. You bring your Fated Adventurer and up to three named Adventurers, plus a Buddy. Every Adventurer and every Buddy falls into one of three roles:
Assault (damage), Disruptor (control and weakening), and Support (healing and stabilization).
The roles trigger off your actions, not just their own AI routines. When you suppress a monster—stagger it, stun it, or apply a status that stops it from acting—your Assault Adventurer follows up with an attack. When you land a Perfect Evade or Perfect Guard, your Disruptor follows up. When you use your Burst ability, your Support follows up. Each follow-up has a short cooldown, so you are not getting a free combo every second. But the system rewards clean play with visible, immediate punishment on the monster. It is one of the most satisfying feedback loops in the game.
Stacking roles is a trap. A squad full of Assault characters sounds aggressive until nobody can stabilize a hunt that goes sideways. Early on, at least one Support in the lineup reduces unnecessary carts more than a second damage dealer improves kill times. Trillan, the Support Buddy, heals you passively and makes solo hunts significantly more forgiving.
Then there is elemental resonance. Put two Adventurers with the same weapon element in your squad and you activate a resonance bonus. Two water Adventurers, for example, raise part-break efficiency for all damage by 35%. You can run two water and two dragon Adventurers to keep two resonances active simultaneously. This is why locking onto a specific monster part matters beyond your own damage: the whole squad breaks it faster, and broken parts mean better material rewards.

The F2P Opening Squad That Actually Works
Before you touch a single recruitment banner, understand this: class coverage is cheaper than a pull. The game gives you enough free pieces at launch to field a functional Assault–Disruptor–Support party without spending anything. Four paid Assault characters stacked on one team is not a real party; it is four people who all cart at the same time.
The launch-day free foundation looks like this:
Seat 1 — Fated Adventurer (Assault). Your customizable protagonist. Lance or Dual Blades for new players; Long Sword or Great Sword if you already have action-game muscle memory. This is your controllable damage and the seat you actually learn the game through.
|
|
|
|
|
Raya (Disruptor, Dual Blades) |
Madelyn (Support, Bow) |
Ouyang Varen (Assault, Lance) |
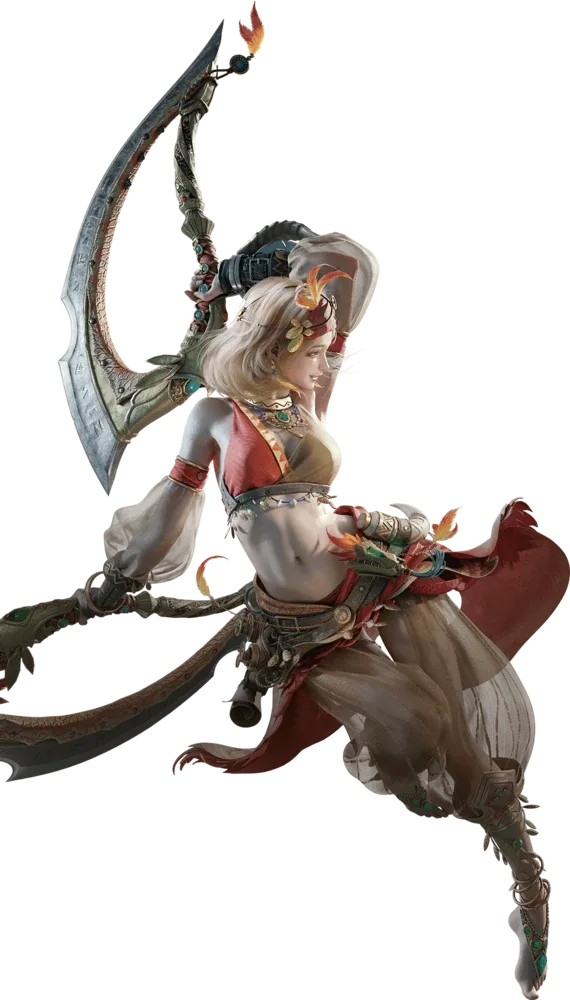
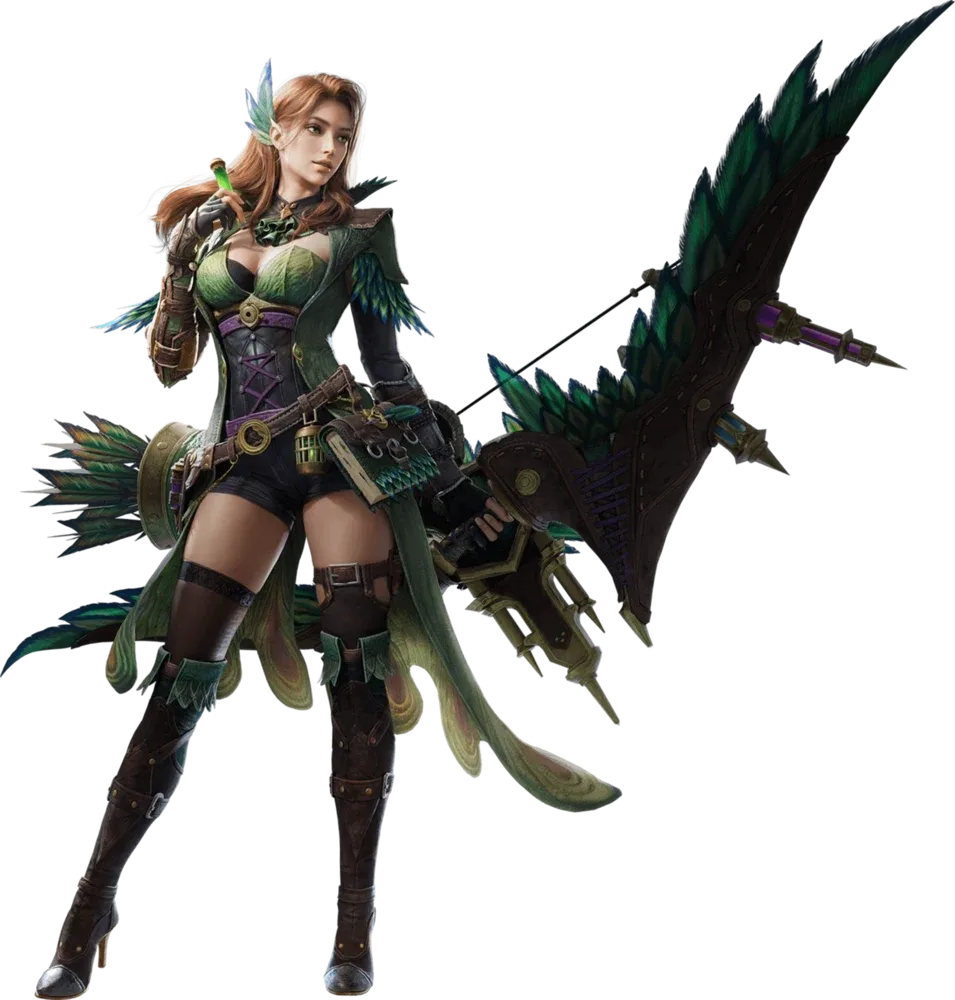
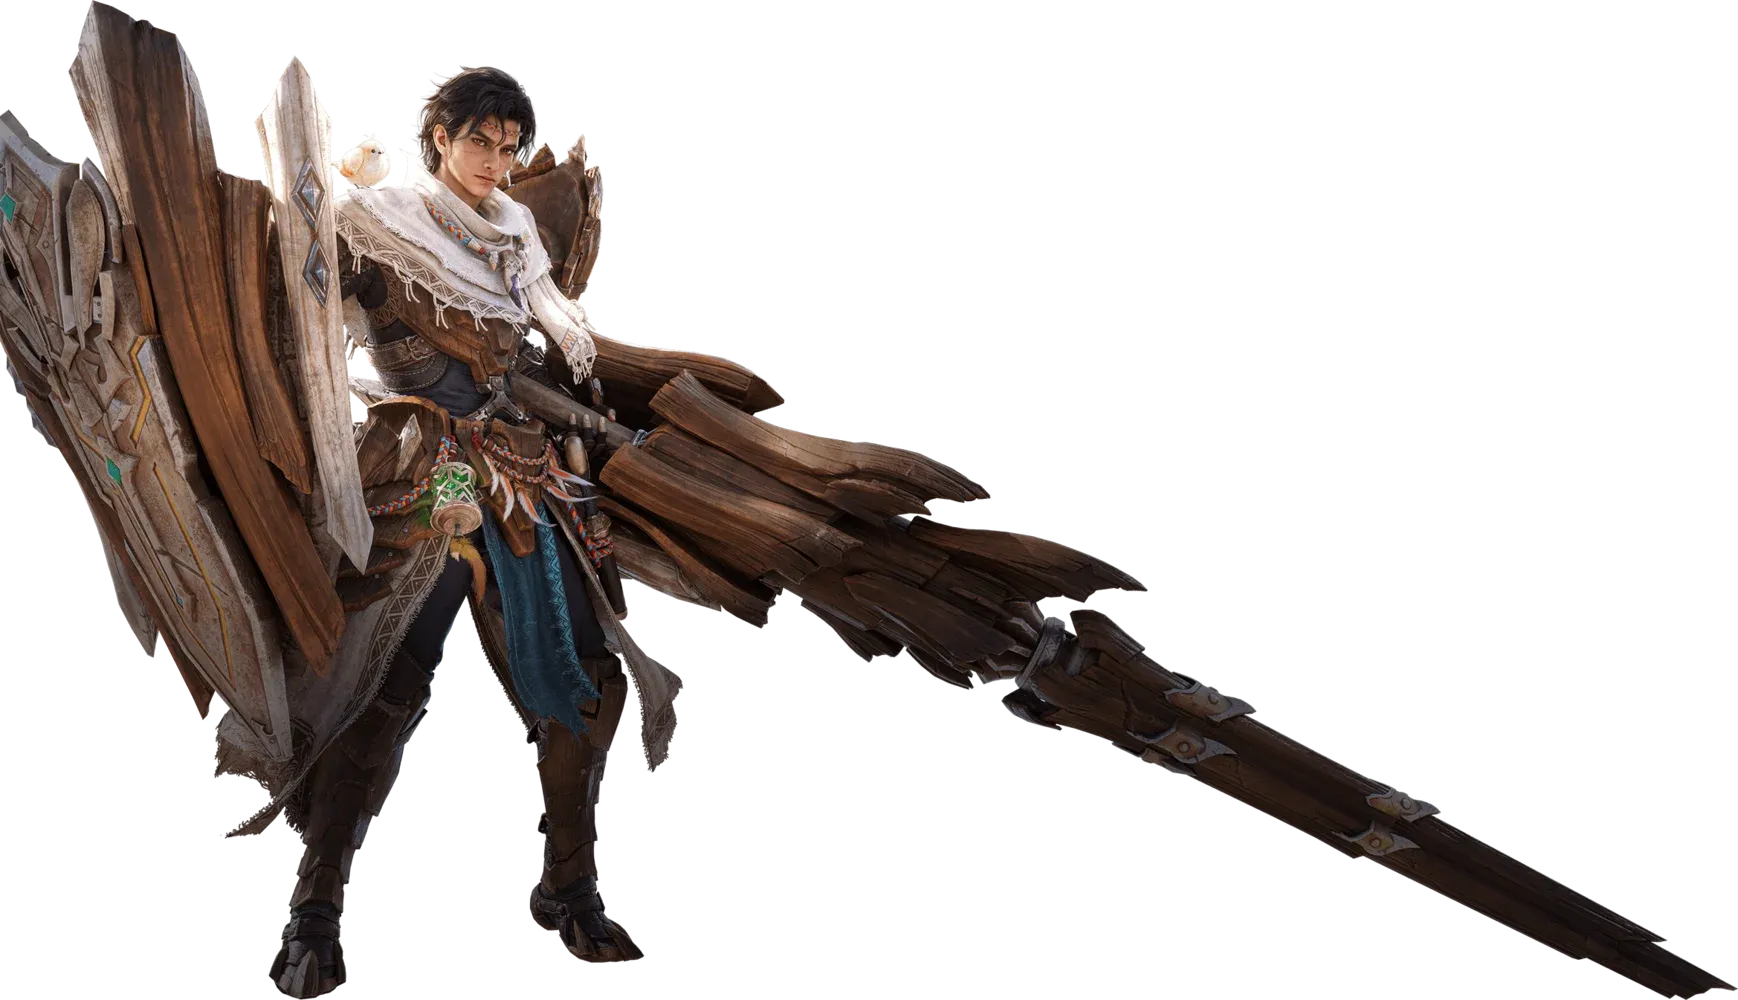
Seat 2 — Raya (Disruptor, Dual Blades). Raya is the pre-registration reward and the Adventurer most launch accounts will own without pulling. Her job is keeping the Demon Gauge from resetting and applying disruption pressure. She is not a “free substitute” you tolerate—Dual Blades Disruptor is genuinely useful, which is why she rates highly on early tier lists even outside the free-to-play conversation.
Seat 3 — Madelyn (Support, Bow).Madelyn is the Support everyone should try before they decide Support is boring. Her kit revolves around Spores, medicines, and party buffs. Spores attach to the monster and detonate for damage or ally buffs; her flavour design is literally poison-as-medicine. She keeps the run alive while you are still missing dodge timings.
Seat 4 and Buddy. If you have a fourth seat available through story or early unlocks, Ouyang Varen (Assault, Lance) adds a second defensive body that guards the cart and uses Impetus on openings. Your Buddy should be Trillan(Support) for extra sustain. Palico is Assault, not a healer—do not bring the cat out of habit and then wonder why nobody is topping you off.
This lineup is not the ceiling. It is the floor that lets you clear forest Rathalos and Pink Rathian without a single pull, which is exactly the content that teaches you whether your weapon choice and control scheme actually work. Once that floor is stable, you can start thinking about banners and elemental resonance variants.
Progression Priorities That Do Not Waste Materials
Outlanders splits crafting into two tracks: personal equipment and island facilities. New players often over-invest in facilities because they feel productive. They are not, not yet.
Your weapon and armor determine whether you can survive the next hunt. Facilities improve quality of life: faster travel, better gathering, storage. Build them after your gear is stable, not before. A dead hunter crafts nothing.
Three progression levers deserve your attention every session:
Keepsakes are per-Adventurer upgrades that make the whole squad stronger. Level them up as soon as possible and ascend them to the next tier when you hit the cap. A common mistake is treating keepsakes as a side system. They are not side content. They are raw power.
Insights are a second talent layer on every Adventurer. You slot up to three Insights with a limited point pool—one at 30 points, two at 10, for example. Some are passive damage bonuses. The interesting ones change how a skill functions. On Long Sword, an Insight can make a Special Sheathe on Skill 2 significantly faster, restore the gray portion of your health gauge, and add damage to Iai attacks. On Dual Blades, a specific Insight chains a rising whirl into a devastating whirling dance with a chance to refill your Demon Gauge. If you enjoy buildcraft, this is where the depth lives.
Armor mixing beats full sets. Different pieces carry different skills, and the right combination can activate two set bonuses at once. Three bone pieces for dragon damage, two Great Jagras pieces for stun resistance, and suddenly you are covering offense and survivability without sacrificing either. Save gear loadouts per element or per weapon so you can swap before a hunt instead of scrambling in the menu.
Field Discipline: What to Do Between Hunts

The vast field is not a loading screen with grass. It is where half your progression happens.
Watchtowers first, camps second. A watchtower reveals the map around it and raises the cap on field buildings in that area. More towers and more tower upgrades mean more camps—your fast-travel points. Ziplines and jump pads come after. If you build camps before towers, you will spend the first week walking.
Gather everything, but turn on auto-craft. Herbs, honey, ores, bones—pick them up as you move. Auto-craft turns the right materials into potions and utility items without a separate farming trip. The goal is not to hoard. The goal is to never run out of healing because you were too focused on the next monster icon.
Ancient treasures are worth the hassle. They are covered in thorns that hurt on contact. Somewhere nearby is the item that removes them—a Fire Bloom in the early field, for example. Carry it over and burn the thorns down. Hurry, or the Bloom explodes in your hands. The loot inside justifies the detour.
Do not lock on and stop thinking. Lock-on opens a radial menu for targeting a specific part: head, wings, forelegs, tail. Selecting a part does not land the hit for you. If you stand in the wrong spot, your attack hits whatever is in front of you. Positioning still matters. Lock-on is a tool for focus, not a replacement for footwork.
Final Word
Outlanders rewards preparation more than reflexes. The hunters who struggle are usually not bad at dodging. They are spread too thin: five weapons, no Support, facilities before armor, a named Adventurer they pulled because the art looked cool. The hunters who progress steadily make boring decisions first—one weapon (with one backup later, not five), one free squad that covers all three roles, one upgrade path—and then expand once the foundation holds.
Ready to prepare for your next hunt? Visit LDShop to explore available offers for supported games. Check out the Monster Hunter Outlanders top up page for available in-game currency and package options. Review the product details and ordering requirements before purchasing, so you can spend less time sorting out transactions and more time getting ready for your next monster hunt.






 TOP UP WITH DISCOUNT NOW

LDShop Team Experienced Game Editors
The LDShop Editorial Team covers game updates, character builds, team compositions, and practical gameplay guides. We follow official announcements, test game mechanics, and gather insights from gaming communities to provide accurate, useful, and easy-to-follow content. Our goal is to help players make informed decisions, save resources, and get more out of their favorite games.
