


Defending structures during KvK in Rise of Kingdoms is one of the most critical roles a player can assume. A poorly optimized garrison can burn through millions of dead troops and lose key strategic objectives like passes, altars, and flags within minutes. This guide breaks down the meta garrison commander pairings, analyzing how they perform in direct 1v1 rally defense versus heavy anti-swarm environments.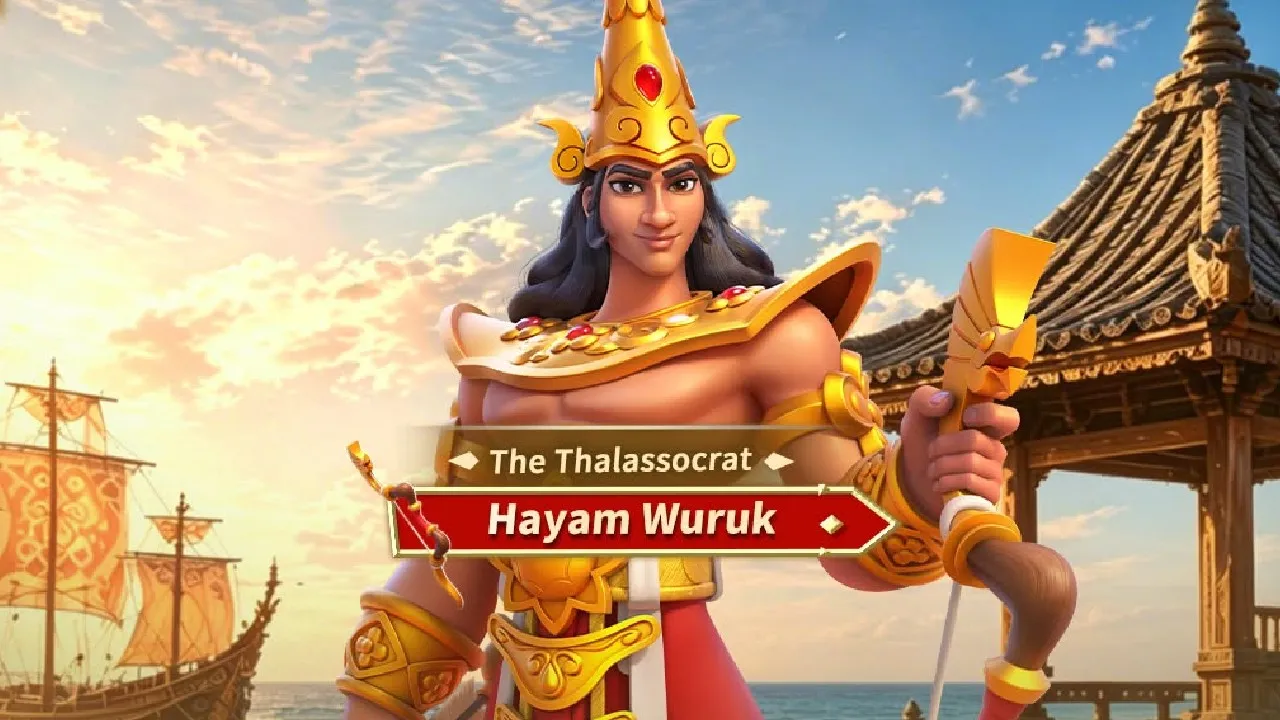
👇LDShop offers the best deals to top up Rise of Kingdoms. Visit the ROK top up page to see more.
Understanding the Garrison Meta Dynamics
The modern garrison meta isn't as easy as you may think. Being a garrison leader carries a big expense, that’s why you should visit the ROK top-up page provided by LDShop to save money while making your in-game purchases. Choosing the right defense depends entirely on what your enemy throws at you:
- 1v1 Rally Defense: Focuses on single-target damage, skill damage mitigation, and trade efficiency against an isolated incoming rally.
- Anti-Swarm Defense: Focuses on survivability, all-damage reduction, shields, normal/counterattack damage scaling, and keeping the building alive so reinforcements can continuously fill the structure.
Archer Garrisons: High Damage & Shielding
Archer garrisons remain a strong defensive cornerstone, offering massive counter-damage potential and high tactical versatility.
Hayam + Hector (Best for 1v1 Rally Defense)
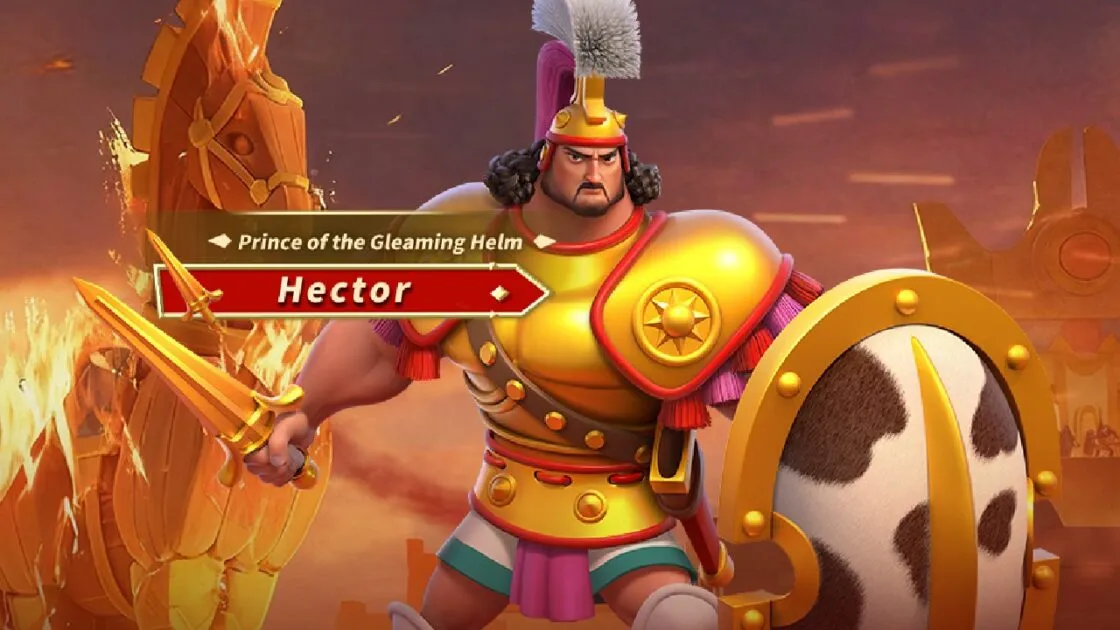
- Strengths: Exceptional single-target damage output and strong trades against single incoming rallies, particularly infantry-focused ones.
- Mechanics: Hayam's debuff resistance pairs naturally with Hector's single-target damage profile. Full archer setups also benefit from innate smite damage reduction against infantry.
Hayam + Heraclius (Best Anti-Swarm)
- Strengths: High shield generation, damage mitigation, and building longevity.
- Mechanics: When a structure is swarmed by 10+ marches, your primary goal is survival to keep reinforcing. Heraclius provides shields and damage reduction that prevent the structure from burning down instantly.
Cyrus the Great + Ragnar Lodbrok
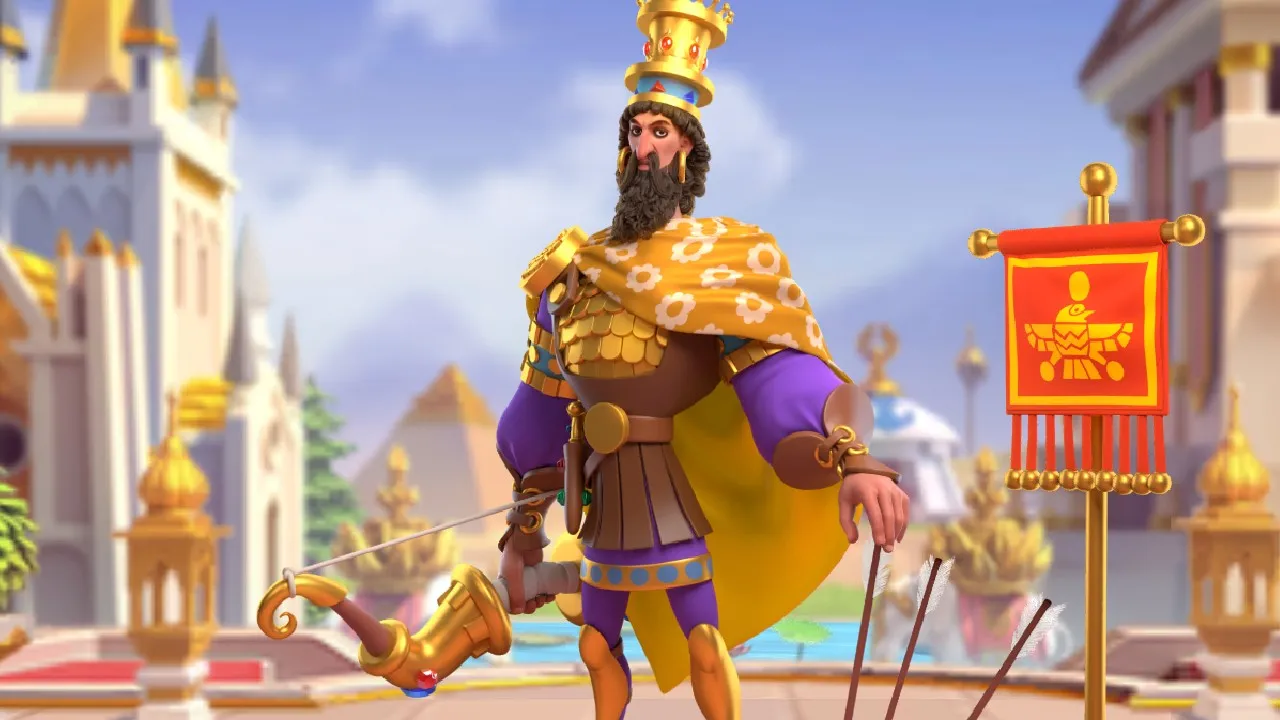
- Requirement: Must use the Arch Formation with proper inscriptions (avoid Wedge at all costs).
- Mechanics: with Ragnar's Museum Relic, this pairing grants up to 35% extra defense and nearly 40% combined damage reduction. Combined with Cyrus's active healing, it creates an ultra-durable garrison that continually tops off health while taking swarming heat.
Cavalry Garrisons: Aggressive Counter-Attacks
Cavalry garrisons excel at delivering swift counter-attack damage, making them lethal when fielded with the right gear and pairings.
Attila + David (Top Anti-Swarm Cavalry)
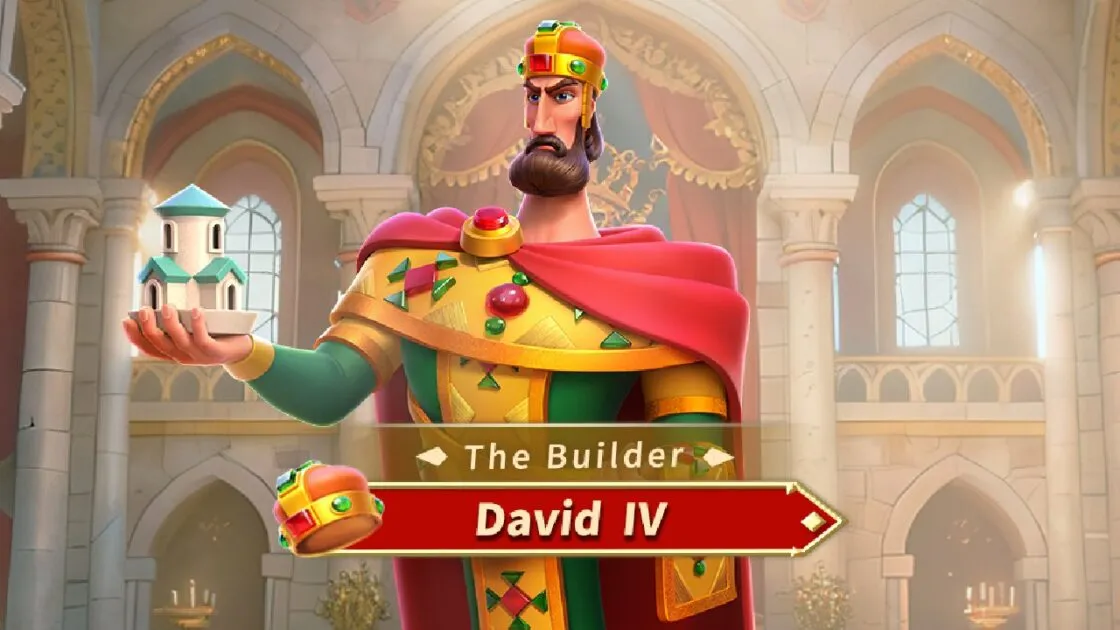
- Positioning: Attila Primary / David Secondary.
- Mechanics: Attila boosts base normal damage, which amplifies David's continuous combo damage. Attila can trigger a 40% combo damage boost on enemies right as David unleashes his payload.
- Note: While it dominates standard field swarms, be careful against specialized infantry rallies (such as Pincer 2 setups), which can punish this pairing severely.
David + Hector (1v1 Rally & Pass Defense)
- Positioning: David Primary / Hector Secondary.
- Mechanics: Designed for chokepoint passes or flags where enemies cannot easily swarm you. It delivers heavy single-target punishment to isolated rallies.
Infantry Garrisons: The Anti-Swarm Anchor
Infantry remains the gold standard for frontline stability, offering rich talent trees like Defense to increase rage buildup and damage reduction under heavy fire.
Gorgo + Tokugawa (1v1 Rally Counter)

- Strengths: Maximum trade efficiency against single target rallies.
- Mechanics: Combined with Pincer skills, this pair deals massive Smite damage. However, it lacks raw mitigation against 12+ surrounding swarms, making it vulnerable if left isolated in deep enemy territory.
Gorgo + Charles Martel (Standard Anti-Swarm)
- Strengths: Massive defense buffs and accessible shields.
- Mechanics: A reliable workhorse for general KvK flags under moderate swarming pressure.
Gorgo + Ragnar Lodbrok (High-Tier Anti-Swarm)
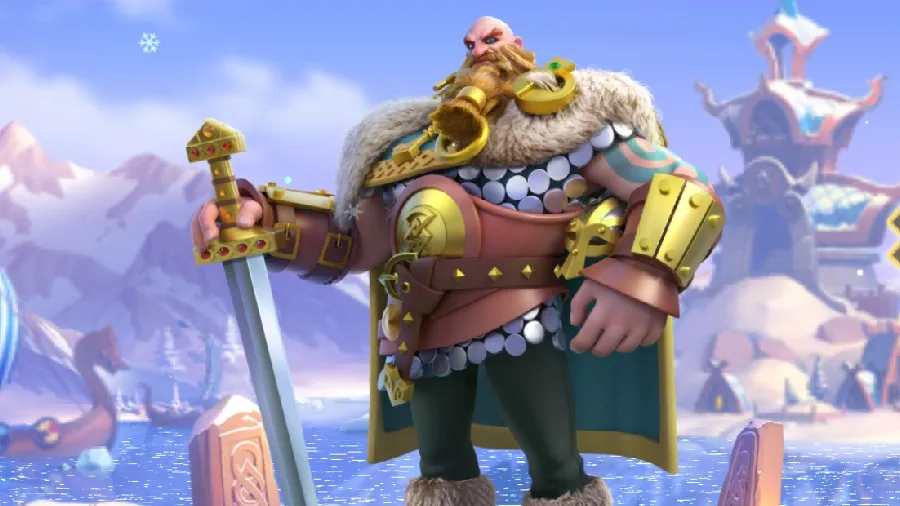
- Strengths: Maximum damage mitigation without relying strictly on shields.
- Mechanics: Since commanders like Shapor can neutralize shields, Ragnar's flat damage reduction and defense buffs provide consistent survival stats during intense King's Land multi-swarm battles.
Leadership & Niche Garrisons
Heraclius + Yi Sun-sin (YSS)

- Use Case: Ark of Osiris / Extreme Structural Survival.
- Mechanics: YSS's Museum Relic grants +15% Health and extra movement speed. This pairing utilizes the Hollow Square formation and leadership equipment to stack continuous shields.
- Trade-off: While kill-to-death trade ratios may be negative, this combination keeps buildings alive longer than almost any other pairing, making it invaluable for objective-based gameplay like Ark of Osiris.
Meta Garrison Pairings Summary Table
|
Garrison Combination |
Troop Type |
Primary Focus |
Ideal Formation |
|
Hayam + Hector |
Archer |
1v1 Rally Defense |
Wedge / Arch |
|
Hayam + Heraclius |
Archer |
Anti-Swarm |
Arch |
|
Cyrus + Ragnar |
Archer |
Heavy Anti-Swarm |
Arch Only |
|
Attila + David |
Cavalry |
Anti-Swarm |
Arch / V-Shape |
|
David + Hector |
Cavalry |
1v1 Pass Defense |
Wedge |
|
Gorgo + Tokugawa |
Infantry |
1v1 Rally Defense |
Pincer |
|
Gorgo + Ragnar |
Infantry |
Heavy Anti-Swarm |
Arch |
|
Heraclius + YSS |
Leadership / Mixed |
Objective Delay / Ark |
Hollow Square |
Important Equipment & Armament Tips
- Inscriptions & Formations: Match your formation to your team setup. Running Arch on damage-mitigation/healing builds (like Cyrus/Ragnar) provides key survival stats, whereas Pincer is essential for Smite-focused infantry setups (like Gorgo/Tokugawa).
- Armament Stat Priority: While Health provides a solid baseline for survival, top-tier garrison players heavily favor All Damage Dealt (+2%). High damage output clears surrounding field swarms faster, effectively reducing total incoming damage over time.
- Reinforcement Strategy: Keep garrison troop counts topped off. Ensure teammates send pure troop types that match your captain's specialization unless running a dedicated mixed leadership build like Heraclius + YSS.






 TOP UP WITH DISCOUNT NOW
Neolle Game Guide Author
Hey there, I'm Neolle.
Welcome to my little corner of the gaming world. I spend way too much time obsessing over games, digging up hidden easter eggs, and finding the easiest ways through the grind so I can share the good stuff with you.
Put your feet up, take a breather, and enjoy a little guilt-free procrastination. Hope my writing keeps you company while you are supposed to be working, and let's just have some fun.
