


Want to level up faster in NTE’s 999 Nights mode? One of the most efficient methods is to farm Mystery Buttons by repeatedly clearing the same high-density monster area.
This Shinku build uses dodge-triggered effects to spread damage across most of the farming zone. Once the setup is active, enemies can take damage even when they are outside the camera view. A functional version of the build can earn more than 2,000 Mystery Buttons per minute, while a complete endgame setup can reach 3,000 or even close to 4,000 under ideal conditions.
It takes some specific equipment to get started, but once everything is in place, the actual farming loop is simple and requires very little manual input.
Before You Start
Enable Auto-Pickup before beginning the route.
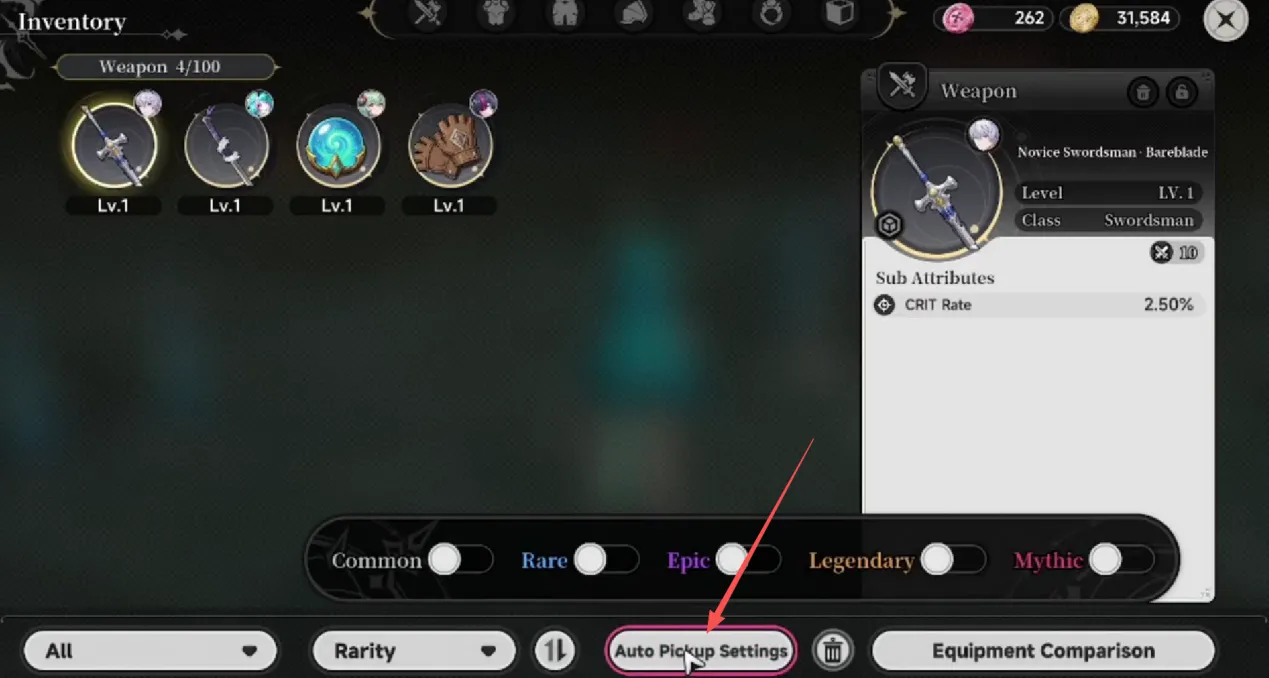
This build kills enemies across a very large area, including targets outside the screen. Without Auto-Pickup, Mystery Buttons and equipment may be left on the ground.
You should also identify every unidentified equipment drop. Most of the weapons, accessories and set pieces used by this build can drop during normal farming, but you may not be able to see their full effects until they have been identified.
This method is mainly intended for players who already have decent equipment. The farming speed will be much lower if Shinku cannot kill normal enemies quickly.
Recommended Team
The recommended lineup is:
|
|
|
|
|
|
Zero |
Mint |
Iroi |
Shinku |




Recommended Equipment
| Character |
Armor Set |
Weapon |
Accessory |
|
Zero
|
Song of Dawn |
|
|
|
Mint
|
|
|
|
|
Iroi
|
|
|
|
|
Shinku
|
|
|

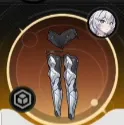



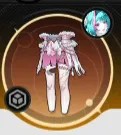
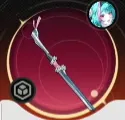

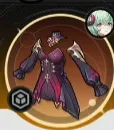

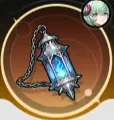

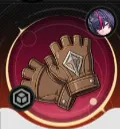
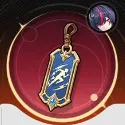
Core Equipment Requirements
Not every item in the setup is equally important. Some pieces provide extra damage, while others are required for the build to function properly.
The two most important pieces are:
|
|
|

Zero’s weapon detonates the flame marks placed on enemies and provides additional bonuses afterward. Shinku’s weapon helps apply these marks through her character state and dodge effects.
Shinku should also use two accessories related to dodging and area expansion. These accessories allow her damage range to grow as more enemies receive flame marks.
Iroi’s twin necklace is another major upgrade because it helps the whole team apply marks more consistently. Mint’s equipment and additional set effects mainly improve the team’s total damage.
In simple terms, prioritize Zero’s weapon and Shinku’s weapon first. After that, work on Shinku’s dodge accessories and Iroi’s necklace.
How the Shinku Build Works
The entire setup revolves around placing flame marks on as many enemies as possible.
Zero detonates the marks, while Iroi helps the team apply them more frequently. Shinku then uses her dodge effects to spread damage over a much larger area.
One of Shinku’s accessories increases the range of her dodge-triggered effect based on how many marked enemies are present. As more enemies receive marks, the red damage circles around Shinku become larger.
At first, the effect only covers enemies standing nearby. After several successful dodges, it can reach monsters outside the visible screen and eventually cover around 80% of the surrounding farming area.
This is why the setup can clear several groups without manually running between them.
Mint and Key Set Effects
Mint is mainly used to increase the team’s overall damage.
Her standard weapon and set already work, but the build becomes stronger after obtaining the correct key item. These keys can replace or reproduce equipment set effects, allowing a character to benefit from more than one set combination.
For example, Mint can use a two-piece bonus together with a four-piece bonus instead of relying on a single set. This increases her damage and makes each farming wave end faster.
The same idea can later be applied to Zero. Once the core build is complete, farming better keys is one of the best ways to improve efficiency.
Best Farming Location
Open the Warren Continent map and find the bonfire beside the location shown below.
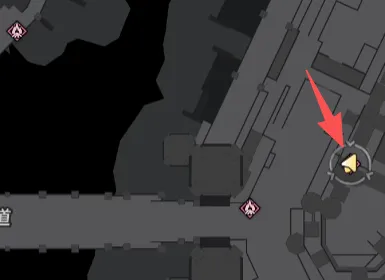
Teleport to the bonfire, turn the camera slightly and look for the nearby gate. Pass through the gate to reach an area containing several groups of normal enemies and scorpions.
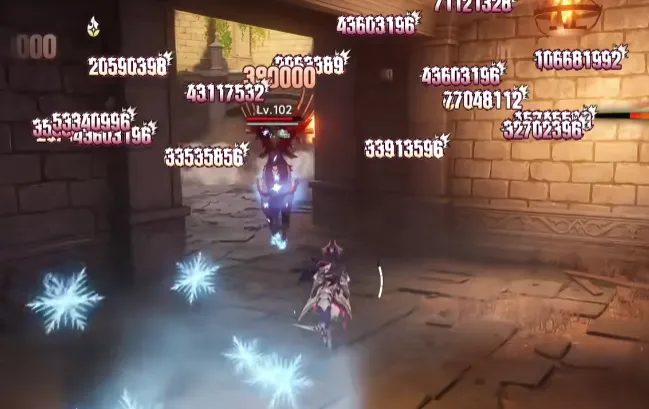
This is a strong farming spot because:
Many enemies are positioned close together.
The scorpions can drop useful key items.
The bonfire makes it easy to reset the area.
Shinku’s expanded range can reach most nearby monster groups.
Once you learn the route, there is very little movement involved.
How to Activate the Large AoE
The build needs a short setup period at the beginning of the run.
After entering the scorpion area, allow the enemies to attack Shinku. Dodge their attacks repeatedly instead of killing them immediately.
Each successful dodge helps activate Shinku’s effects and expand the red damage circles around her. After roughly three dodges, you should begin seeing damage numbers outside the visible area.
That is the sign that the build is working.
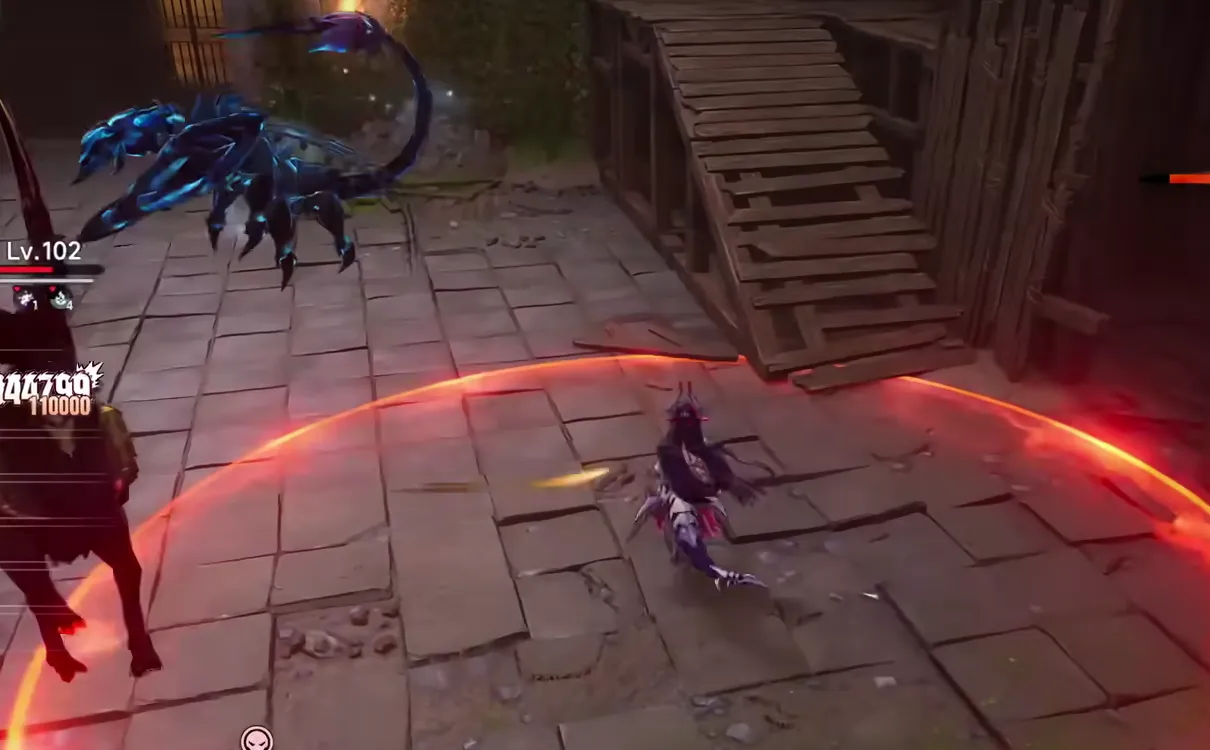
The initial damage range is small, so do not start standing still immediately. Continue dodging until enemies farther away begin taking damage.
Once the circles are large enough, Shinku can start clearing monsters across most of the area.
Fast Leveling and Farming Loop
After the initial setup, use the following loop:
- Teleport to the bonfire.
- Go through the nearby gate.
- Move toward the scorpion area.
- Dodge enemy attacks about three times to expand the damage range.
- Wait for the scorpions and surrounding enemies to die.
- Return to the bonfire to reset the monsters.
- Repeat the route.
After the first round, you usually do not need to repeat the full setup every time.
At the beginning of each new wave, dodge once and wait for the red circle to appear. The damage effect should then continue clearing the surrounding enemies.
With enough damage, you can remain in one position and let the build farm automatically. Dodging once or twice per wave will still make the clear faster and more consistent.
Expected Mystery Button Efficiency
Your farming speed depends on equipment quality, damage, key effects and how quickly you reset the enemies.
|
Build Progress |
Mystery Buttons per Minute |
|
Incomplete but functional setup |
2,000+ |
|
Complete core equipment |
3,000+ |
|
Fully optimized endgame setup |
Up to 4,000 |
A rate of 4,000 per minute is an optimized result. It requires high damage, the correct core equipment and efficient resets.
For most players with the main pieces equipped, more than 2,000 per minute is already achievable. A well-built team should be able to maintain more than 3,000 during normal farming.
Final Tips
The most important part of this route is the initial dodge setup. Move to the scorpion area, dodge about three times and wait until the damage begins reaching enemies outside the screen.
After that, one dodge at the beginning of each wave is usually enough. Players with a fully optimized setup can eventually stand still and let Shinku clear most of the area automatically.
Keep Auto-Pickup active, identify all equipment drops and save useful keys for better set combinations. Once the core weapons and dodge accessories are ready, this becomes one of the fastest ways to farm Mystery Buttons and level up in NTE’s 999 Nights mode.
For more NTE guides, event news and top-up offers, follow LDShop for the latest updates.






 TOP UP WITH DISCOUNT NOW
Savannah Reed Experienced Game Editor
I'm a game guide writer with over 20 years of experience playing all types of games, especially anime-style RPGs, gacha and sports games. I love finding smart ways to beat tough levels without spending too much money. By studying game mechanics and character systems, I create easy tips to help players save time and resources. When I'm not gaming, I watch anime to get inspiration for strategies. My goal? To help you enjoy games more and stress less – even when facing "impossible" bosses! Let’s make gaming fun and affordable together!
![[New User Discount] Monthly Card | NTE Top Up (Global)](https://shop.ldrescdn.com/rms/ld-space/process/img/9c38037758ea47e9becd0dcc135d7d441789629790.webp?x-oss-process=image/resize,m_fill,h_160,w_160)