


Hey everyone! Today I’m bringing you a breakdown on how to take down this boss. After my last guide on how to get the Blue Flames, a lot of you were asking for a boss walkthrough—and for good reason, this encounter can be pretty tough. First off, I’ve already covered the boss's location and the specific requirements to trigger the fight in this previous post, so if you're not up to speed yet, go check that out first!

Team Recommendation
For the first team comp, I recommend running Skia, Haniel, Edgar, and Aurelia. You’ll have a much easier time if everyone is at least Level 30, and make sure your weapons are leveled up to Level 20 as well.
|
Skia |
Haniel |
Edgar |
Aurelia |


Other Choice
|
Zero |
Mint |
Adler |
Edgar |


Boss Guide: Phase 1 Strategy
For Phase 1, the strategy should be kept relatively simple. The boss has four main moves: the opening horizontal slash, the "Blue Flames" projectiles, the plunging blade strike, and finally, the motorcycle charge. You can avoid all of these by dodging or maintaining proper spacing.

While you can use your character's i-frames to dodge, the most important thing is to avoid attacking him head-on. Always strike from the flank. If you are directly in front of him, he will slash immediately; however, if you are on his side, he has to turn before striking, which gives you more time to react.
Lastly, watch out for the red circle. This indicates a window where attacking him will build up massive Scar Value and interrupt his special attack. No matter how far away you are, you must focus him down when the red circle appears. If you don't, he becomes extremely difficult to deal with in his enhanced state—though if you have Edgar, you can pretty much just tank through it.
6480 Riftcrystal Direct Top-Up for Just $ 80.31

Neverness to Everness 6480 Riftcrystal
Delivered in as fast as 30 seconds
Limited-time offer: $ 80.31 | $ 99.99
LDShop offers the best price with instant delivery.
Boss Guide: Phase 2 Strategy
It's also worth noting his second phase (second health bar). This transition is triggered either when you break his gauge or when his HP drops to 50%.
At the start of this phase, he will unleash his "Execution Array." As you can see in the image, you must prioritize dodging this ultimate—if that motorcycle slams into you, it’s an instant kill.
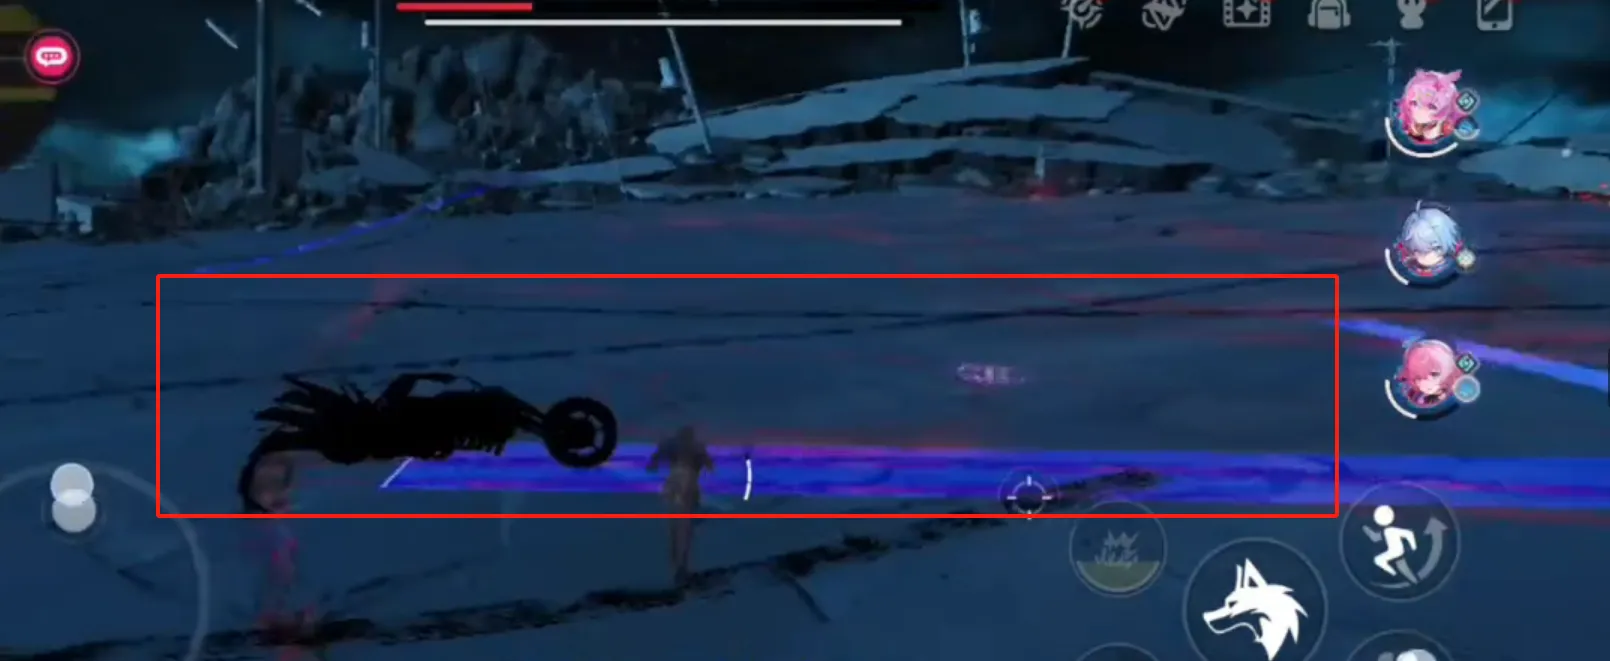
Pay close attention to the boss's Ultimate Array. Once you've successfully dodged it, he will enter an Enraged state. In this mode, he gains three additional skills: a Plunging Strike from above, a Motorcycle Tail-whip, and another unshown sub-skill that functions as a high-damage Ultimate.
This phase is extremely dangerous, so I recommend bursting him down as quickly as possible. Just stay sharp and watch out for that Motorcycle Tail-whip and his Forward Horizontal Slash.

Conclusion
Has everyone figured out how to beat this boss yet? Hope you all get your Blue Flame soon!For faster progression, consider using on LDShop to optimize pulls and accelerate team completion.


 TOP UP WITH DISCOUNT NOW
Savannah Reed Experienced Game Editor
Savannah Reed is a senior game editor at LDShop.gg, specializing in in-depth coverage of RPG and strategy games. With a strong focus on titles like Wuthering Waves, Honkai: Star Rail and Whiteout Survival, she combines industry insight with firsthand player experience to deliver clear, informative, and actionable content. Her work is dedicated to helping gamers make smarter decisions—whether it’s understanding new updates or optimizing their in-game strategy.
