


With NTE launching globally on April 29, 2026, a lot of people are already asking the same thing: what actually makes a good team in this game? At first glance, the combat seems pretty standard, but once you get into Esper Cycle reactions, swap flow, and when to cash out during a stagger window, the team-building gets way more layered than it first looks.
So before you start judging units only by raw damage, it helps to understand what the combat is really asking your team to do.
How NTE combat actually works
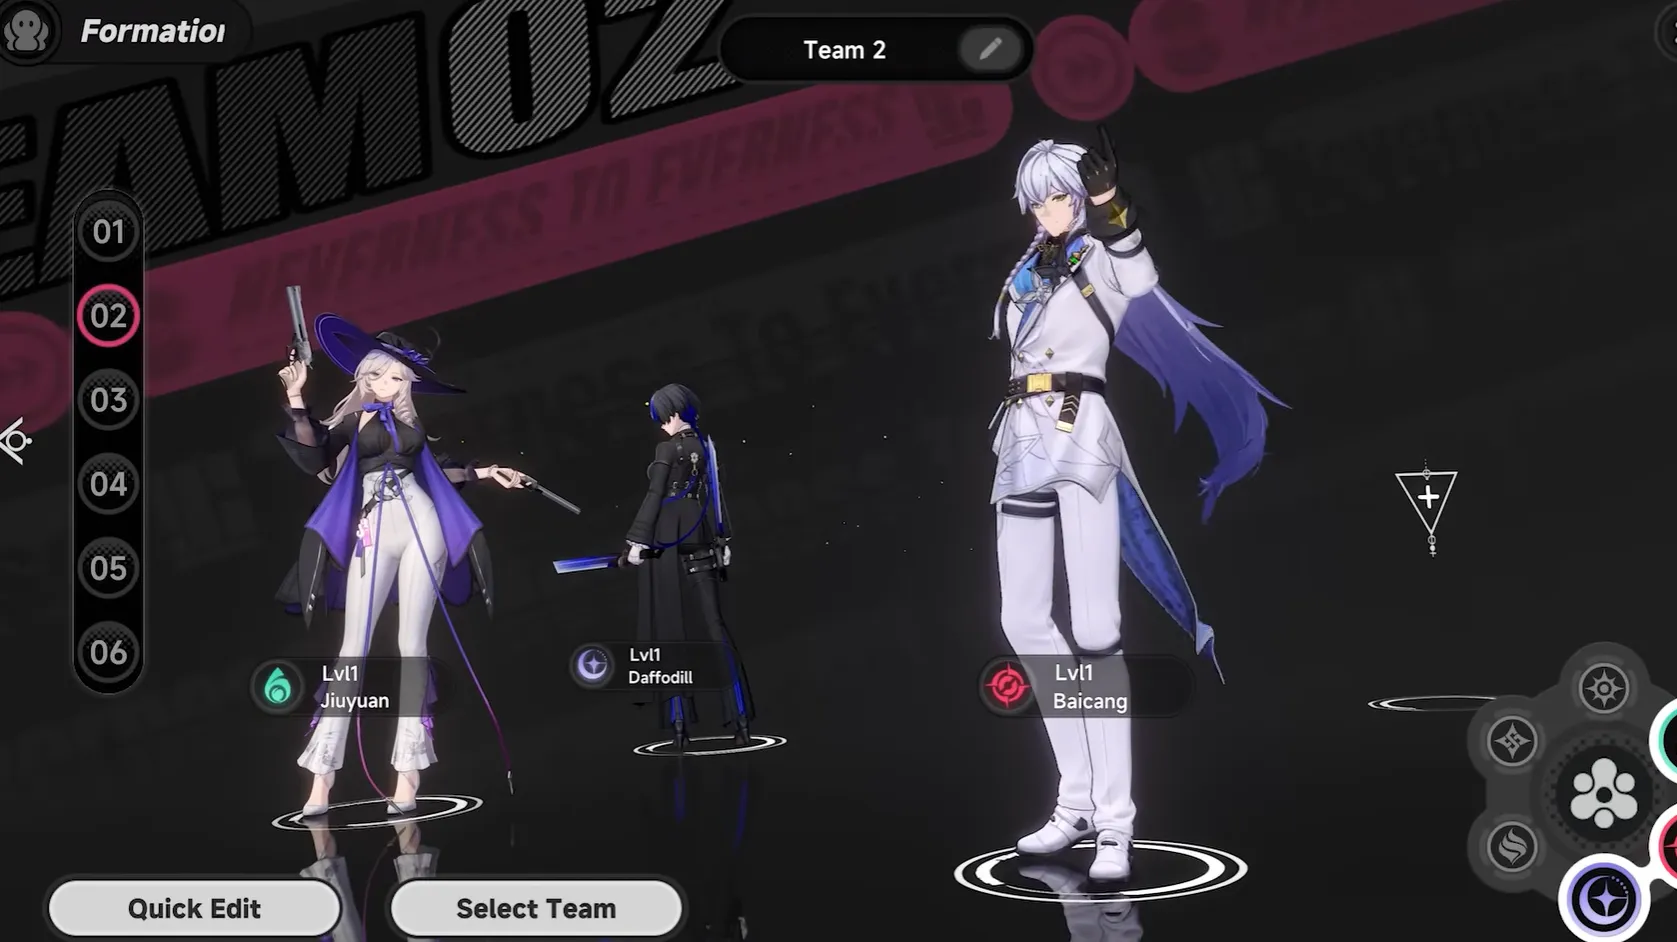
At its core, NTE uses a familiar action-RPG setup with normal attacks, skills, ultimates, swaps, and a four-character team. Some units focus on damage, while others provide buffs, shielding, healing, or general survival. What makes the combat stand out is not raw DPS alone, but how attributes connect through swaps and reactions.
Team-building is really about keeping that loop alive: applying attributes, triggering reactions at the right time, defending cleanly, and converting stagger windows into real damage. Esper Cycle passives make this even more important, since each character contributes to the team’s reaction economy even off-field. That is why strong NTE teams feel structured and synergistic, while random rainbow comps usually feel much less efficient.
Every current Esper Cycle reaction
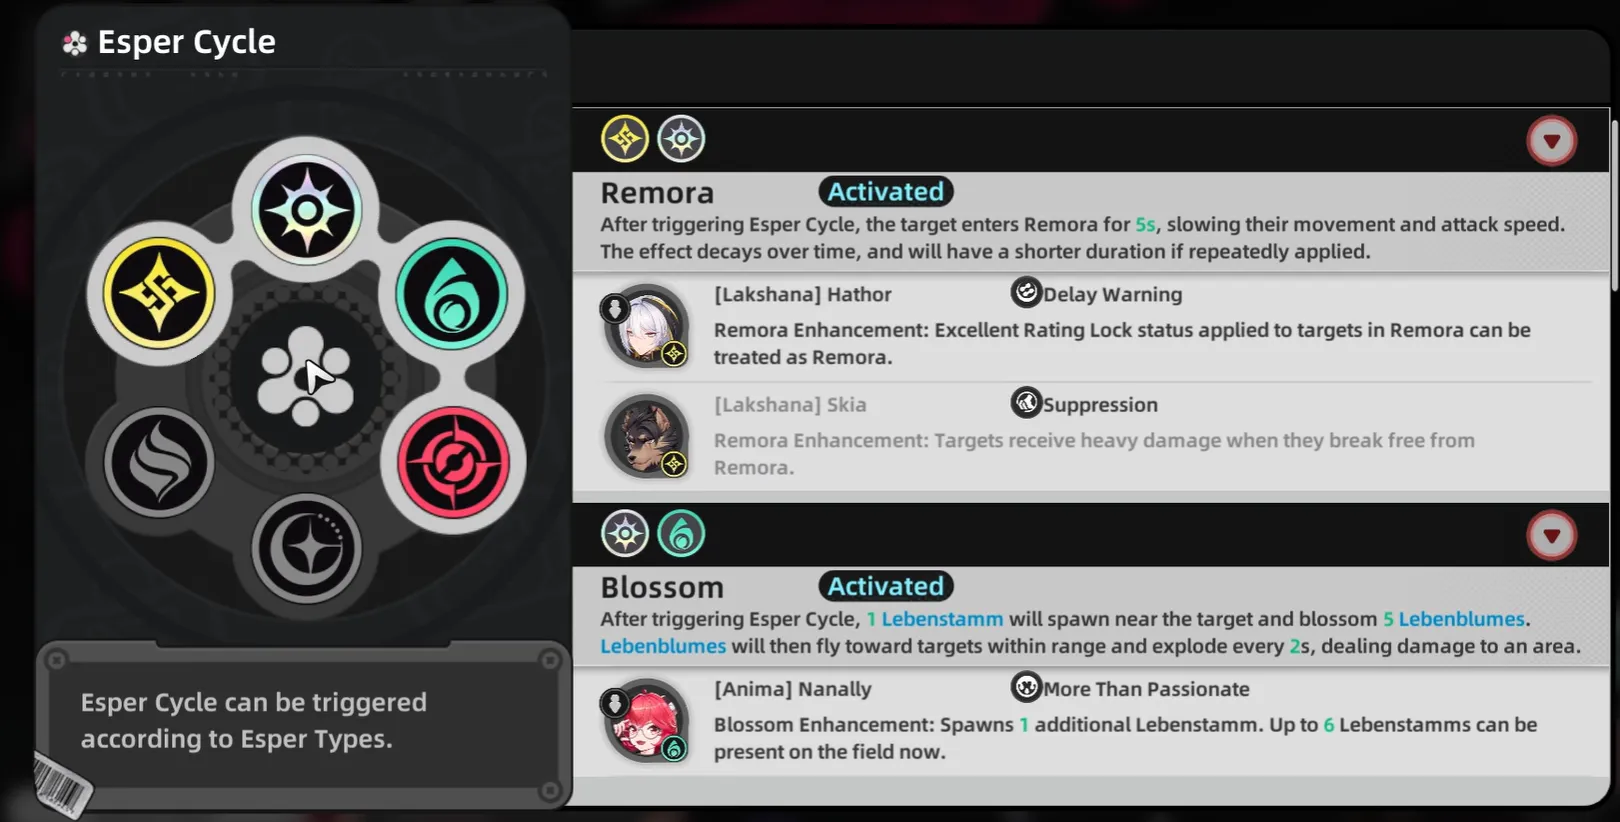
Esper Cycle reactions are the backbone of NTE’s combat system, and this is the first part every player really needs to understand before talking about team-building. Different reaction pairs do completely different jobs in battle: some add pressure, some create delayed burst, some increase damage taken, and some improve control or energy flow. Once you know what each reaction actually does, the logic behind building a proper team becomes much clearer.
- Blossom = Cosmos + Anima
Spawns an autonomous attacker that deals area damage. This is one of the most comfortable reactions to play around because it adds pressure without asking for extra field time. - Hexed = Anima + Incantation
Triggers extra Unison damage based on recent elemental damage taken. It rewards continuous pressure and clean sequencing rather than short, isolated bursts. - Scorch = Incantation + Chaos
Applies damage over time for 15 seconds. This is the most direct sustained-damage reaction and works best when your rotation keeps enemies under constant pressure. - Nova = Chaos + Psyche
Marks the target and causes a large Cognito burst after 5 seconds. Nova is all about delayed payoff: set it up, keep the rotation moving, and let the burst land while the rest of the team is already working. - Stain = Psyche + Lakshana
Makes the target take 50% more Psyche and Lakshana damage for 12 seconds. This is a very direct damage-amplification reaction and one of the easiest ways to make a focused lane hit much harder. - Remora = Lakshana + Cosmos
Marks the target and slows movement plus attack speed. It is less flashy than the damage reactions, but it is excellent for stabilizing fights and making follow-up windows much cleaner.
Two trio reactions matter a lot as well.
- Charge triggers when Blossom hits a target already marked by Remora, granting ultimate energy per hit. This is what makes certain control-oriented shells much better at keeping ult rotations online.
- Discord triggers when Nova and Scorch overlap on the same target, reducing part of the enemy’s break meter. This is one of the most important higher-order interactions because it ties reaction planning directly into your stagger plan.
Cycle Value buildup
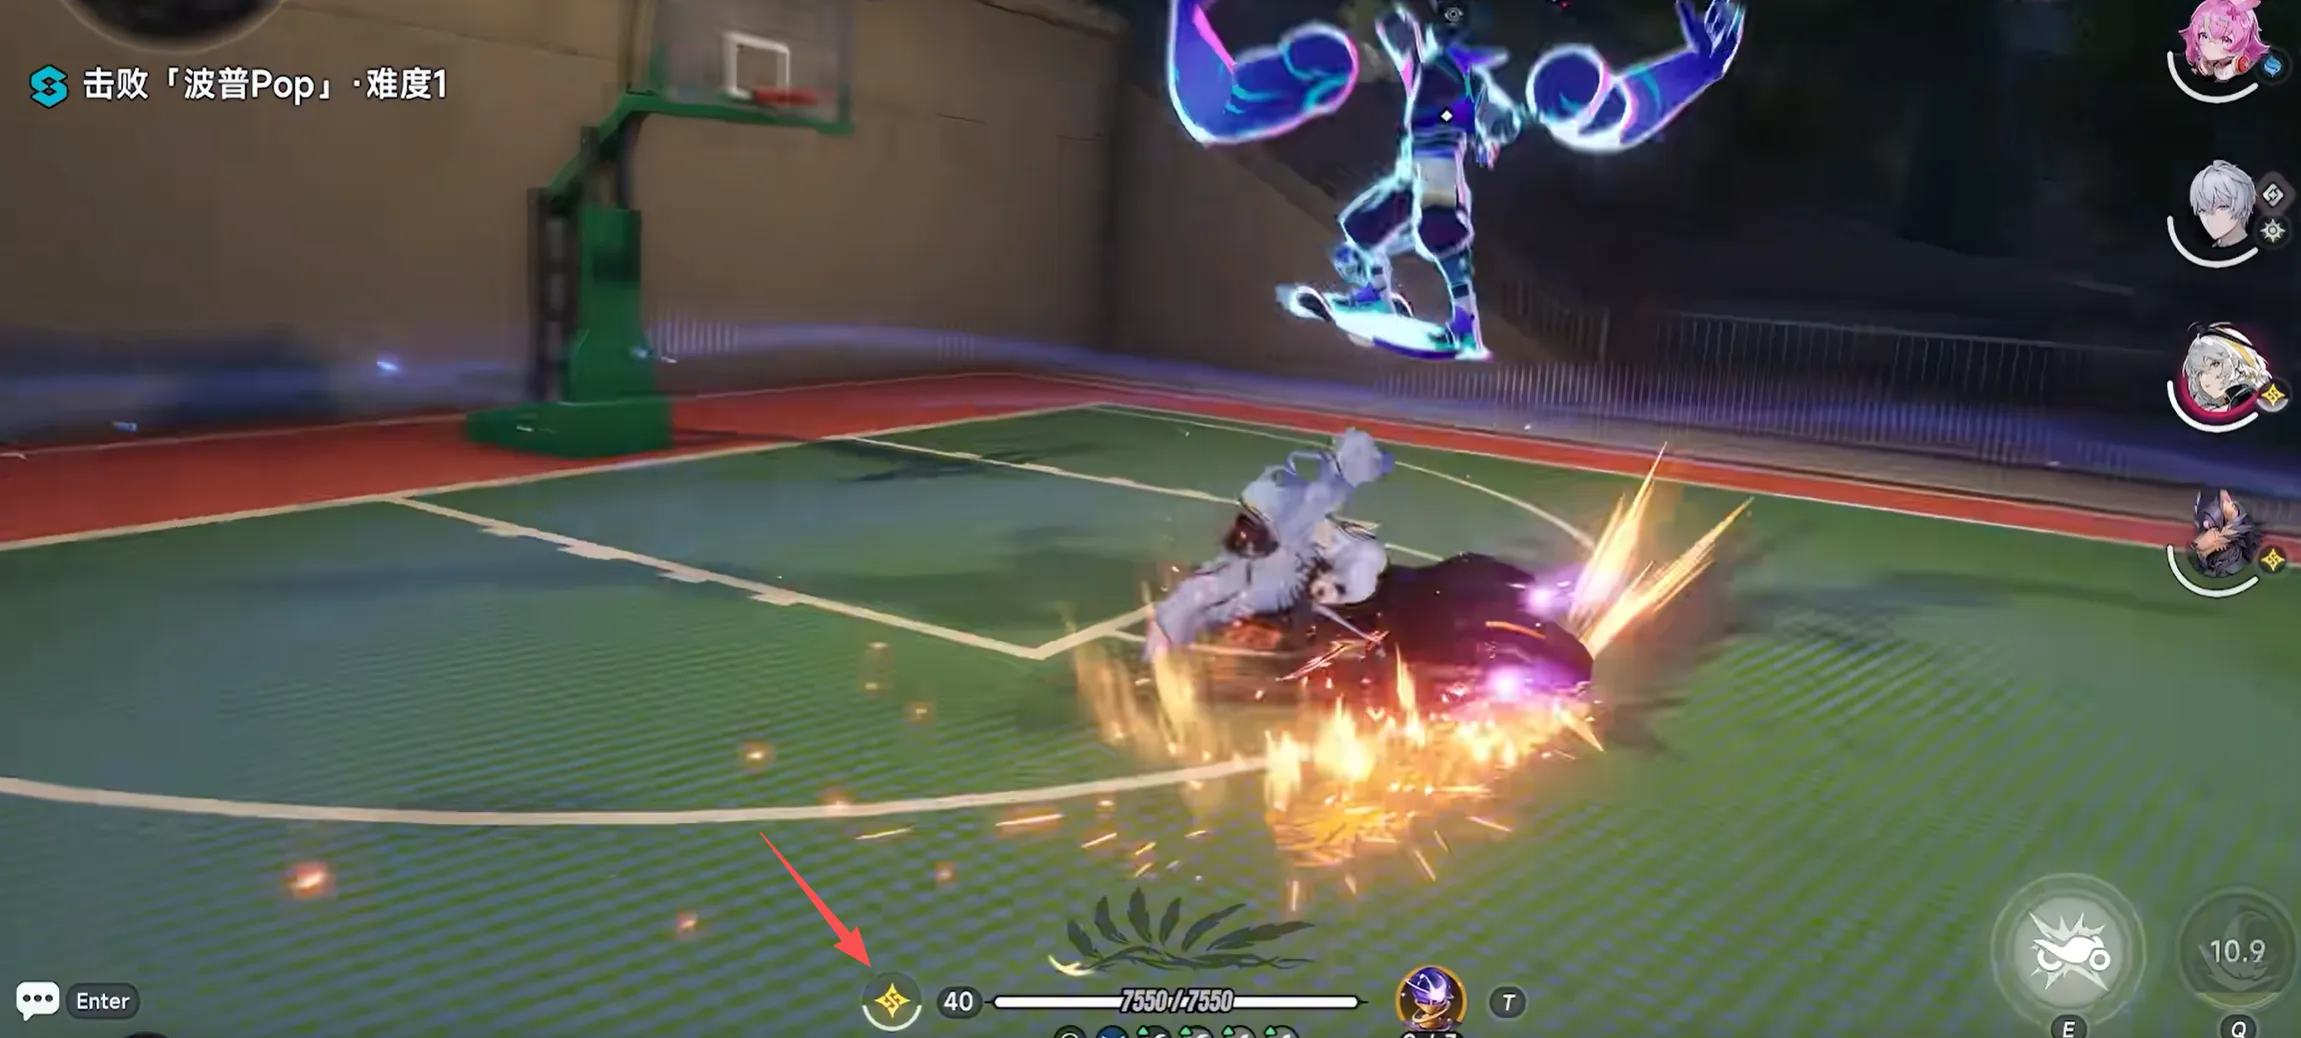
Cycle Value is what keeps the whole combat loop moving, because reactions only feel strong when you can trigger them quickly and consistently. In actual play, this is the part that separates a smooth team from a clunky one. If your team builds Cycle well, rotations stay active and swaps always have purpose. If it does not, the fight slows down hard and your reaction lane loses most of its threat.
- Normal attacks charge the Esper Cycle meter steadily. This is your baseline tempo and the reason basic field time still matters even in a swap-heavy system.
- Skills accelerate that charge. In NTE, skills are not just damage tools; they are also pace-setting tools that move your next reaction window closer.
- Parries are the biggest swing mechanic. A successful parry can instantly fill the meter, which is why good defensive timing directly translates into offensive momentum.
- Cycle Rate determines how fast a character gets there, and once the meter is full, the eligible teammate glows to signal a reaction-ready swap. That cue is not cosmetic — it is the game telling you to convert pressure into payoff instead of staying on dead field time.
The practical takeaway is simple: NTE rewards players who think about meter generation as part of rotation planning. Normals keep the engine running, skills push it faster, parries spike it, and swaps cash it out. That is the rhythm the combat is built around.
A Special Gift Just for You!
LDShop has a special deal for you—copy the exclusive code "LDSHOP5FF" and get a 5%OFF coupon for your next purchase! You can redeem the coupon by pasting the code in your Personal Center page, or redeem it directly at checkout. Please click the button below to top up now!


Discount code validity period: 2026.04.01 00:00:00 - 2026.06.30 23:59:59
Break value, dodge, parry, and punish windows
If Esper Cycle is what gives NTE combat structure, then break and punish windows are what turn that structure into real damage. This part of the system decides whether your team is actually converting pressure efficiently or just throwing skills into the enemy at random. Good players are not only reacting to danger here — they are actively building toward the exact moment when the enemy becomes vulnerable and the whole team can cash out.
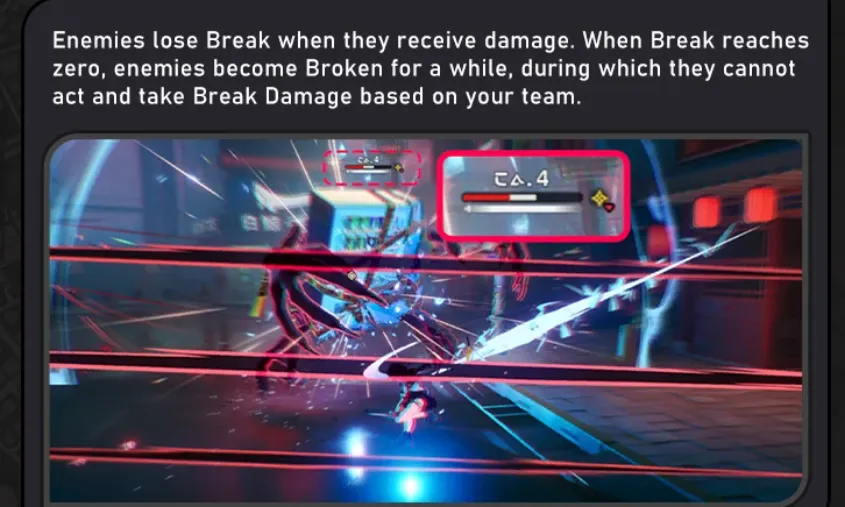
- Landing hits and successful dodges build the enemy’s stagger bar. You are not waiting passively for a weakness phase to happen — you are actively working toward it through offense and clean defense.
- Once the stagger bar fills, the enemy enters a vulnerable state and takes significantly more damage. That is your actual burst window, and it is where your heaviest skills, ultimates, and reaction payoff should be concentrated.
- Parry is your tempo-positive defense. It stops pressure and also feeds Cycle generation, so a good parry often leads directly into your next reaction setup.
- Dodge is your stability tool. If the positioning is bad, the animation is awkward, or the timing is not clean enough for a parry, dodge keeps the rotation alive without forcing a mistake.
Team-building routes
The cleanest NTE teams are built around two- or three-step lanes, not random rainbow lineups.

A Cosmos–Anima core is one of the easiest places to start because Blossom gives immediate extra pressure and makes the team feel active even in simpler rotations. It is a very natural route for players who want stable tempo and visible reaction payoff.
An Incantation–Chaos–Psyche shell is one of the best examples of layered payoff. Scorch gives you ongoing damage, Nova gives delayed burst, and when both overlap you get Discord to help rip through break. This kind of team has real mid-fight momentum because every part of the lane feeds the next part.
A Lakshana–Cosmos–Anima route is more control-oriented and usually feels smoother than people expect. Remora slows the enemy, Blossom keeps pressure on the field, and Charge converts that chain into ultimate energy. It is not just a “safe” lane; it is also a very efficient one because control and energy generation are both built into the same structure.
The main rule across all of these routes is the same: build a lane first, then use the last slot to fix what that lane lacks. If you need safety, add it. If you need stronger reaction enhancement, add it. If you need better burst conversion, add it. The fourth slot should always solve a problem, never just fill space.
Conclusion
In the end, good NTE teams are built around flow. If your reaction lane is solid, your swaps are timed well, and your burst is saved for the right window, the whole combat system starts to make a lot more sense. For anyone planning ahead for launch, staying updated on the newest NTE guides, banner news, and resource planning will make things a lot easier. And if you are looking to top up before jumping in, LDShop’s NTE Top-up is also worth checking out for a more budget-friendly start.


 TOP UP NTE WITH DISCOUNT NOW
Henry Smith Experienced Game Editor
Greetings! I’m a veteran game editor and strategy guide creator with over a decade of experience exploring the worlds of action RPGs and gacha adventures. From the elemental battlegrounds of Genshin Impact, to the cosmic journeys of Honkai: Star Rail, and the fast-paced combat of Wuthering Waves, I dive deep into the mechanics, meta, and moments that define each game. What can you expect? In-depth guides, expert commentary, and practical insights to sharpen your gameplay and expand your understanding of the titles you love.
