


Hey everyone! Ready to tackle one of the creepiest Anomaly Commissions in Neverness to Everness? The Nameless Hospital's "Nightmare-Bound" quest has four different endings, and LDShop is going to show you exactly how to unlock every single one.
Rewards Summary
First completion of ANY ending gives you:
- Staff Elevator Card
- 450 Hunter Level EXP
- 60 Annulith
- 20,000 Fons
- 160 Silver Carrota
- 40 U-00NE
- 10,000 Beetle Coin
- 6 Anomaly Material Selection Box I
Bonus per ending (first time only): 5,000 Fons and 50 Annulith
Quick Start
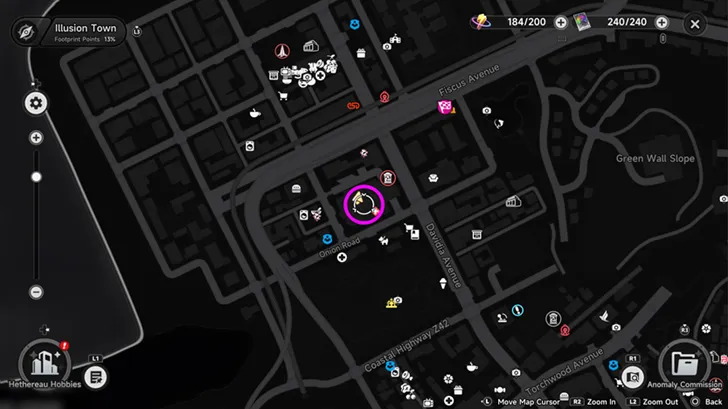
- Location: Onion Road hospital back entrance (teleport to phone booth)
- Bandaged Monster patrols : getting caught just resets you to last save point .
- Multiplayer supported: bring friends if horror isn't your thing
The steps for clearing 4 endings
Ending 1: "The Price of Betrayal"
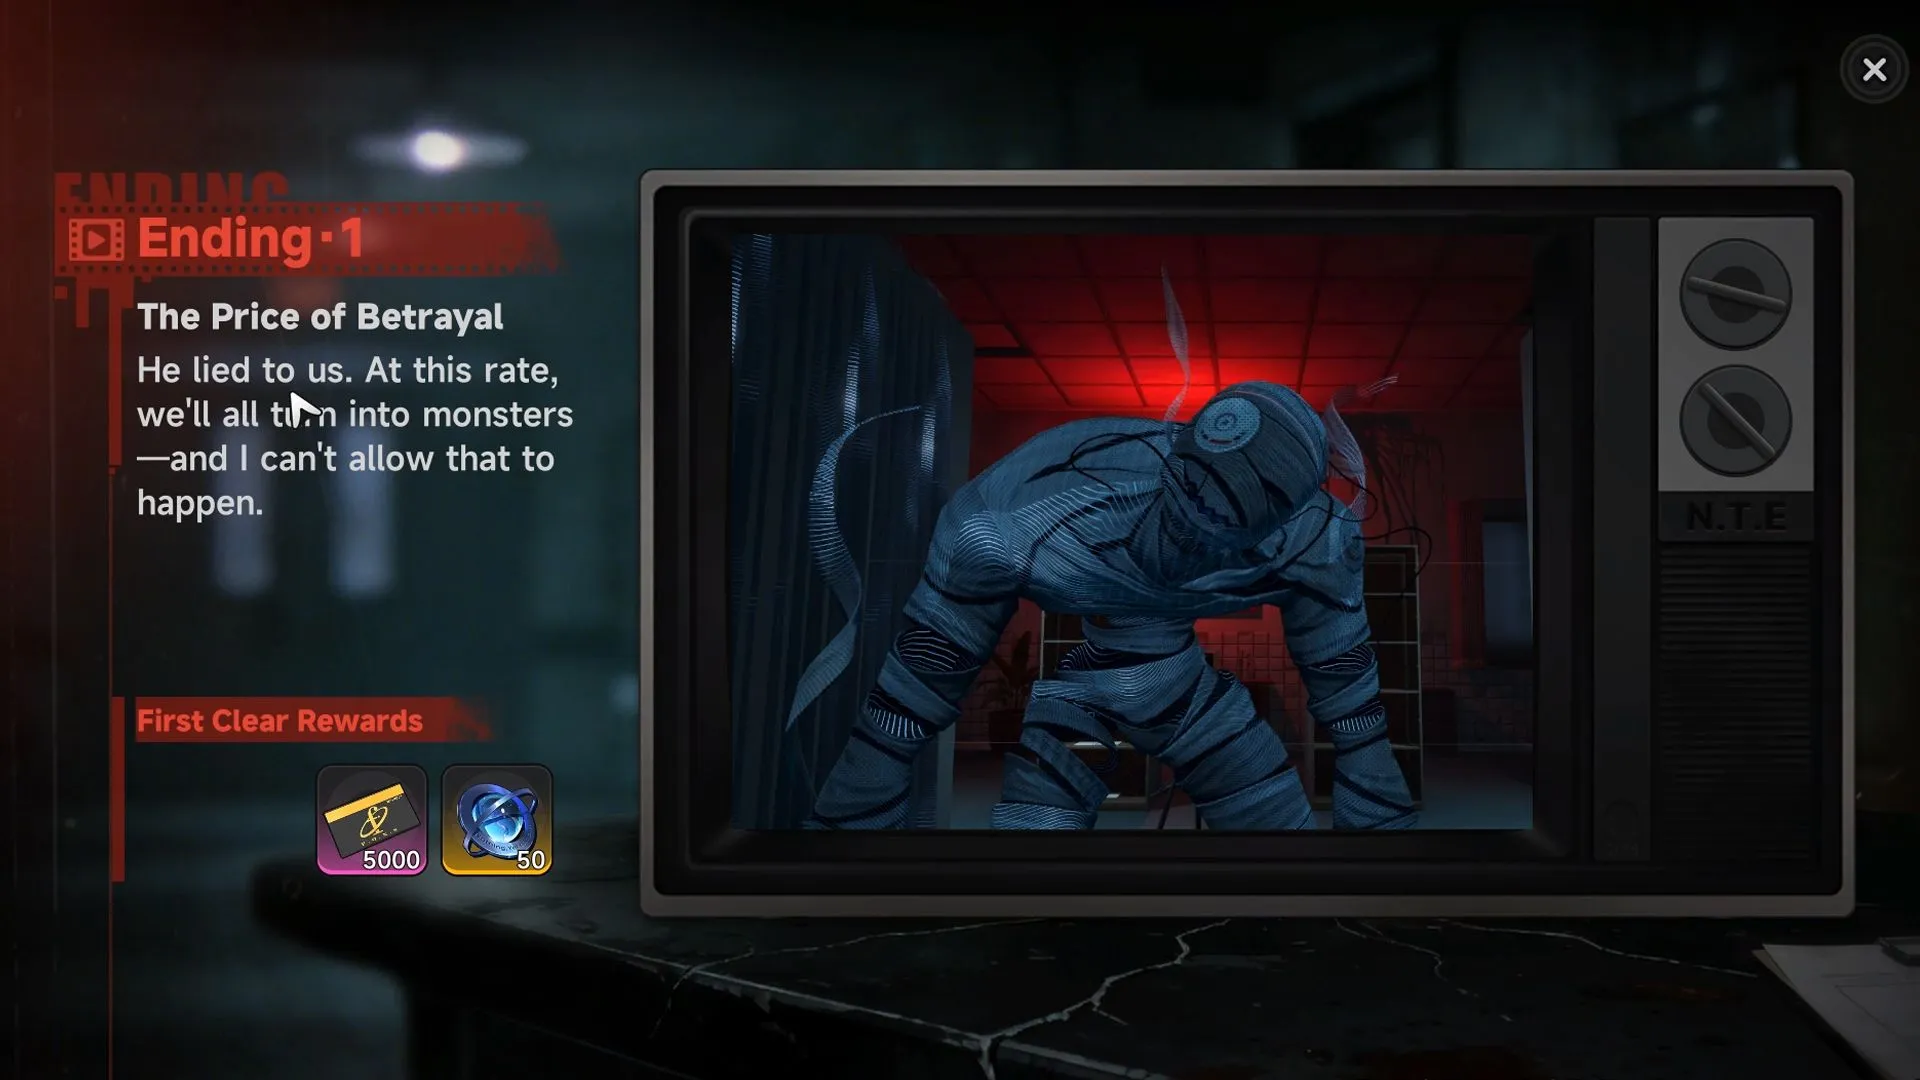
Ending Condition: Collect any 3 Anomaly Disorder Clues (I, II, III recommended)
Step 1: Enter the Nightmare
Find the patient facing the wall in the stairwell. Talk to them, close your eyes, and enter.
Step 2: Grab Anomaly Disorder Clue I
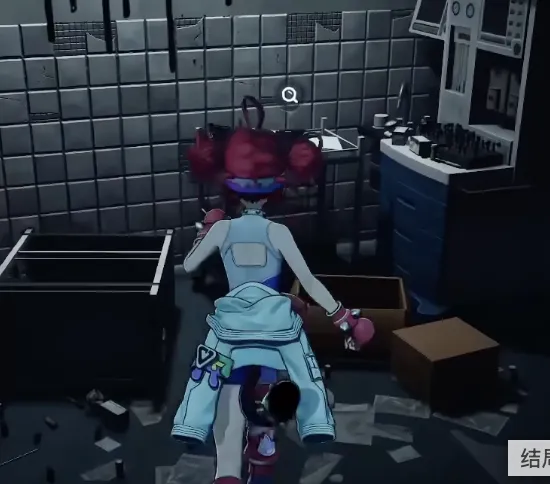
From your spawn point, look toward the front-right area. There's a green-tinted counter with a yellow computer. Investigate it for your first clue.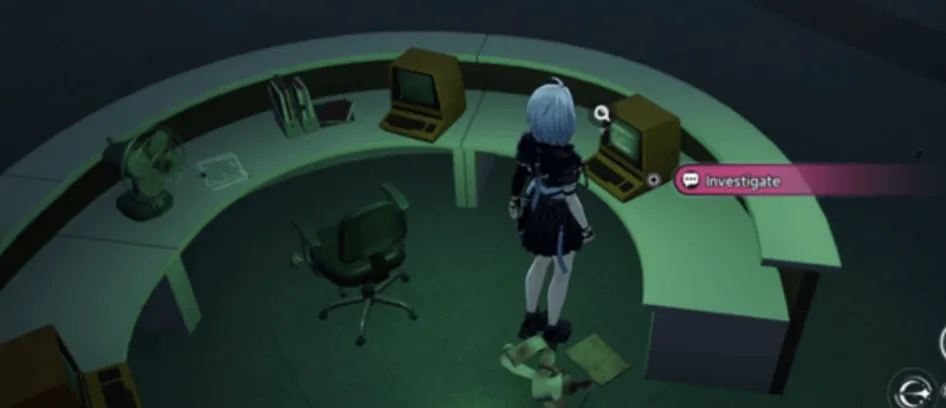
Step 3: Get Keychain: 1F
Turn left from the computer and go through the red doorway. Keep going until you hit a crossroads with a green door. Turn right at the red light on the floor. Follow the path to a large waiting area with vending machines. Behind the counter, you'll find a keychain on the desk.
Step 4: Collect Anomaly Disorder Clue II
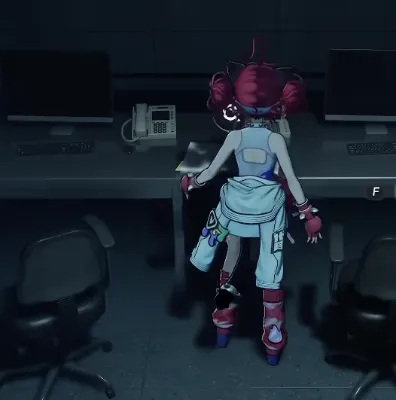
Head to the far left of the waiting hall and enter the room at the leftmost end. Find another yellow computer inside.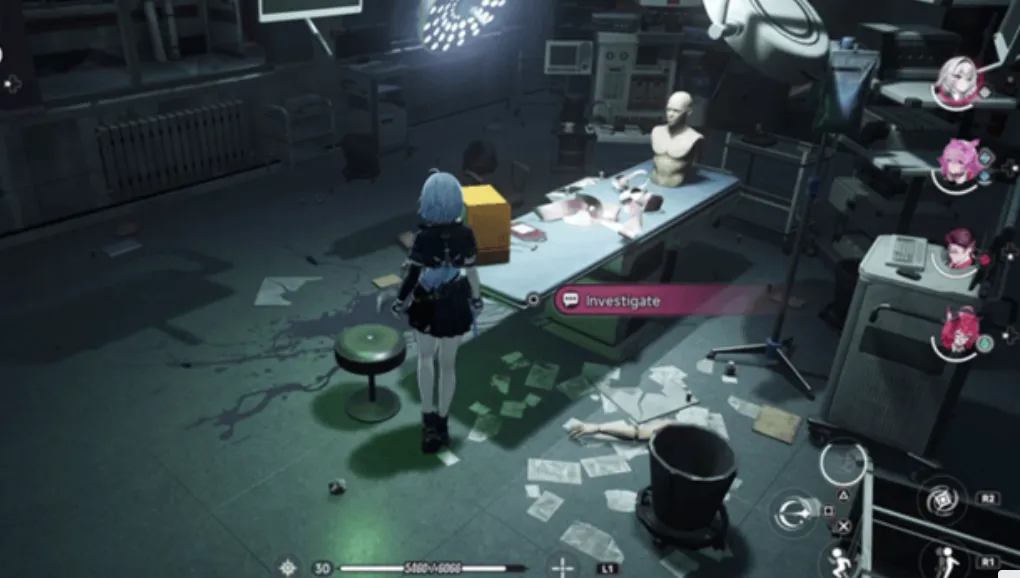
Step 5: Collect Anomaly Disorder Clue III
Return to the waiting area and go straight into the corridor ahead. Take the first right and enter the room there. Grab the clue from the yellow computer - but watch out! A monster will spawn after this one.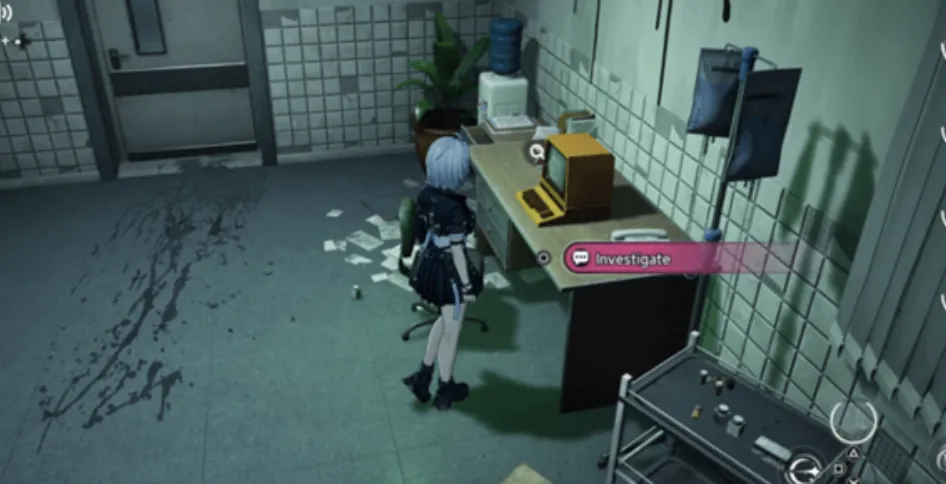
Step 6: Escape the Monster
After grabbing Clue III, bolt out through the left door. Turn right immediately, go all the way down, then left through the door. Turn left again and exit through the door ahead. Keep moving forward until you see a door on your left.
Step 7: Get Spare Key: 1F
Inside this room, look for a glowing cabinet on the left. Grab the spare key, then destroy the trash bags blocking the door nearby.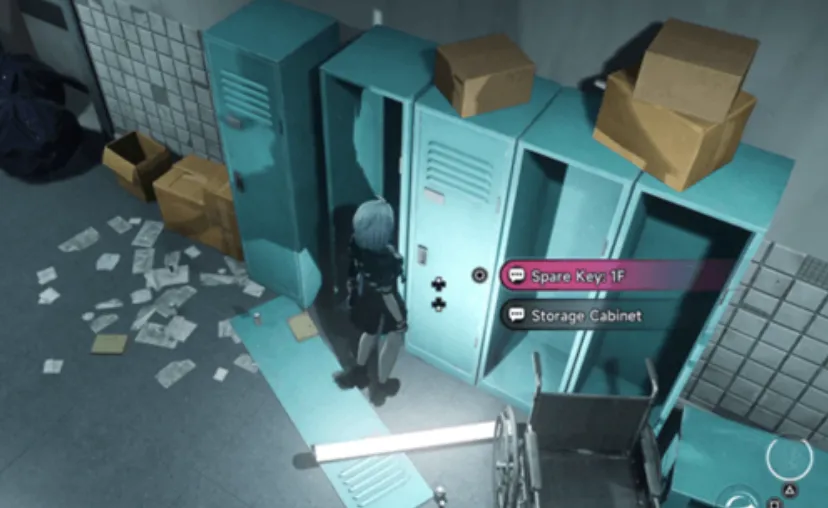
Step 8: Reach Floor 2
Exit and look for a door on your left-front. Take the stairs up to the second floor.
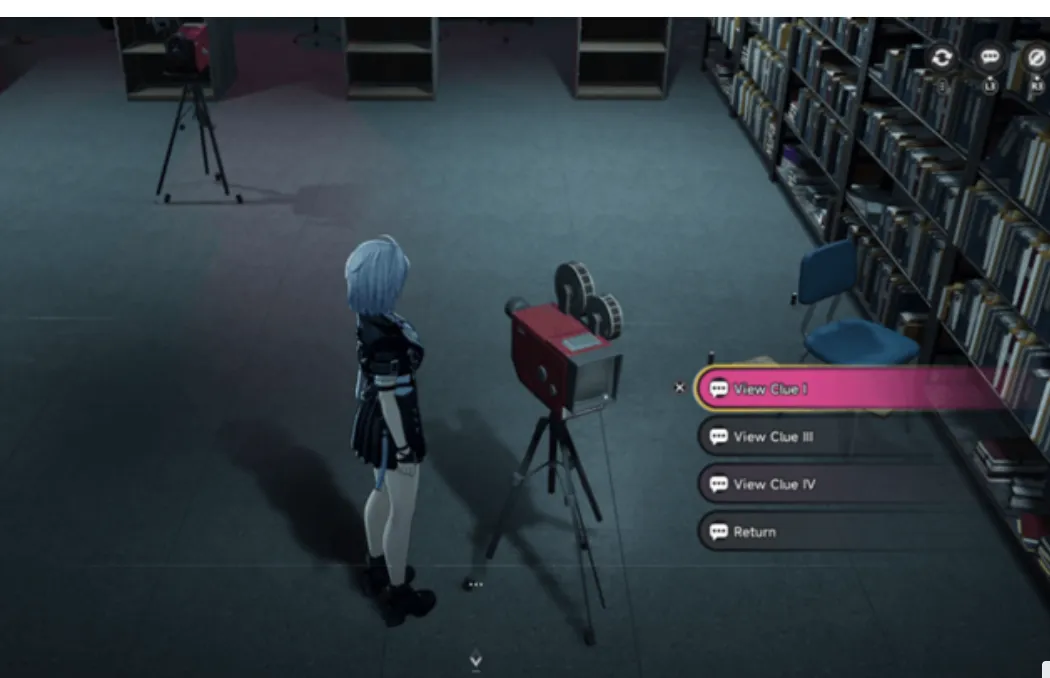
Step 9: Submit Your Clues
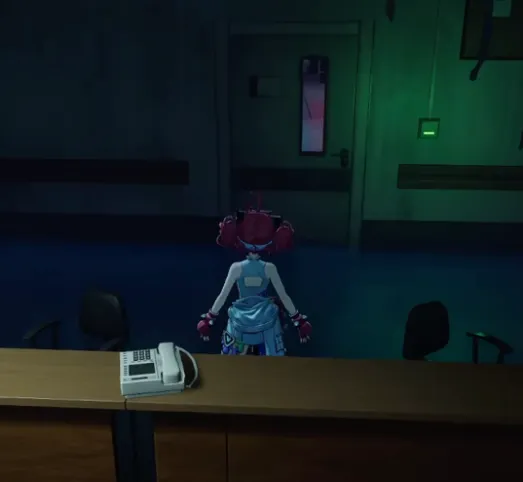
On Floor 2, enter the reception area and go behind the counter. There's a room with three projectors. Insert your three Anomaly Disorder clues and watch the ending.
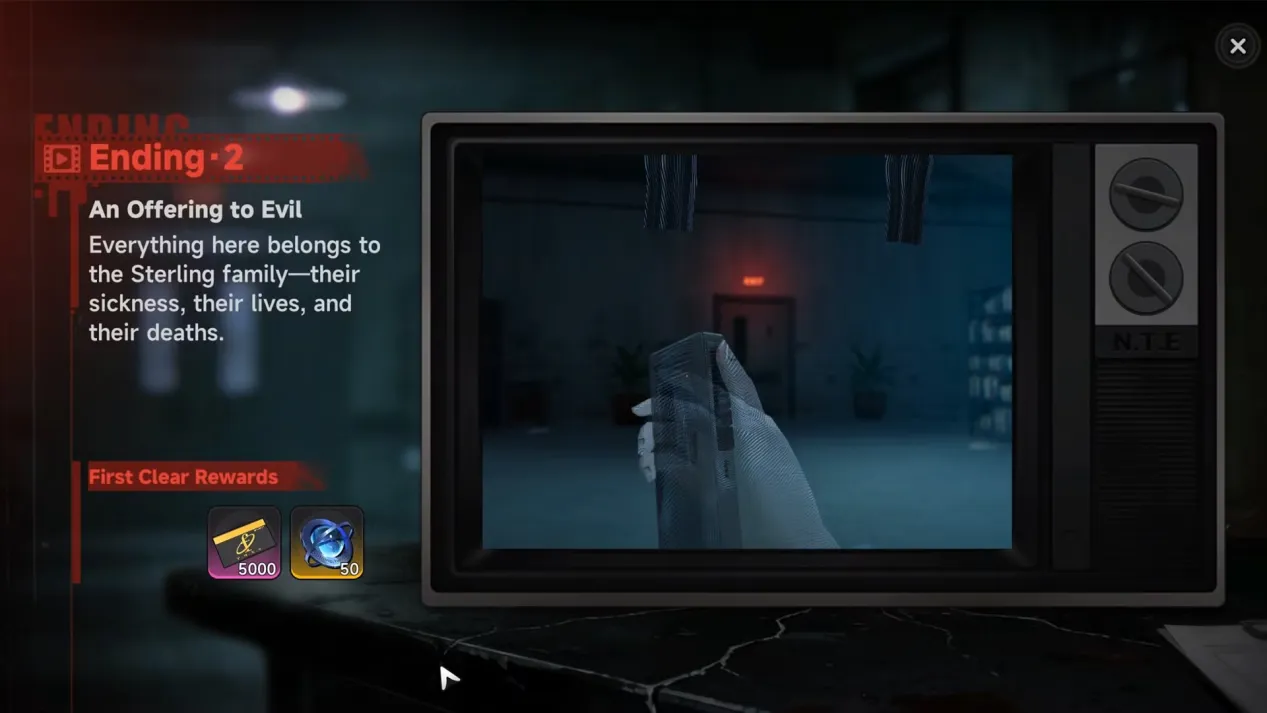
Ending 2: "An Offering to Evil"
For this one, you'll need the Staff Elevator Card from Ending 1. The elevator makes things much faster.
Ending Condition: Collect any 3 Surveillance Record Clues
Step 1: Enter the Nightmare (same as before)
Step 2: Grab Surveillance Record Clue I
Instead of going to the green counter, head left from spawn and follow the corridor. Take your first right, then look for a room on your right before the fork. Inside, weave through the obstacles and find the document in the back.
Step 3: Take the Elevator to Floor 2
Head back to the main area and use the elevator (now available after beating Ending 1).
Step 4: Collect Surveillance Record Clue II
Exit the elevator and go right into the large reception area. With the counter behind you, take the far-left corridor. Turn left at the end, and enter the first room on your right after the bathroom. The clue is on the desk.
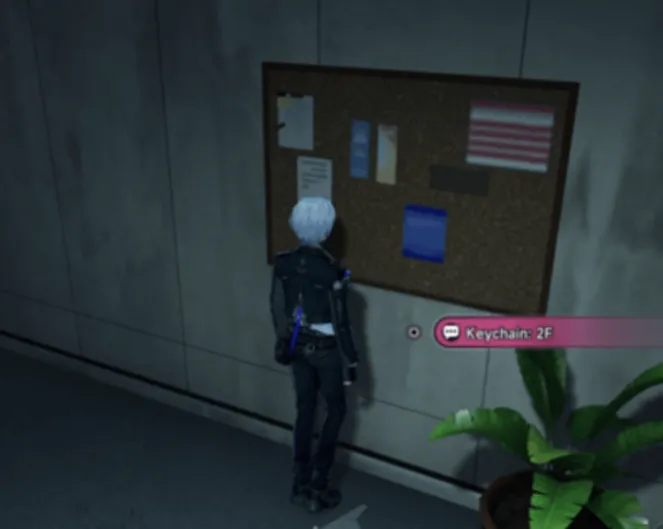
Step 5: Collect Surveillance Record Clue III
Leave that room, turn slightly right, and enter the next room. Look for a corkboard on the wall.

Step 6: Submit Your Clues
Return to the reception area, go behind the counter, and feed the three Surveillance Record clues into the projectors.


Ending 3: "Medical Abomination"
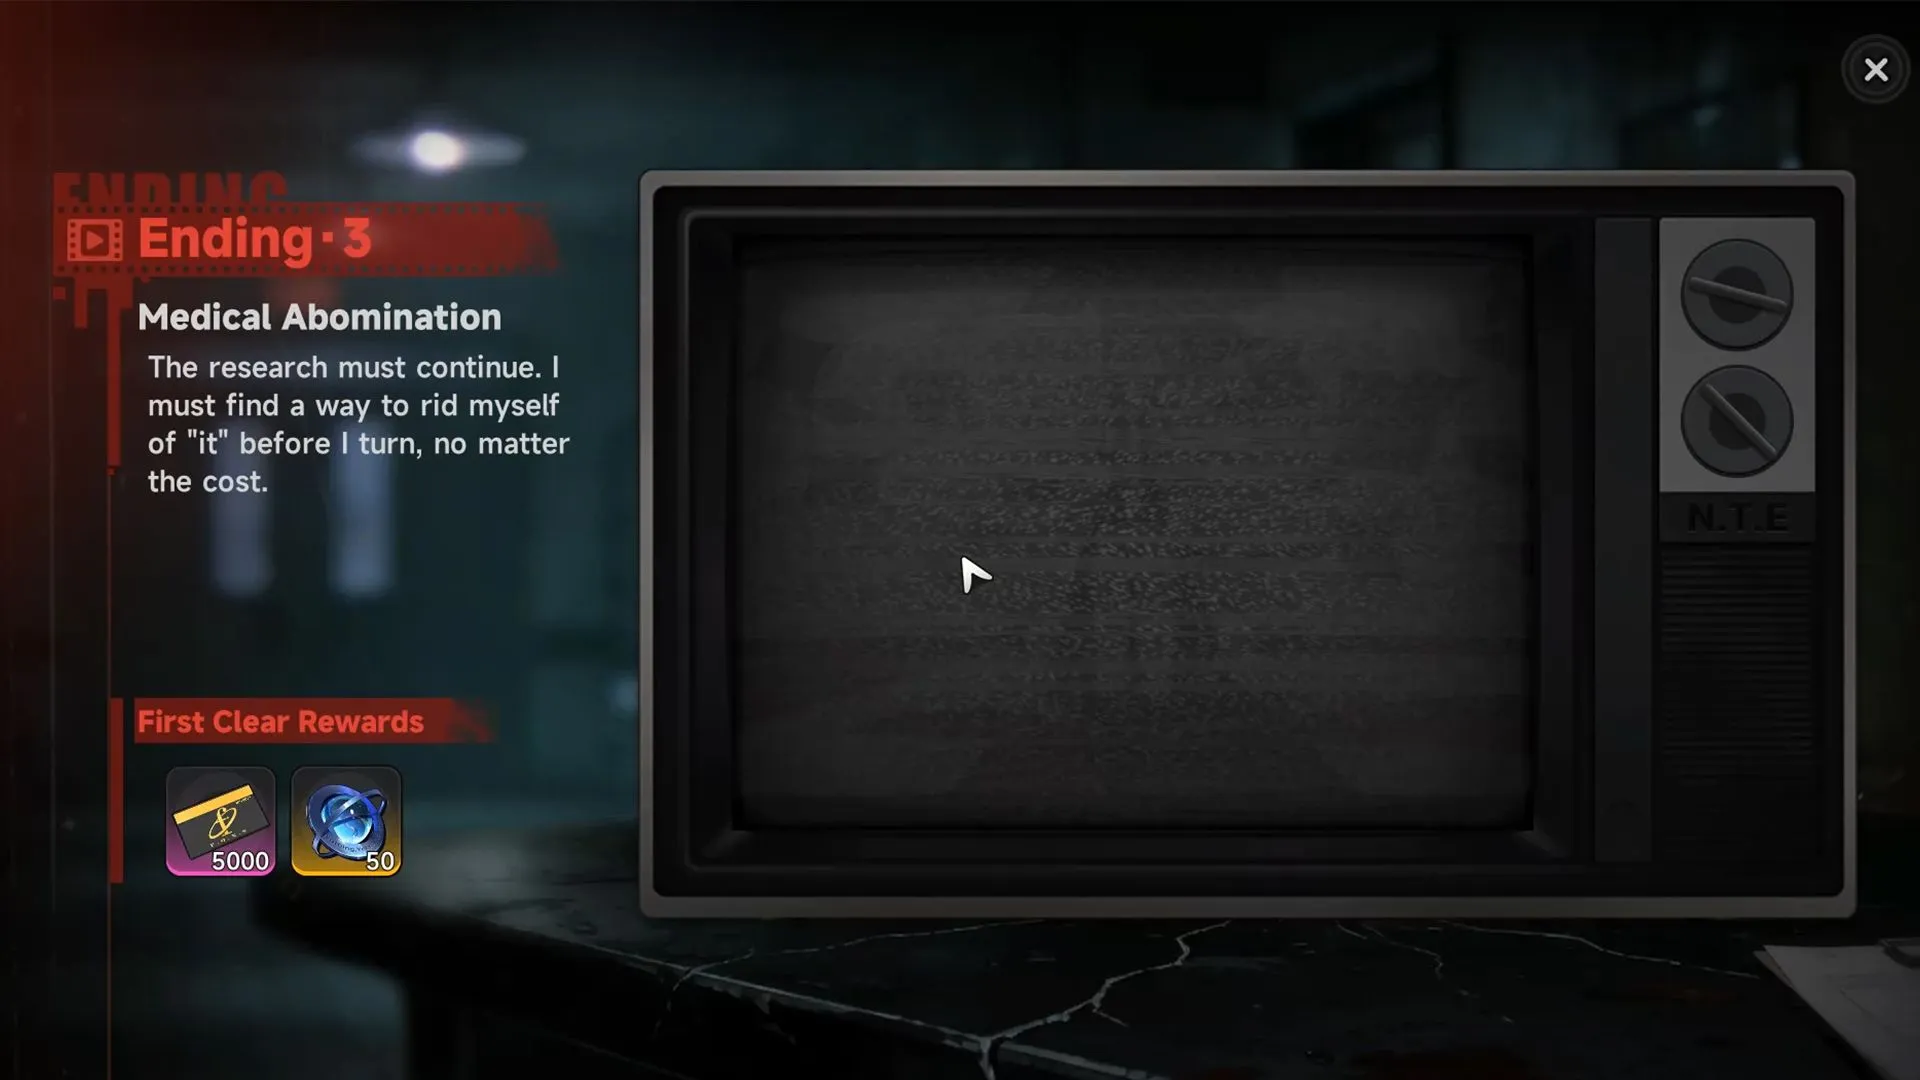
Time to explore the third floor. Elevator is mandatory here.
Ending Condition: Collect any 3 Anomaly Experiment Clues
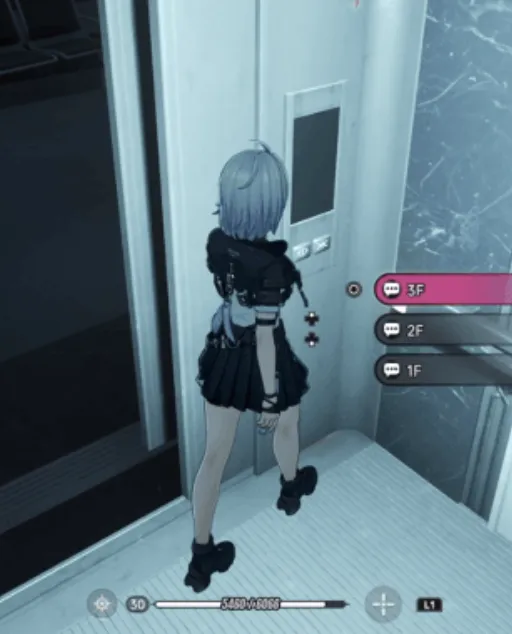
Step 1: Take the Elevator to Floor 3
Go straight to the elevator and hit floor 3.
Step 2: Get Key - North District
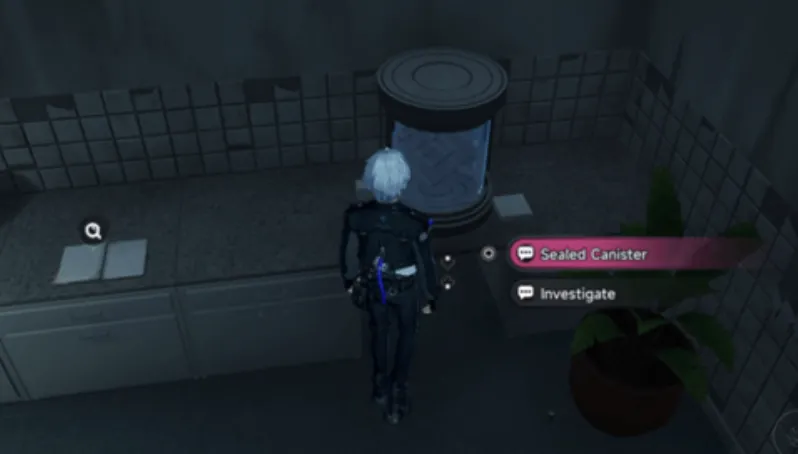
Step off the elevator and look for a container on your left. Investigate it to get the key.
Step 3: Collect Anomaly Experiment Clue II
Open the door at the end of the corridor (left side). Go straight through, exit the door on your right, and enter the next room on your right. The clue is on the counter.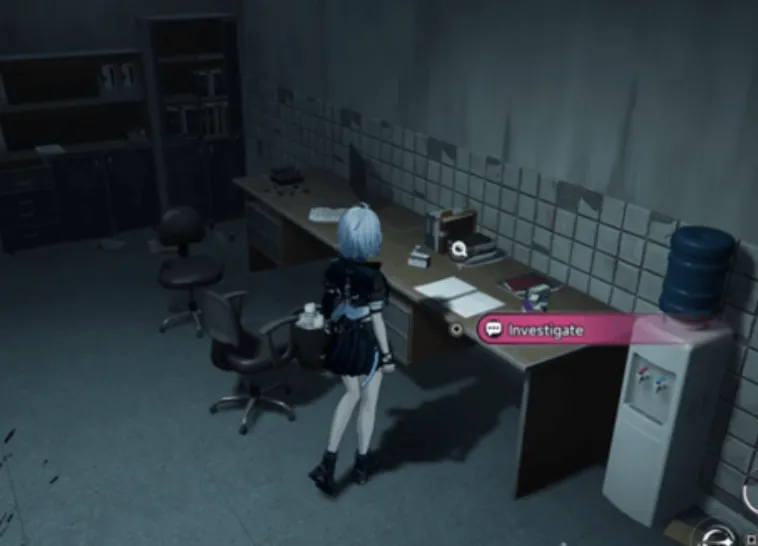
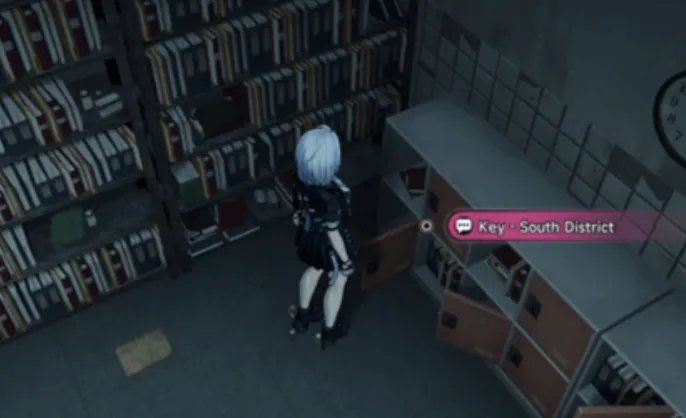
Step 4: Get Key - South District
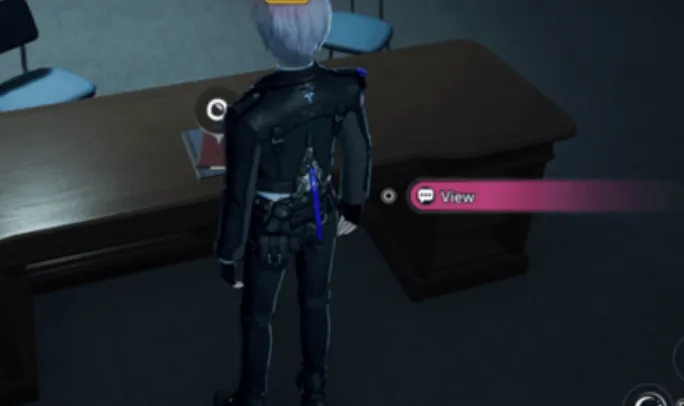
Leave and re-enter the room on your left. Go to the left side of that room to reach the elevator corridor again. Look for a clock on the left wall - the key is inside.
Step 5: Get Keychain - Office
Facing the clock, open the door on your right. Take the right fork at the split and enter the room at the dead end. Open the left side of the shelf ahead. Work fast - this room kicks you out if you linger too long.
Step 6: Collect Anomaly Experiment Clue IV
Exit to the corridor and open the door straight ahead. Take the right path and enter the first room on your right. The clue is on the desk.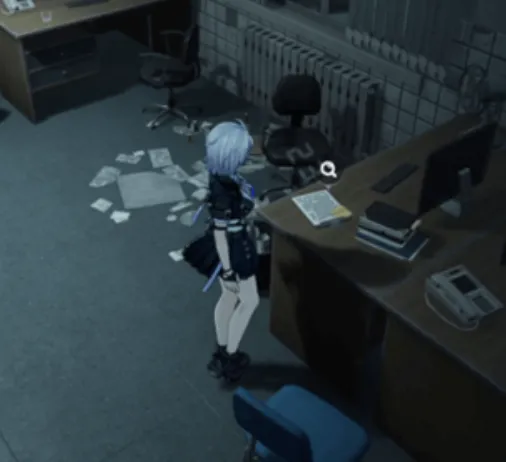
Step 7: Collect Anomaly Experiment Clue V
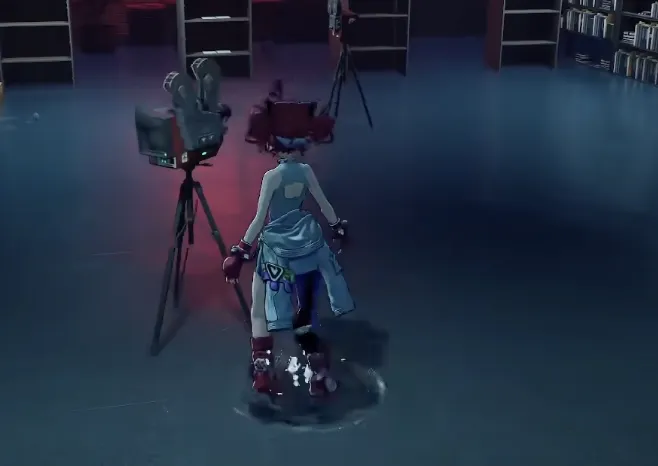
From that desk, go left through the door. Open the door at the back-left to reach the corridor, then open the door ahead. In this large room, check the bed for the clue. Enemies will spawn, so clear them out.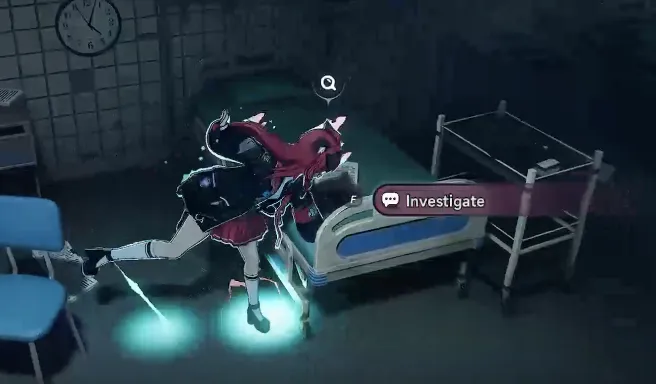
Step 8: Return to Floor 2
Make your way back to the elevator and head down to floor 2.
Step 9: Submit Your Clues
Insert Anomaly Experiment Clues II, IV, and V into the projectors.
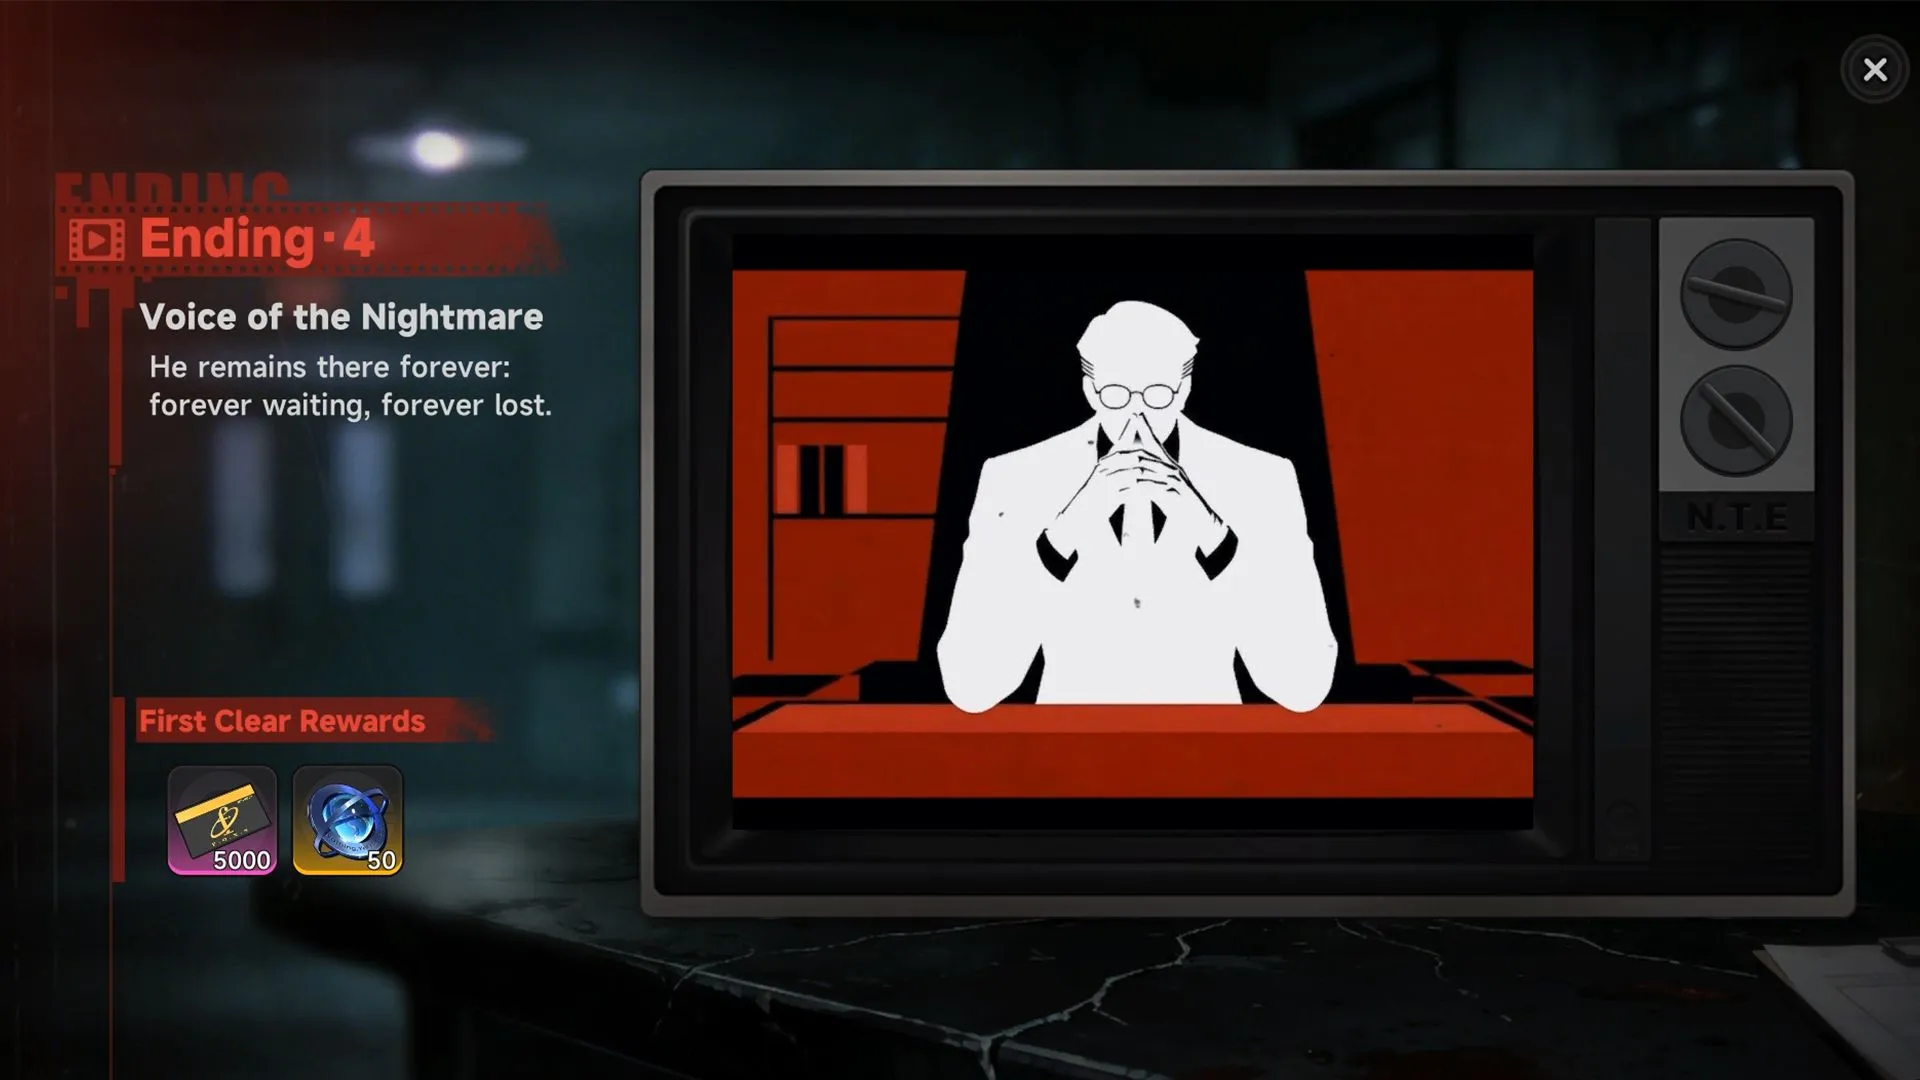
Ending 4: "Voice of the Nightmare"
This is the complex one. You'll need either the male protagonist, Aurelia, or Nanally for a vertical movement trick. Let me break it down.
Ending Condition: Collect V???'s Notes + Anomaly Experiment Clue III + Anomaly Experiment Clue VI
- Keychain: 2F :Floor 2 → back-left corridor → left at dead end → room past bathroom → corkboard (turn off lights if not flooded)
- Wall-hole room :Same corridor → right fork → second right door → go through hole
- Reach upper floor :Use high jump or male protagonist skill from high object
- Jigsaw IV :Upper floor container on shelf
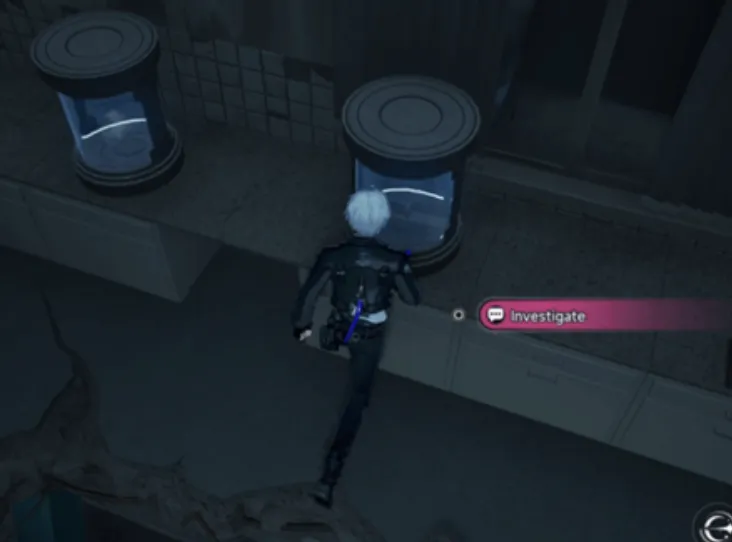
- Elevator to Floor 3 → get Key - North District (container near elevator)

- Assemble Jigsaw IV:Left door at corridor end → central table → reveals hidden room
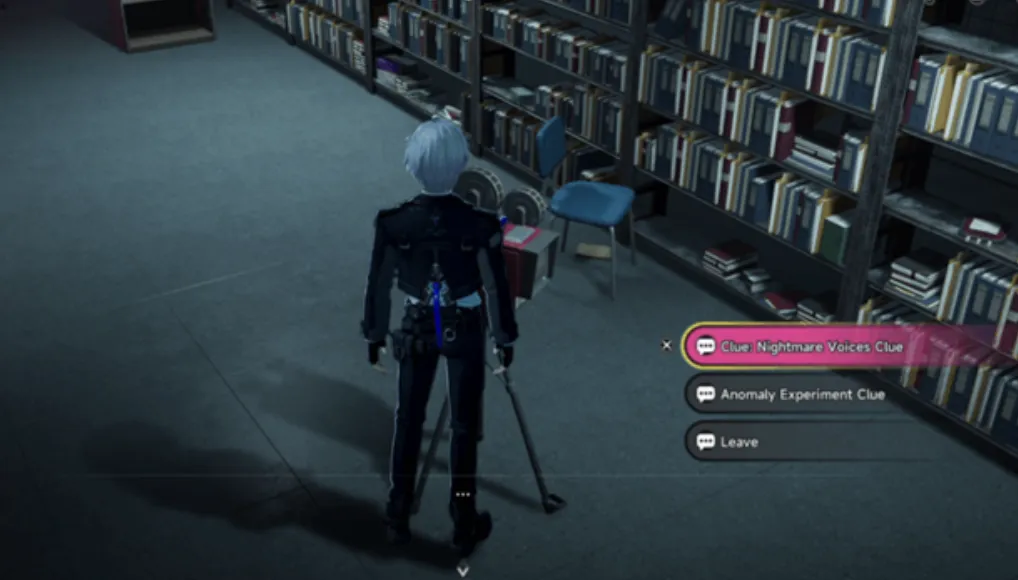
- V???'s Notes – Hidden room → right wall vanishes → read desk note 4 times
- Jigsaw I : Exit → ahead door → right room → top shelf container
- Assemble Jigsaw I :Back to table → defeat 4 enemies → new corridor opens
- Clue III:New corridor → right at dead end → right door → desk
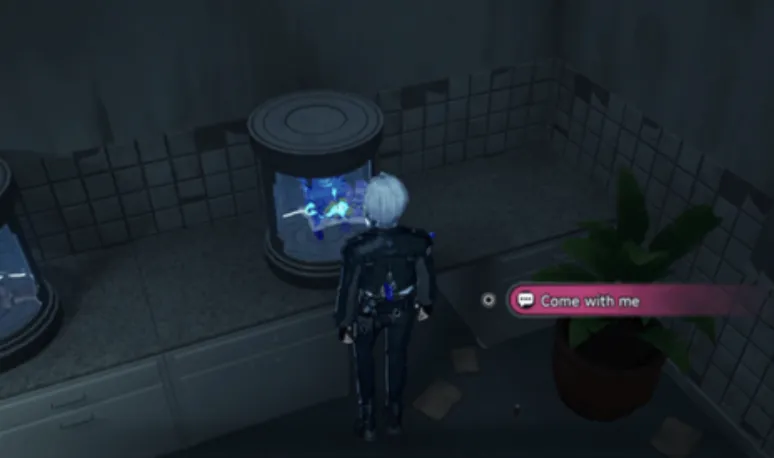
- Mysty:Leave → opposite door → rightmost container → "Come with me"
- Jigsaw II : Carry Mysty to leftmost container in another room → investigate
- Assemble Jigsaw II : Back to table → second hidden room appears
- Switch puzzle :Find room with vending-machine enemy → between bookshelves → pattern: short ON/OFF, long ON/OFF, long ON/OFF, short ON/OFF → bookshelf rotates
- Clue VI : Behind rotated shelf → yellow PC on back shelf

- Submit:Floor 2 projectors → insert: V???'s Notes + Clue III + Clue VI
Conclusion
This guide delivered all four Nameless Hospital endings with clear conditions and simplified steps. Now go claim those rewards and complete your collection. And if you need extra in-game currency to summon your favorite characters, LDShop can provide recommended game top-up platform offers safe, affordable, and fast top-up services. Get the characters you want without breaking the bank. Top up with confidence and enjoy the game!


 TOP UP WITH DISCOUNT NOW
Sylune Experienced Game Editor
Sylune is a senior game editor at LDShop.gg, specializing in in-depth coverage of RPG and strategy games. With a strong focus on titles like Wuthering Waves, Honkai: Star Rail and Whiteout Survival, she combines industry insight with firsthand player experience to deliver clear, informative, and actionable content. Her work is dedicated to helping gamers make smarter decisions—whether it’s understanding new updates or optimizing their in-game strategy.
