


In Neverness to Everness, Fons is everything. Houses, vehicles, furniture, shop upgrades, cosmetics – all of it drains your wallet fast. You can grind dailies, farm enemies, or pray for lucky drops. Or you can do what smart players do: collect the free Fons hidden across every district. This guide walks you through every valuable loot spot in New Harland, Miguel District, and Illusion Town – no guesswork, no wasted time.
Safe Types: What You Need to Know
Before you start looting, understand the two safe types:
|
Type |
Respawn |
Notes |
|
Big Safe |
One-time only |
Open once and it's gone forever |
|
Small Safe |
Every Monday |
Mark these on your map! |
Pro tip: The moment you find a small safe, drop a map marker. Come back every Monday for easy Fons.
District 1: New Harland District
Safe 1 — Ping Paw's Bank HQ
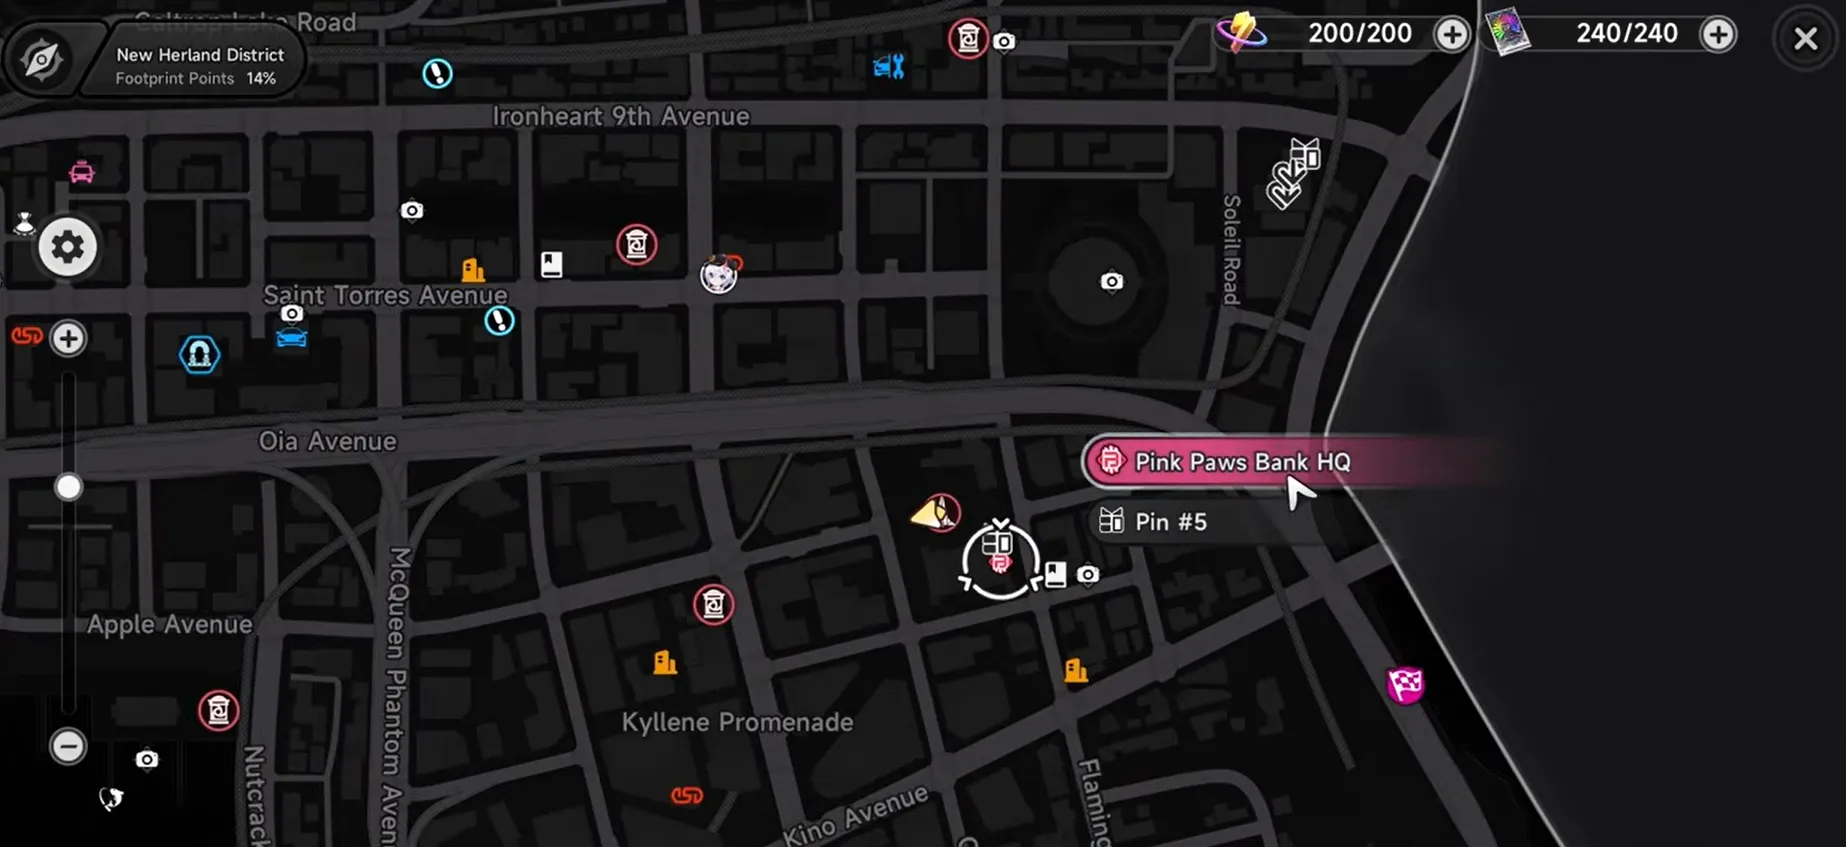
Type: One-time only
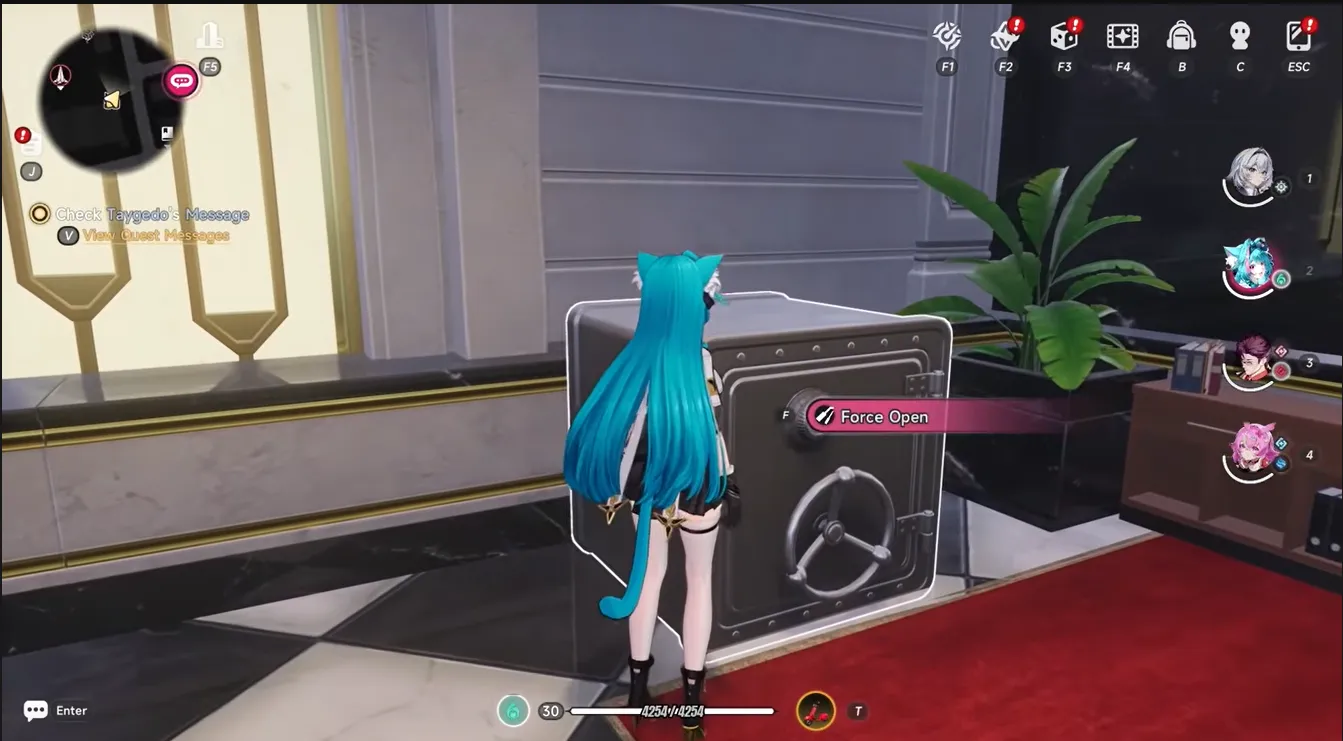
From the nearest waypoint, head right → go straight → climb the fence → turn right → enter the bank building. Take the red stairs up, go left, and enter the room at the end. The safe is waiting for you inside.
Safe 2 — Midas Arc Workshop
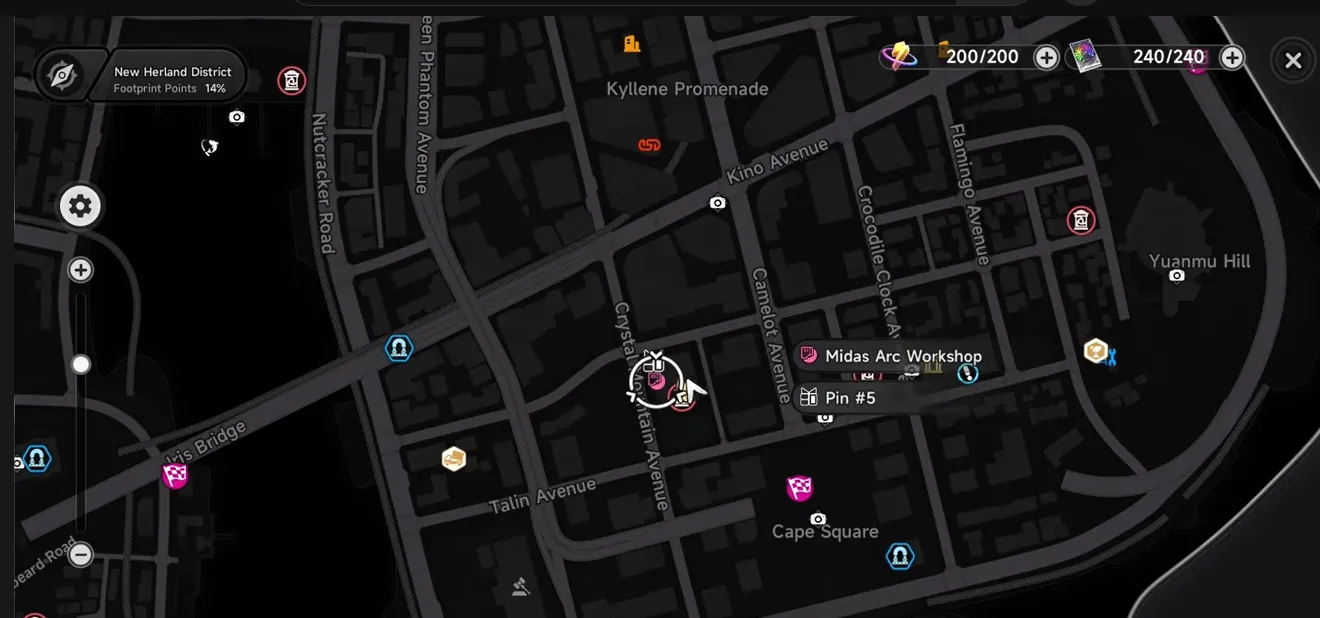
Type: One-time only
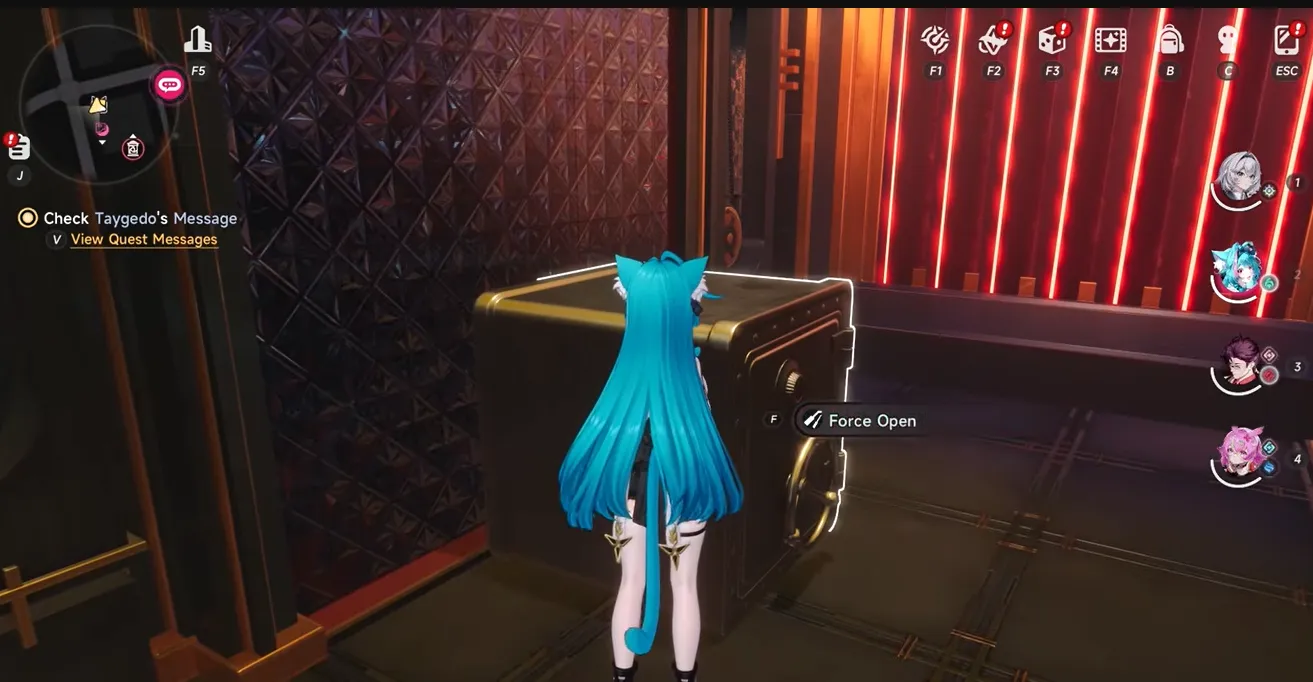
Use the teleport waypoint closest to the workshop (or drive there if you haven't unlocked it). Face northwest and fall down toward the workshop entrance. Enter through the front, take the left staircase, and you'll spot the safe immediately on your left.
District 2: Miguel District
This district is the richest in terms of safe count — but also the most combat-heavy. Bring a solid loadout.
Construction Site (Multiple Safes)
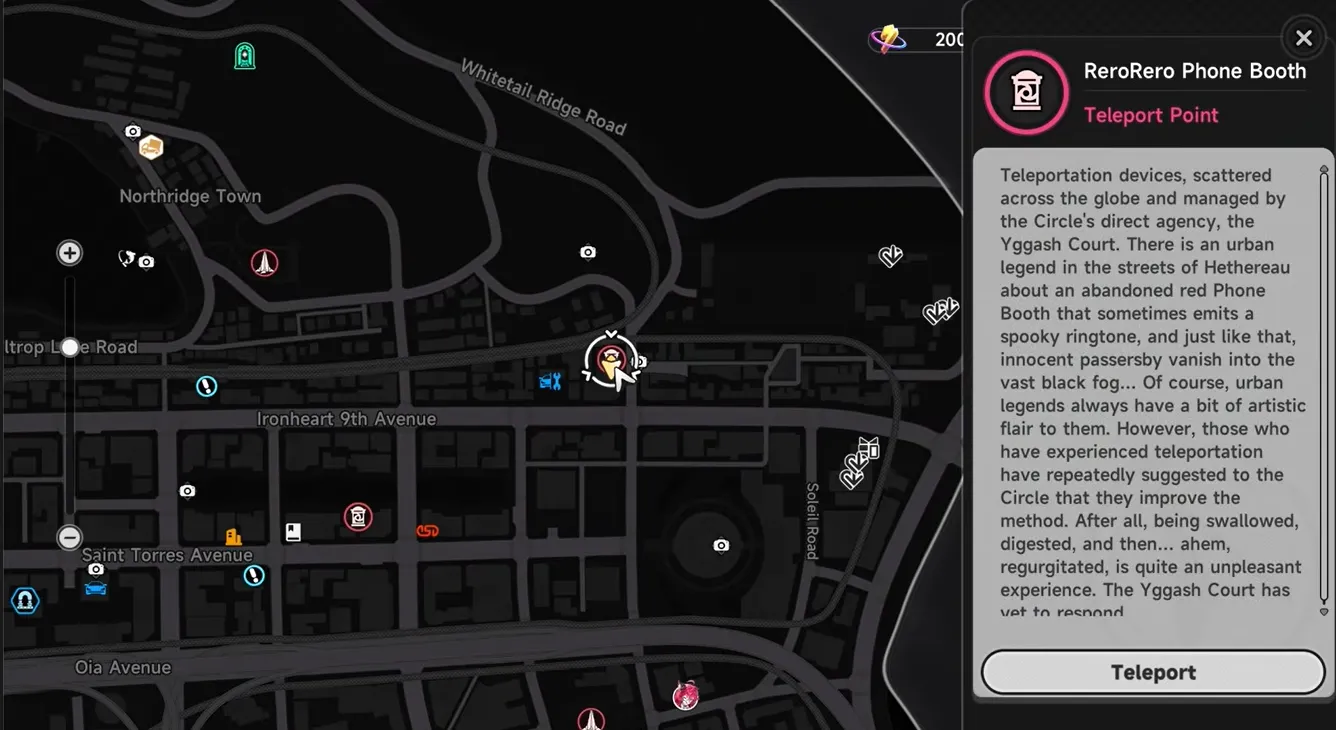
Getting there: Use the nearest waypoint, turn left, drive south, then left again. The construction site will appear on your right.
Safe 3 — 2nd Floor
Type: One-time only
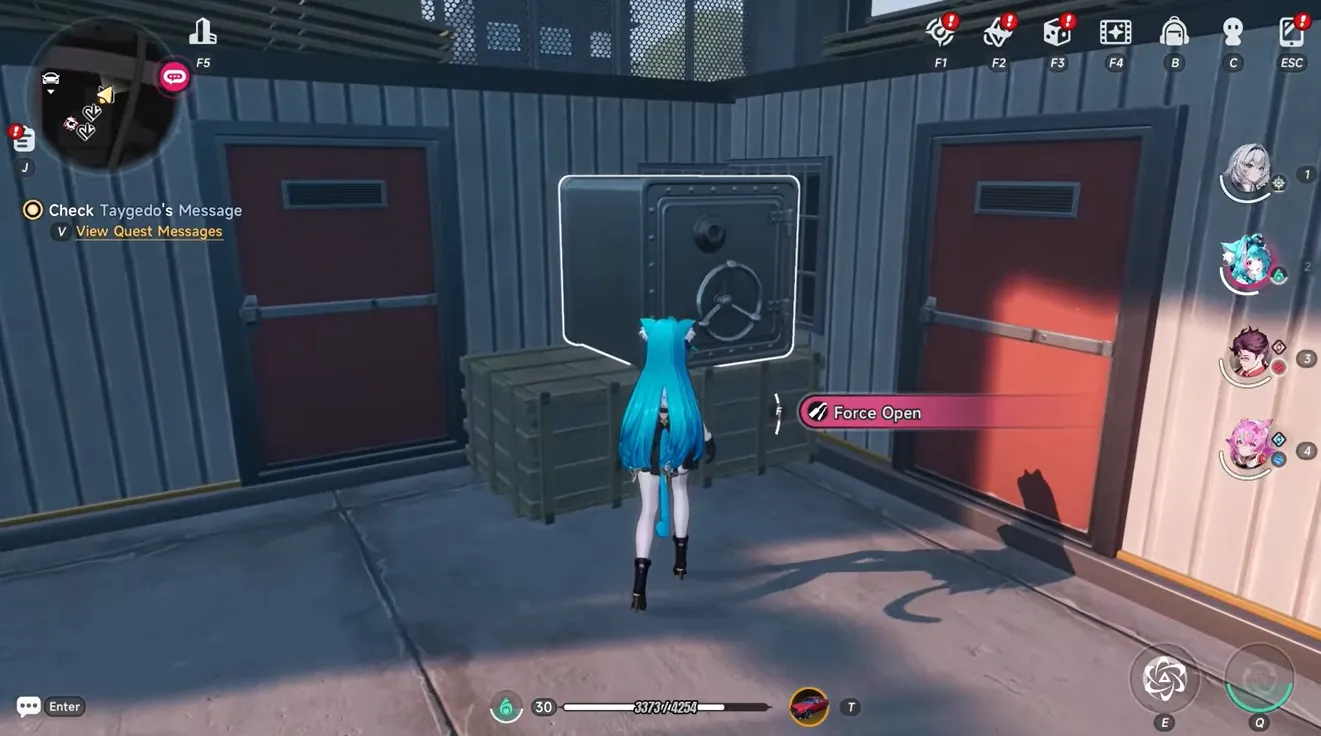
Ignore enemies on the ground floor. Head straight to the elevator → 2nd floor. Fight all enemies on this floor first, then claim the safe in front of you.
Safes 4 & 5 — 3rd Floor
Type: Weekly respawn (both)
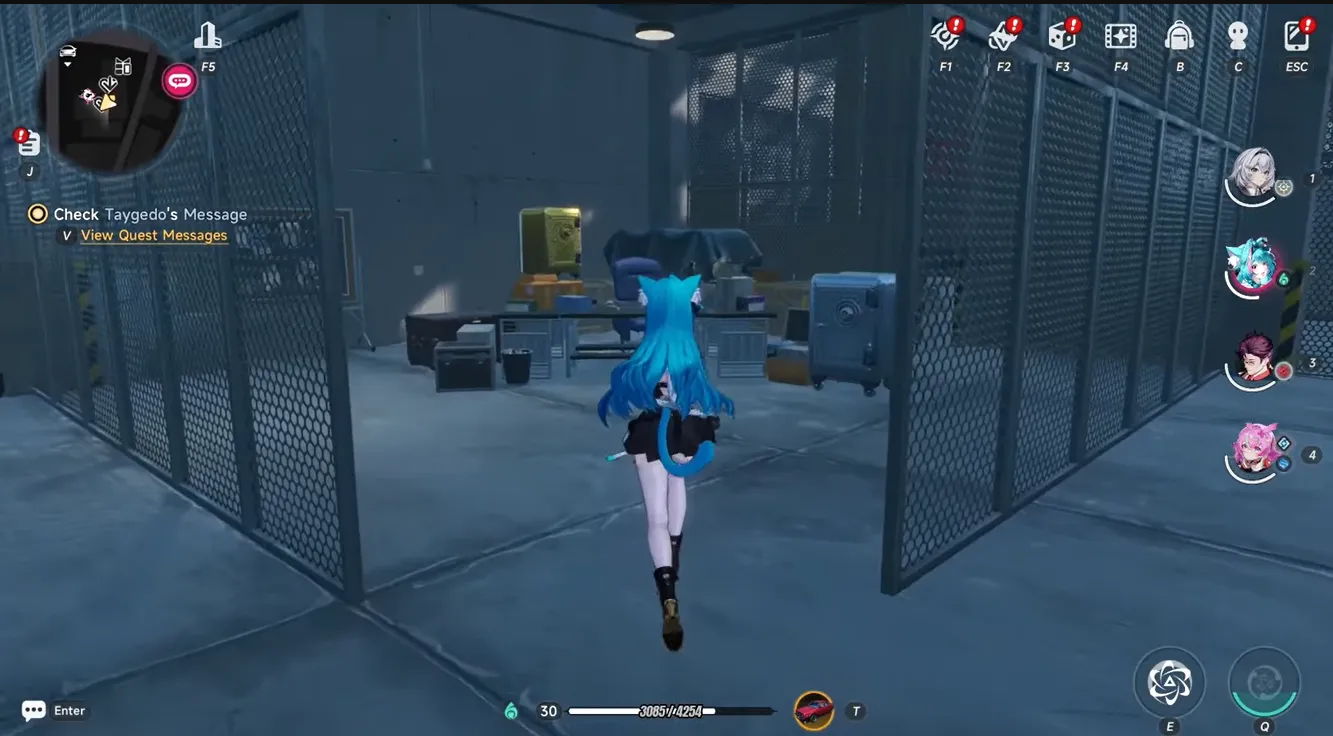
Take the elevator to the 3rd floor. Two safes are visible — one silver, one gold — guarded by two enemies. Defeat them and collect both. Mark this location on your map.
Safe 6 — Below the 3rd Floor (Gray Platform)
Type: Weekly respawn
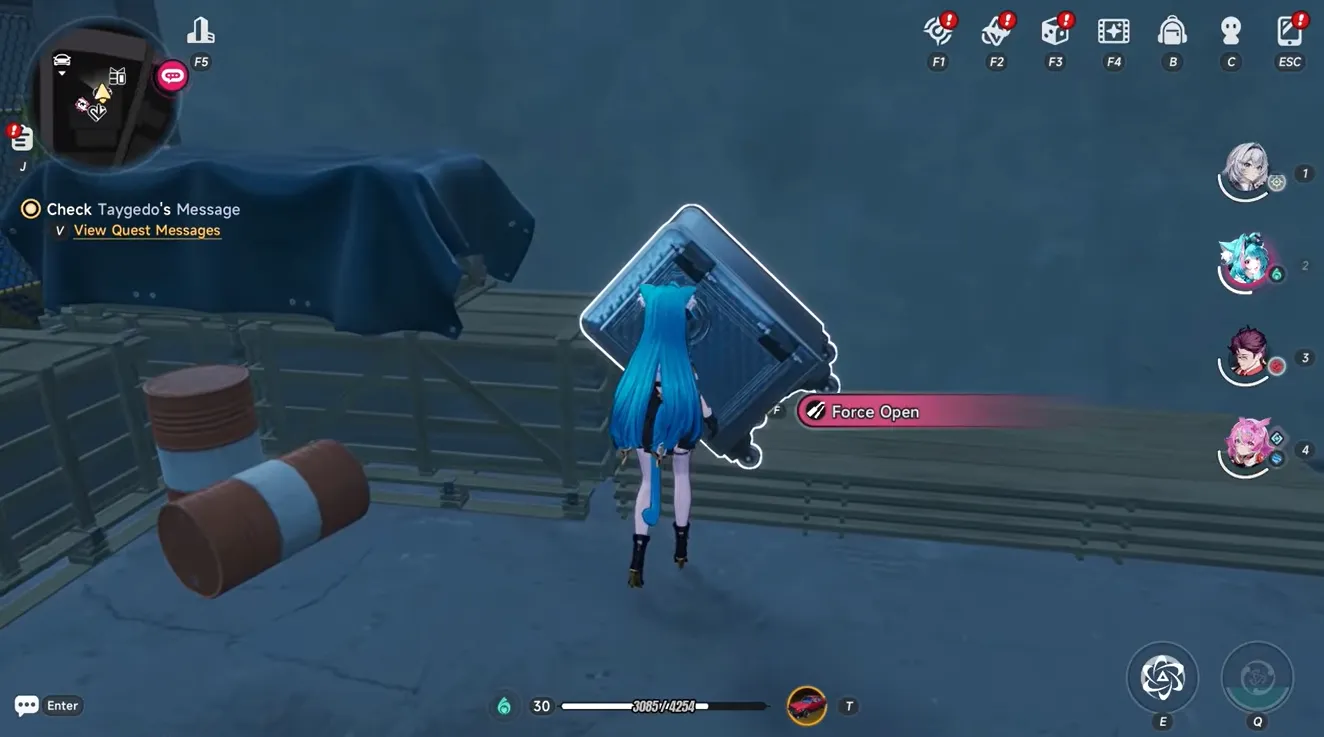
Don't take the elevator down. Instead, look for the gray platform below the 3rd floor ledge. Jump and glide down to land on it. The safe is just to your left from the landing point.
Warehouse Cluster
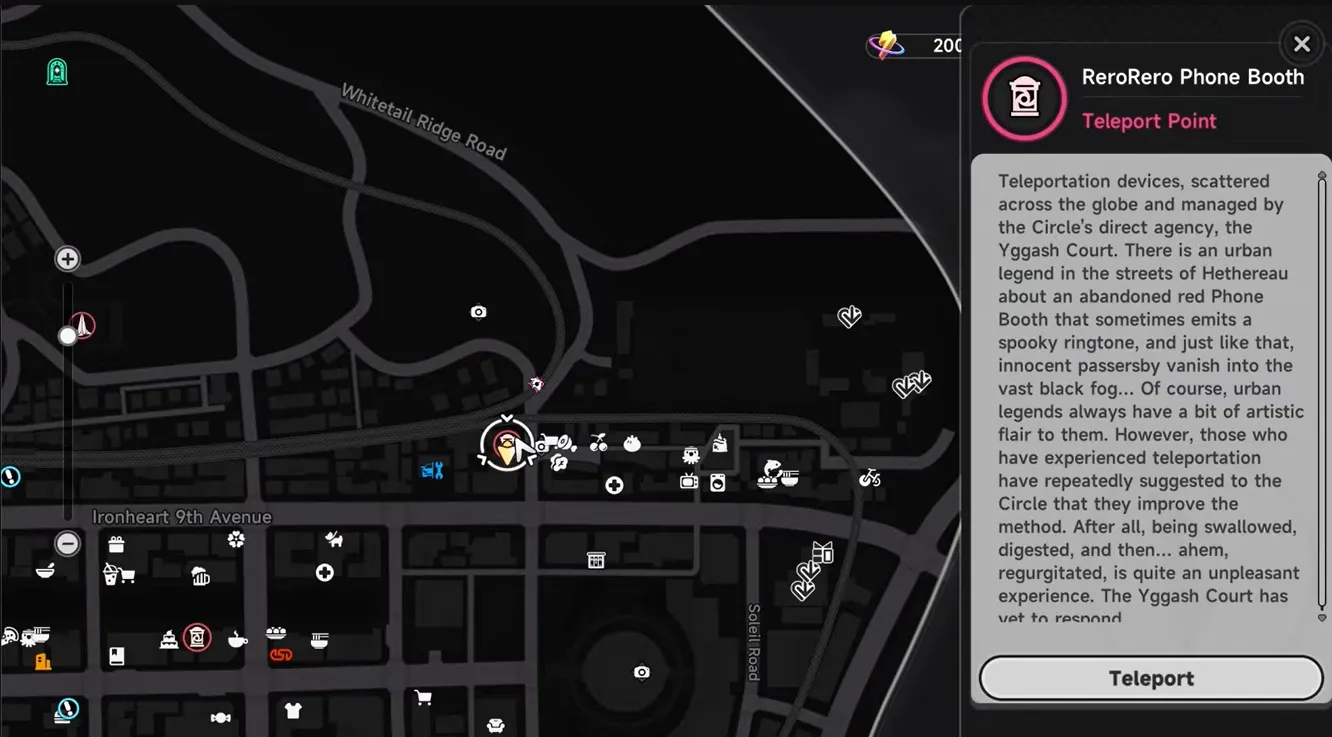
Getting there: Turn left and spawn your motorbike — the roads here are narrow. Follow the path: left → left → left → stop at the crane/gravity structure → take the stairs up.
You'll need to clear the entire warehouse of enemies before the safes become accessible.
Safe 7 — Inside Warehouse (Left of Pillar)
Type: Weekly respawn
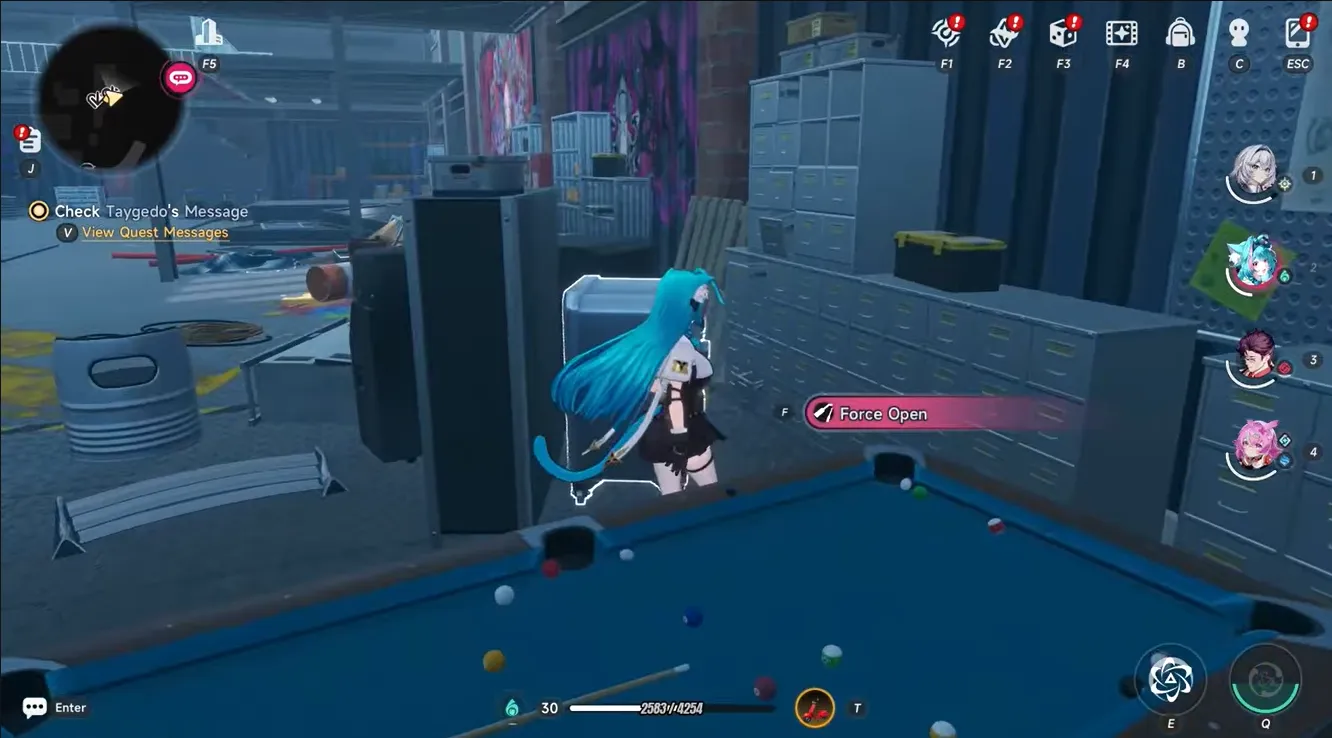
After clearing enemies, enter the warehouse and turn right. Safe is on the left, beside a pillar.
Safe 8 — Inside Warehouse
Type: Weekly respawn
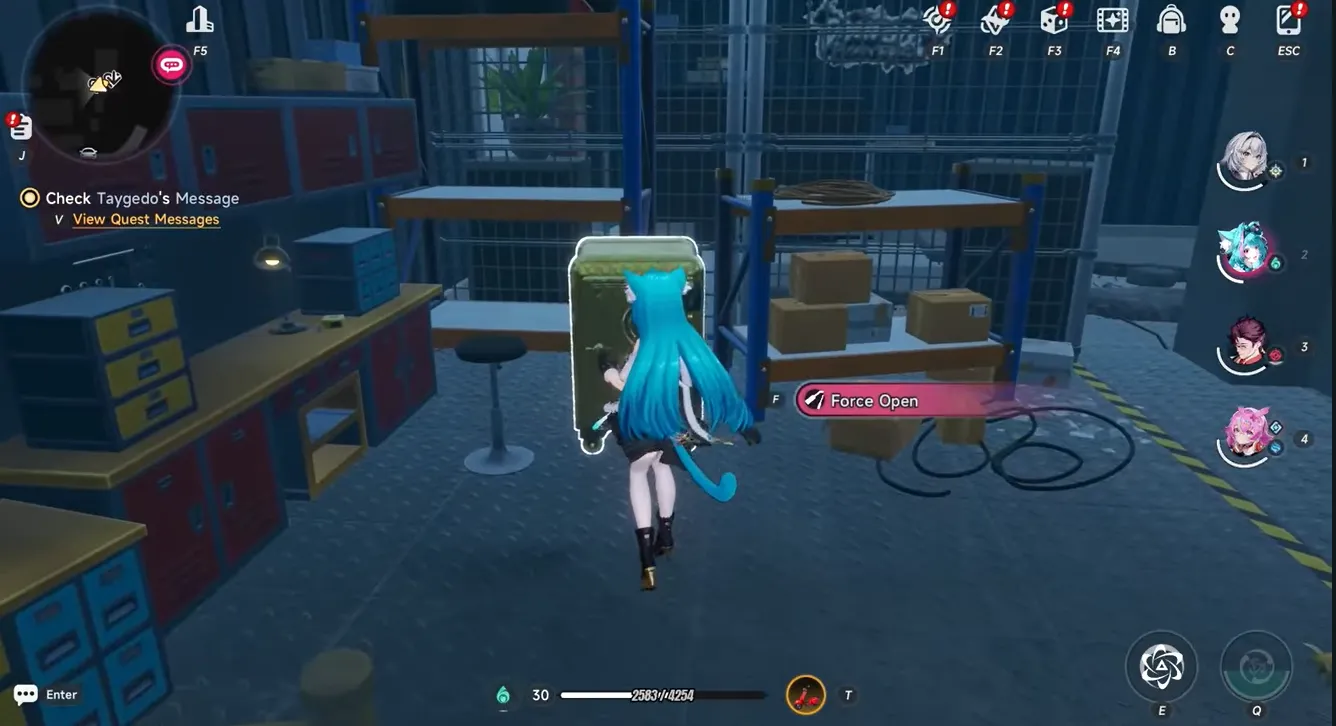
Still inside the same warehouse. On right behind pillar.
Safe 9 — Outside Warehouse (Right Turn)
Type: Weekly respawn
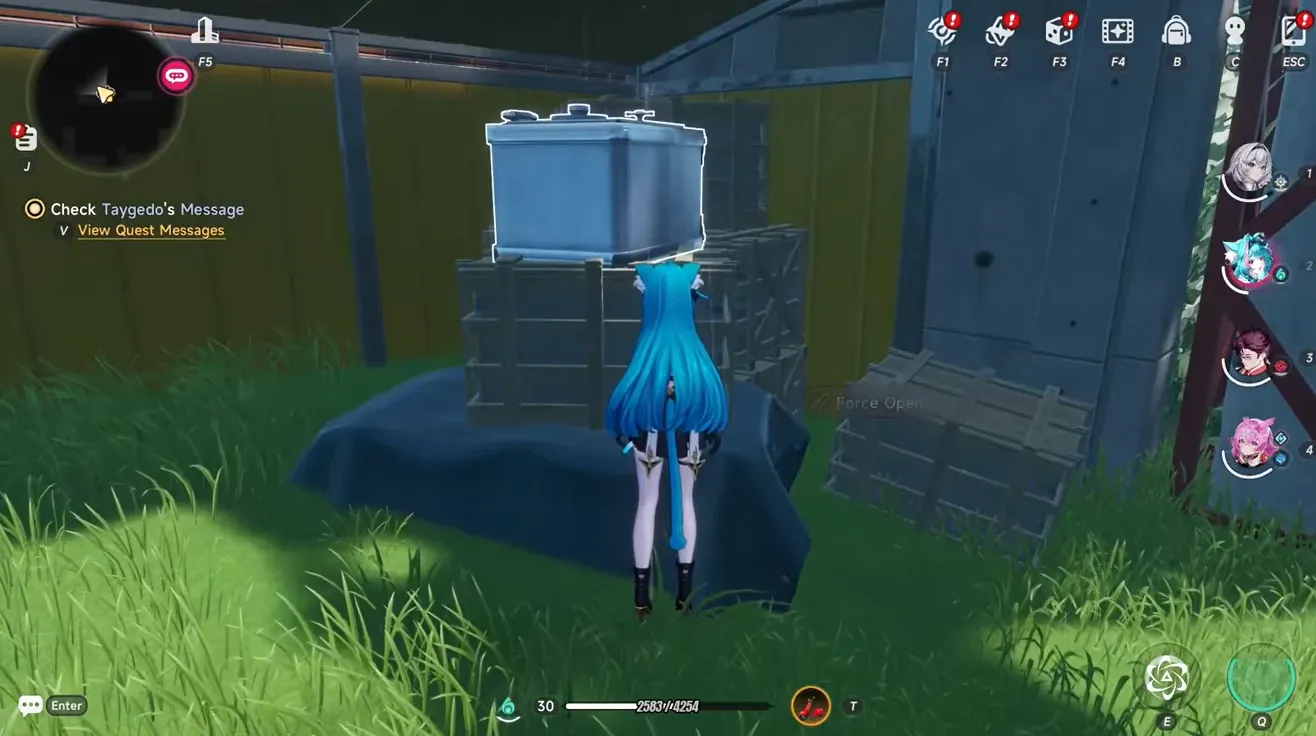
Exit the warehouse, go straight, and engage the enemies outside. Turn right — the silver safe is on the left side of the path. Clear enemies first.
East Warehouse
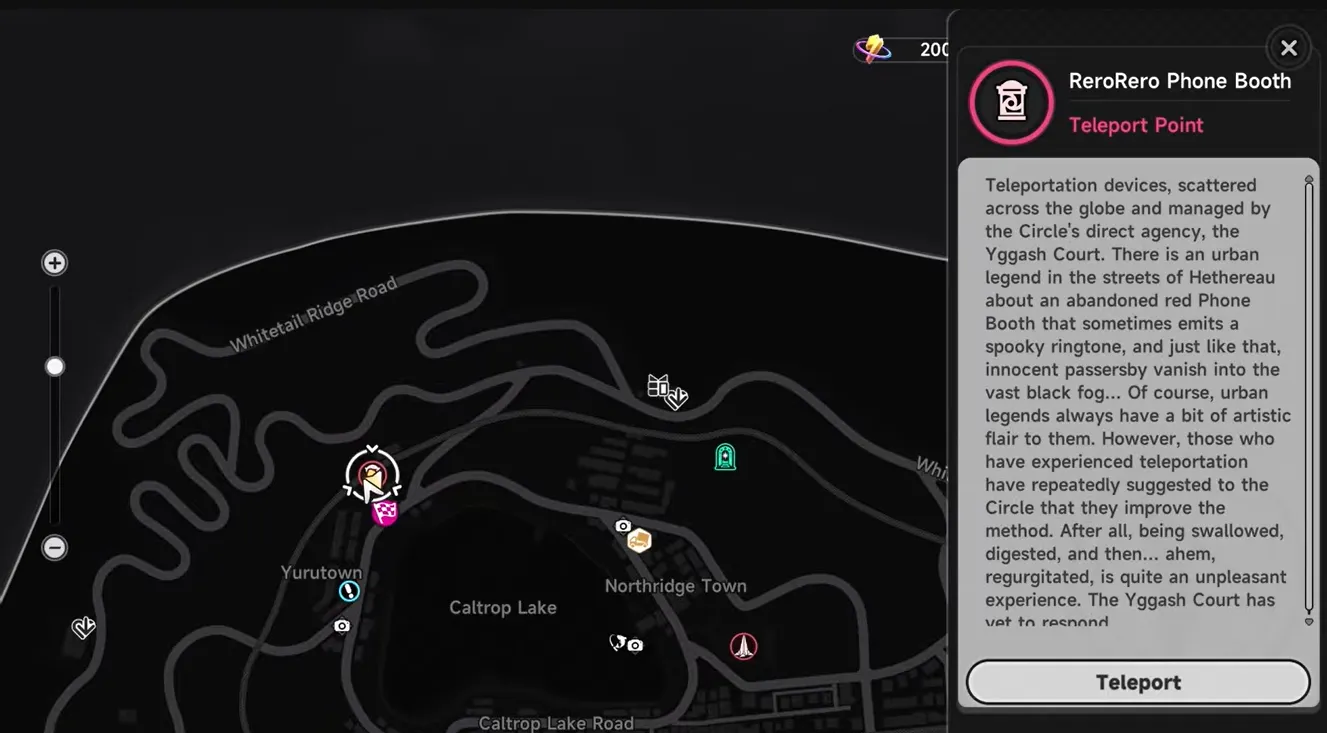
Getting there: From the waypoint, climb stairs → climb fence → climb wall → reach the main road → spawn your car → drive east until you see a warehouse on your left.
Safe 10 — East Warehouse Left Side
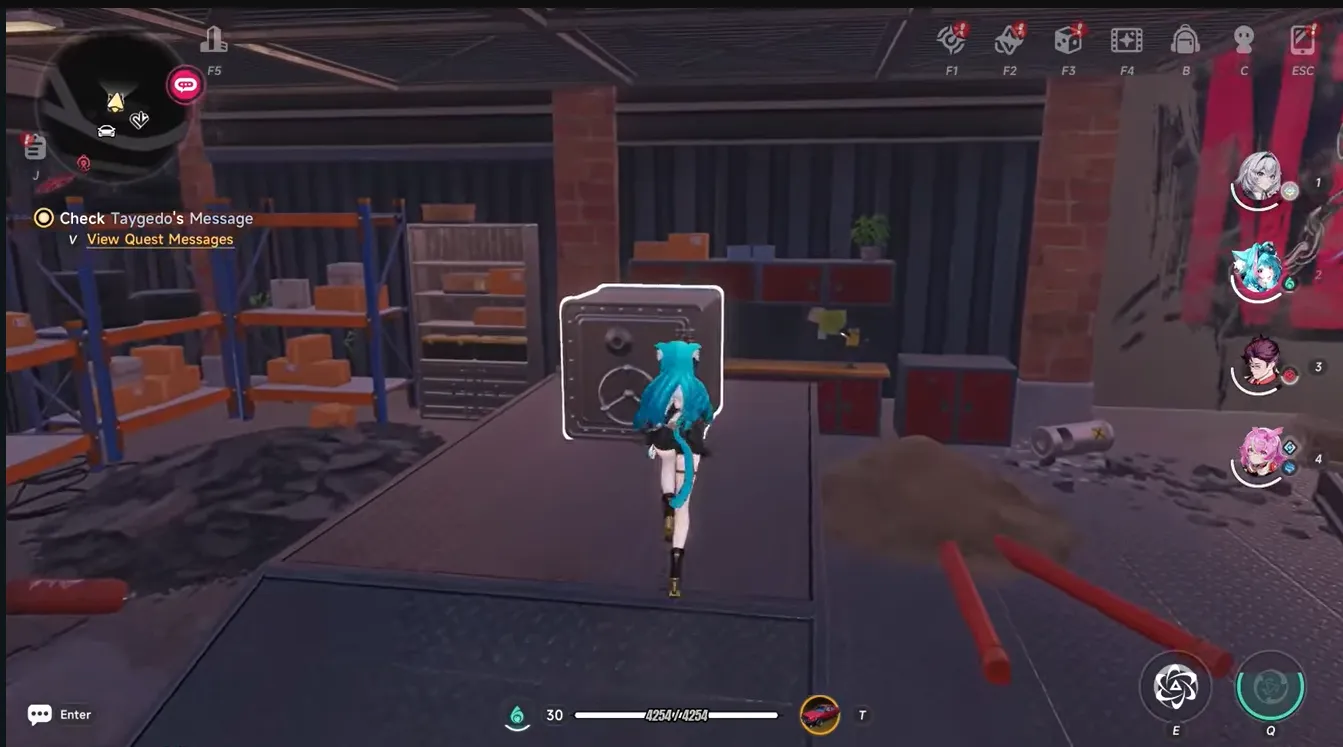
Type: One-time only
After clearing all enemies, go straight. Safe is on your left. One-time only — don't miss it.
Safe 11 — East Warehouse Behind the Crate
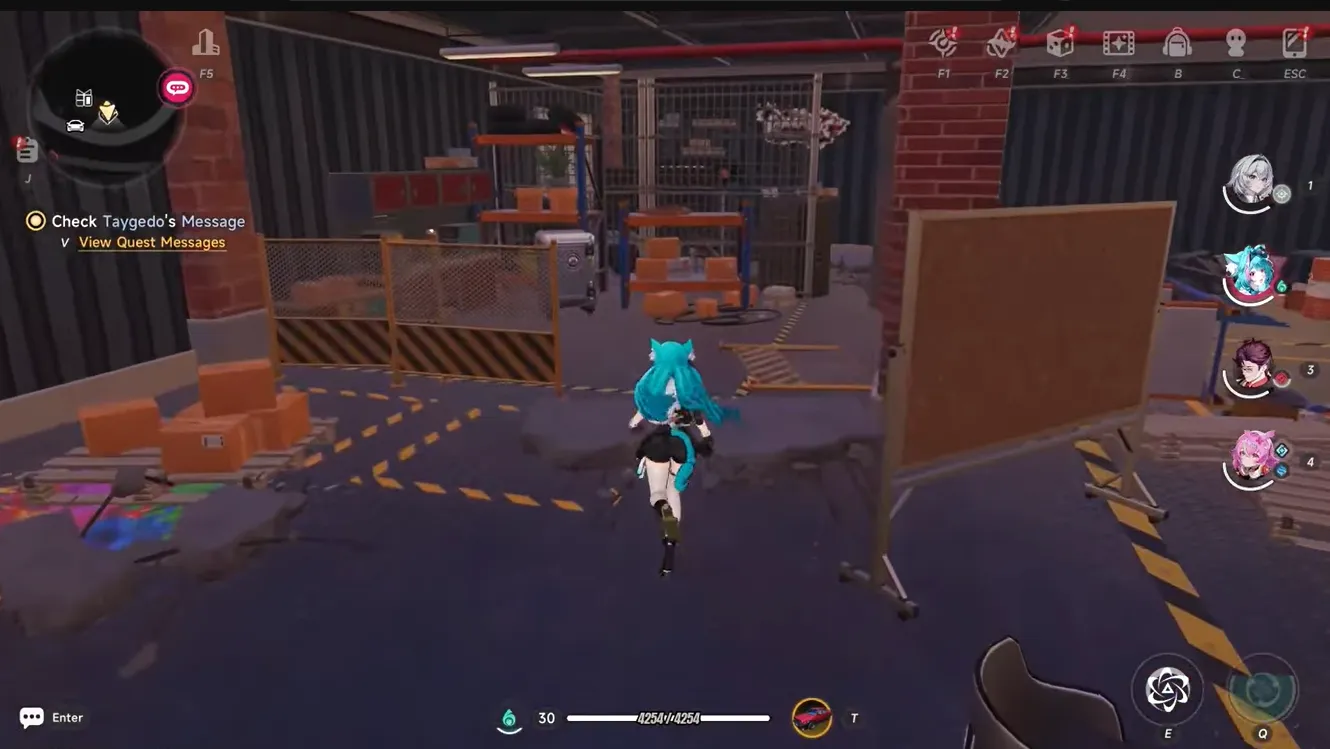
Type: Weekly respawn
Just to the right of Safe 10, behind a crate/board at the back. Same clear-to-unlock rule applies.
West Warehouse
Safe 10
Same approach as East Warehouse, but drive west instead. Look for the yellow warehouse. Clear all enemies, enter, go right — the safe is behind a board on your right.
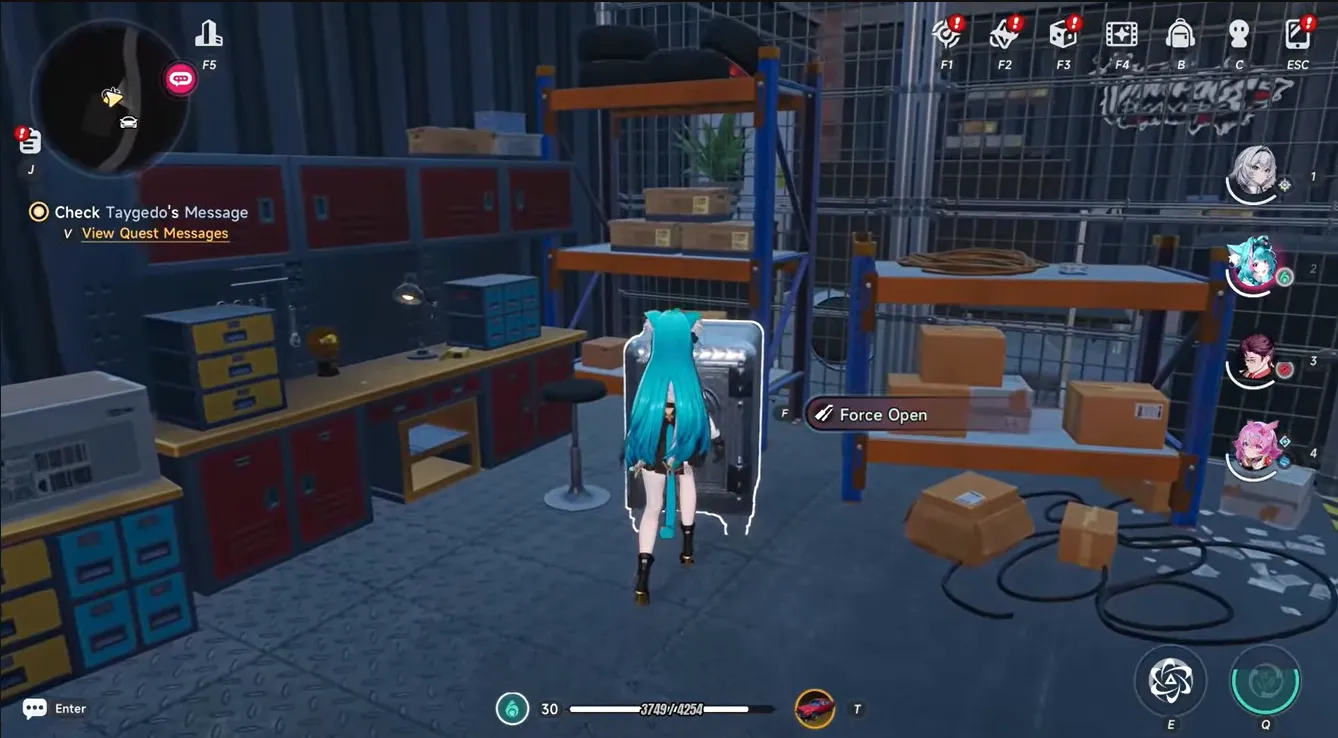
Type: Weekly respawn


District 3: Illusion Town
Safe 13 & 14 — Rooftop House
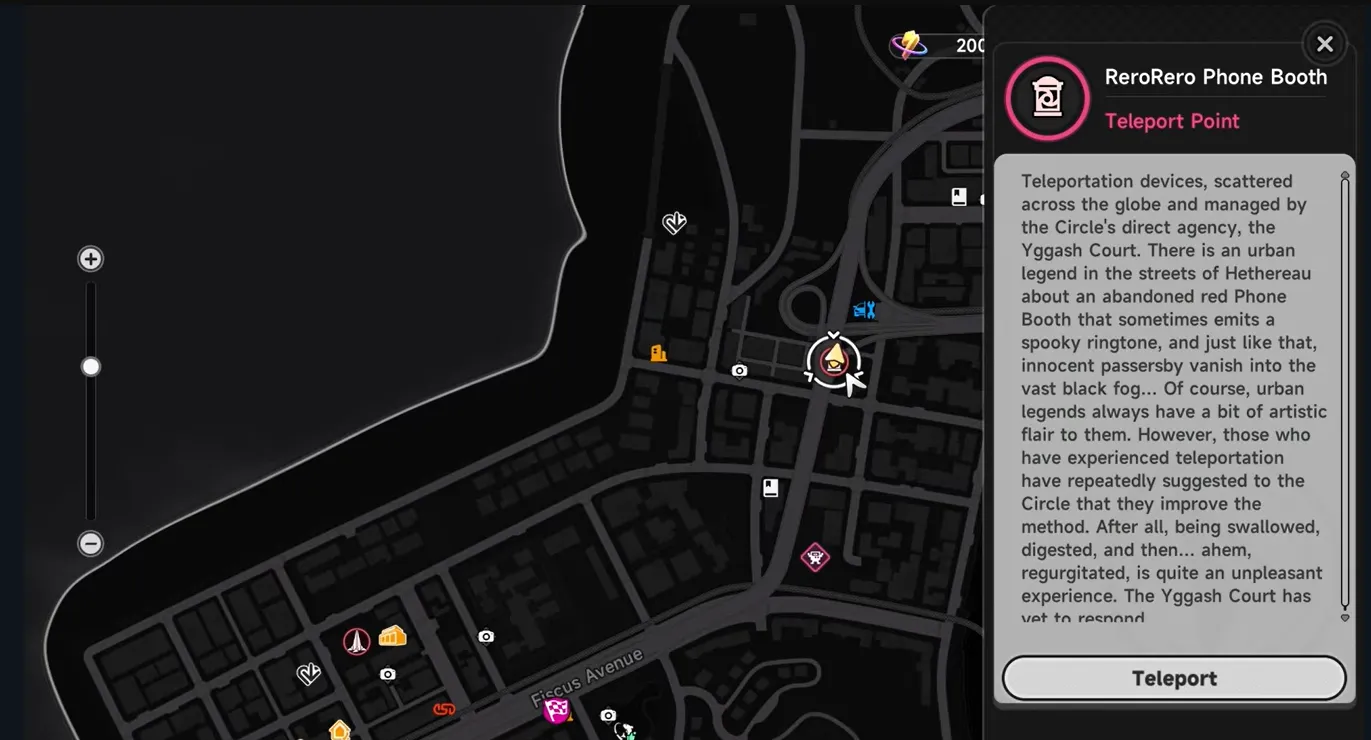
Getting there: From the waypoint, drive west to the end of the road → turn right → stop just before the tunnel → climb the wall → go right → climb the fence and land on the rooftop.
Enemies patrol the ground below. If you land directly behind the wall on the roof, they won't aggro immediately.Both are visible from the roof landing point.
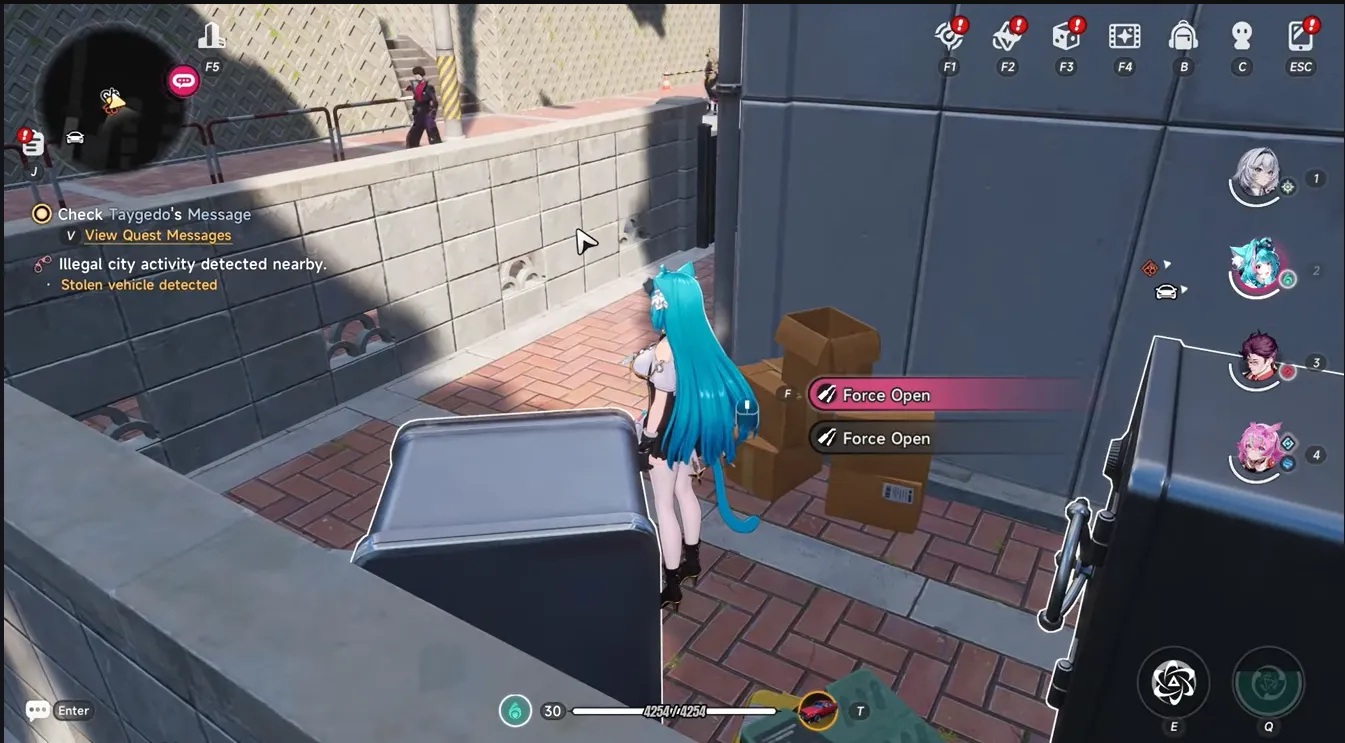
Safe 13: Big (one-time)
Safe 14: Small (weekly)
Safe 15 — Street-Level Illusion Town
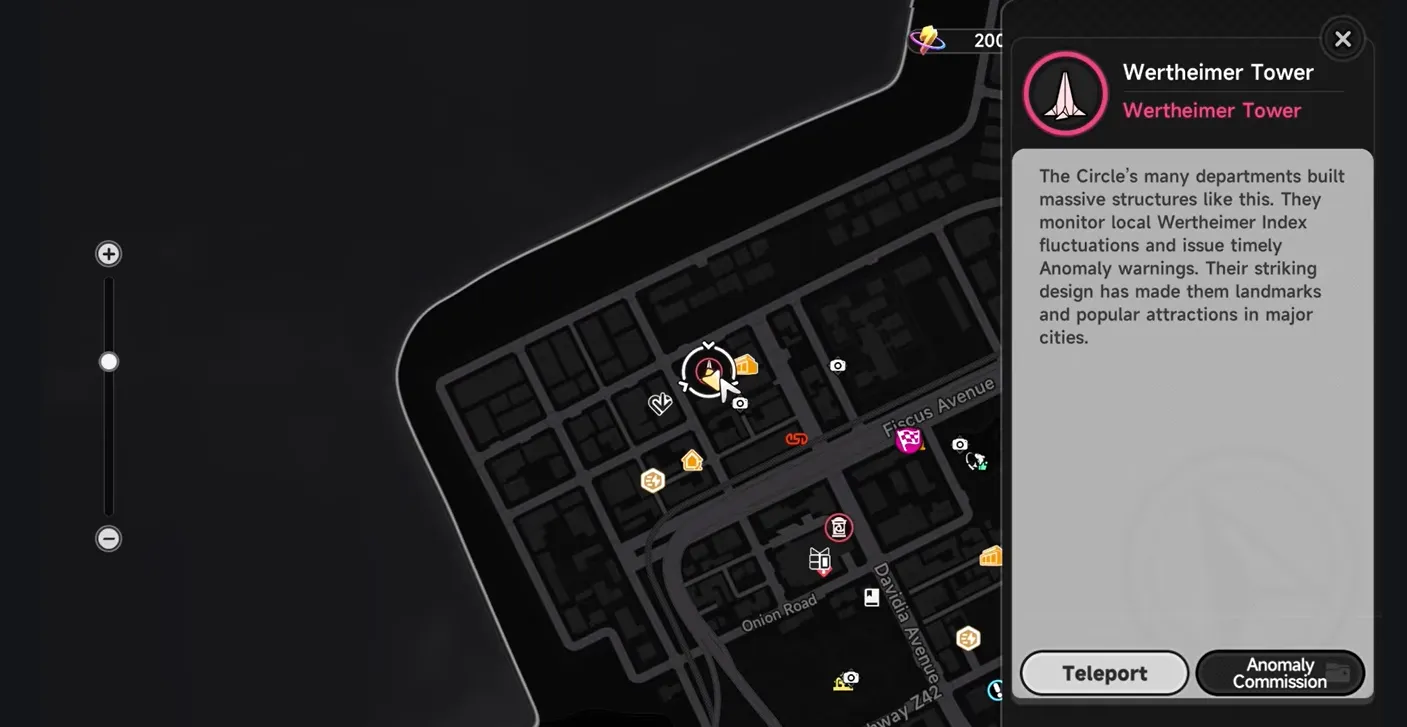
Type: Weekly respawn
From the waypoint, go right → straight → turn left. A group of enemies will be here — clear them all. The safe appears on your left after the fight.
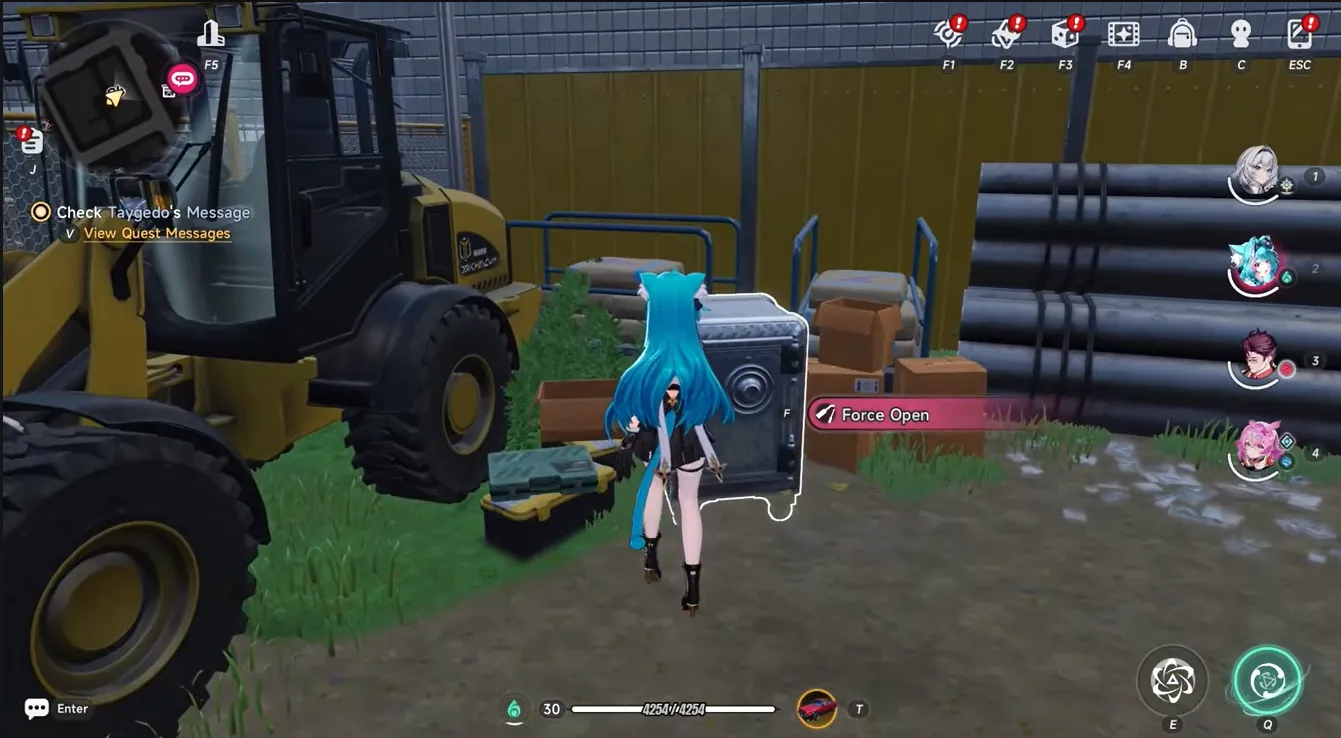
Safes 16–19 — Nameless Hospital (Anomaly Commission)
This is the most complex safe cluster in 1.0 — four safes hidden inside a horror-style anomaly commission inside a hospital. Plan ahead before entering.
Before You Start:
- Bring Nanally (wall-climber) or substitute with Adler(tall character) or use the MC's skill for a jump trick
- Set brightness to maximum in settings for better visibility inside
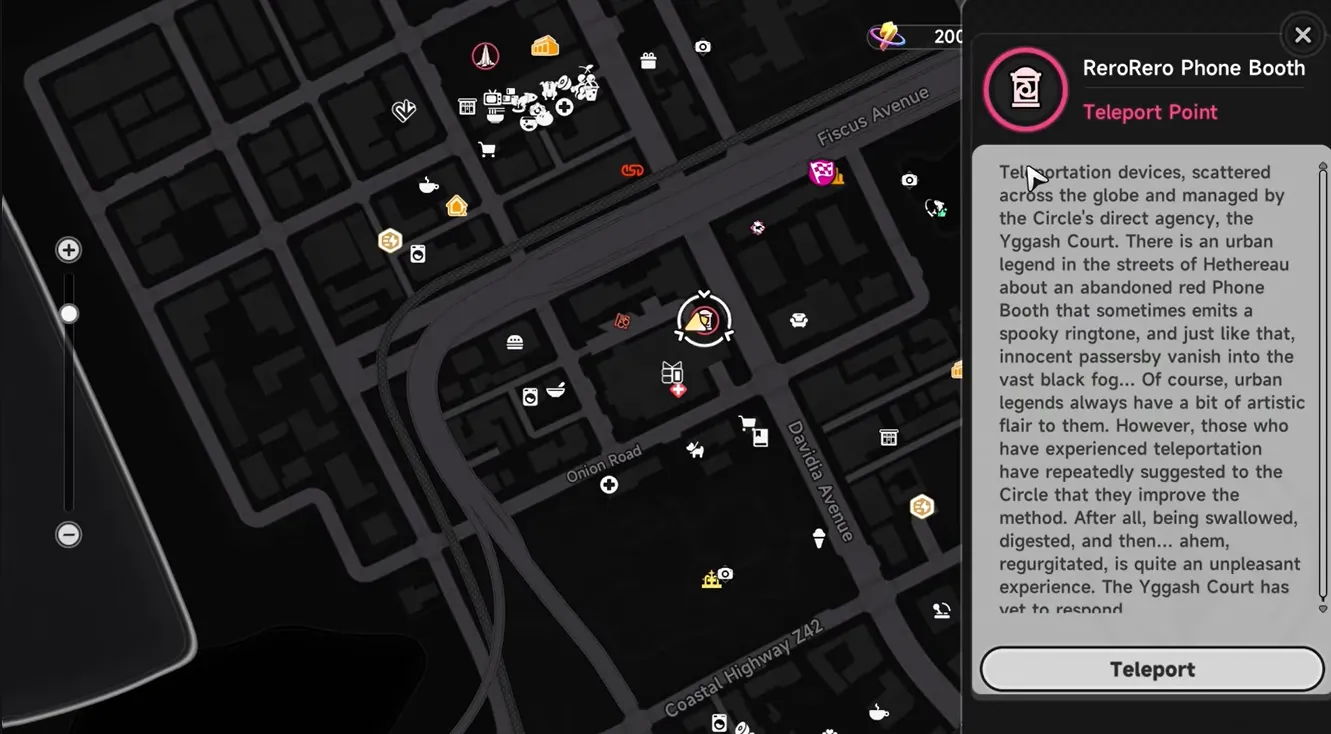
From the waypoint, enter the hospital → go straight → turn left → talk to the man to start the commision
Step 1: Get the 1F Keychain
- Pass the exit door → turn right → enter the room with the glowing green switch
- Follow the path through multiple rooms until you reach a reception desk with the 1F Keychain
Step 2: Open Safe 16
- From the keychain desk, go straight → turn left → enter the room just before the exit door
- Clear the enemies inside → enter the inner room → safe is on your left
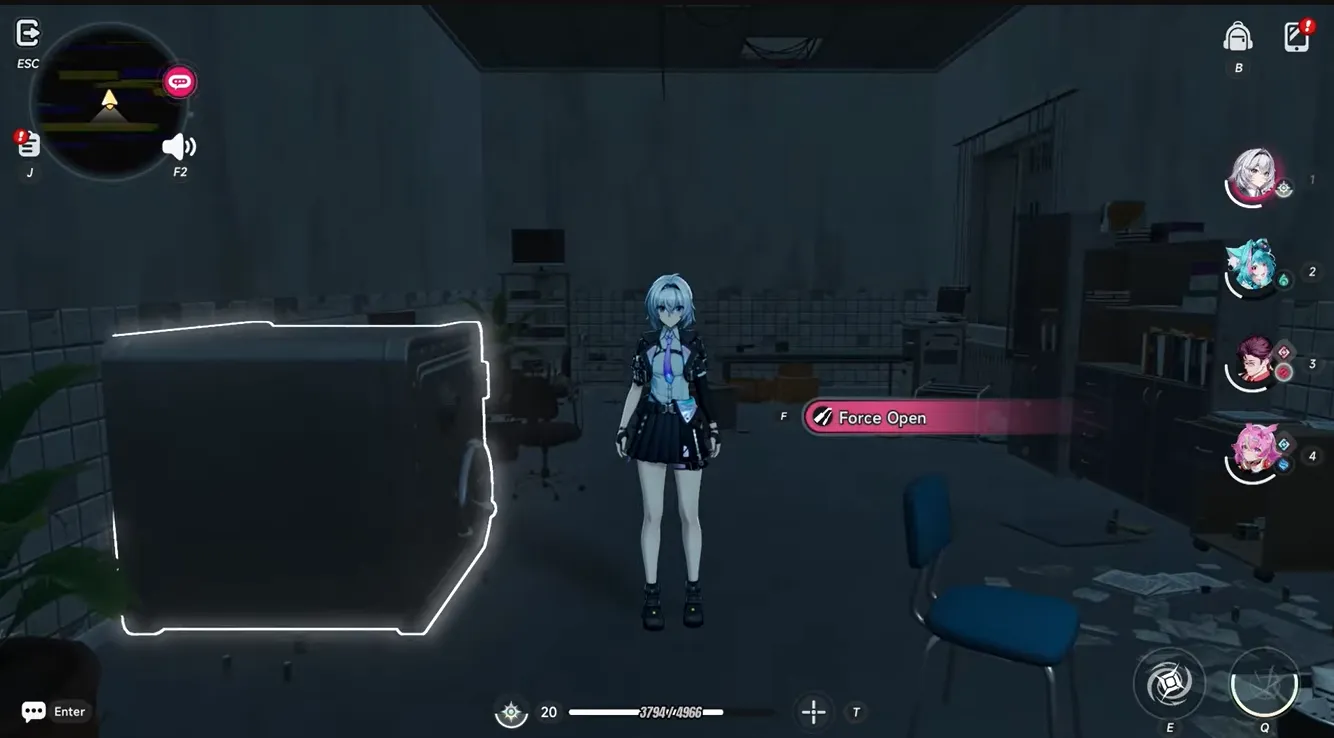
Step 3: Get the 1F Spare Key
- Backtrack to the corridor → turn right → enter the room after the intersection
- Navigate through rooms until you reach a cabinet with the spare key
- Break the bags blocking the door, then head to the 2nd floor staircase
Second Floor: Two Variants
When you reach the right corridor on the 2nd floor, one of two variants will trigger randomly:
|
Variant |
Difference |
Accessible Safes |
|
No Flood |
Standard layout |
3 safes (150,000 Fons total) |
|
Flood |
Faucets raise water level |
4 safes (includes Boom Boom Mist safe) |
Rerun if you want all four.
No Flood Variant
2F Kitchen Key:
- Right corridor → straight to end → left → enter first room on right
- Turn off lights with the green switch to reveal hidden board
- Take the 2F Kitchen Key from the board
Central Ward Key:
- Exit → left → straight → right → right → first room after exit door
- Turn lights on with green switch → key is on the floor between the crates
Safe 17 — 3rd Floor Room:
Go through the wall crack → double jump to peek at the 3F safe
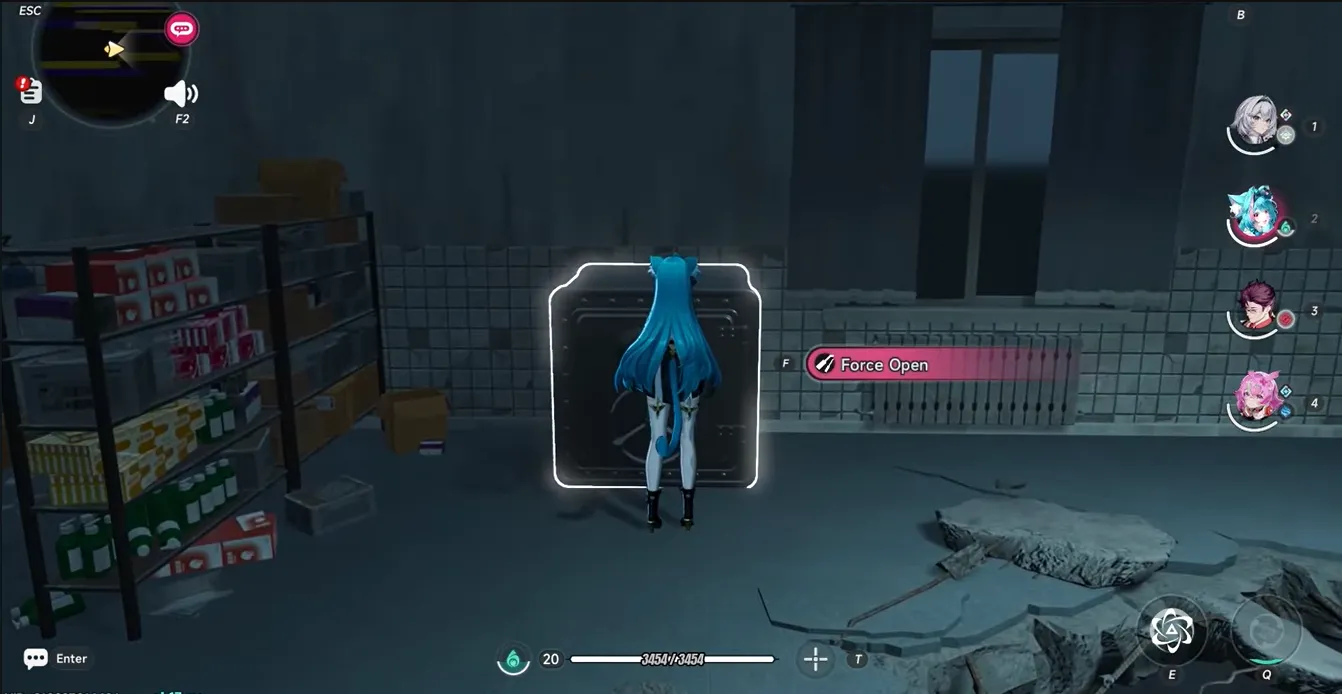
- Nanally: Climb the wall directly
- Adler: Stand on top of boxes above the cabinet
- MC: Use her skill mid-air, switch characters, double jump forward
Safe 18 — Final Safe :
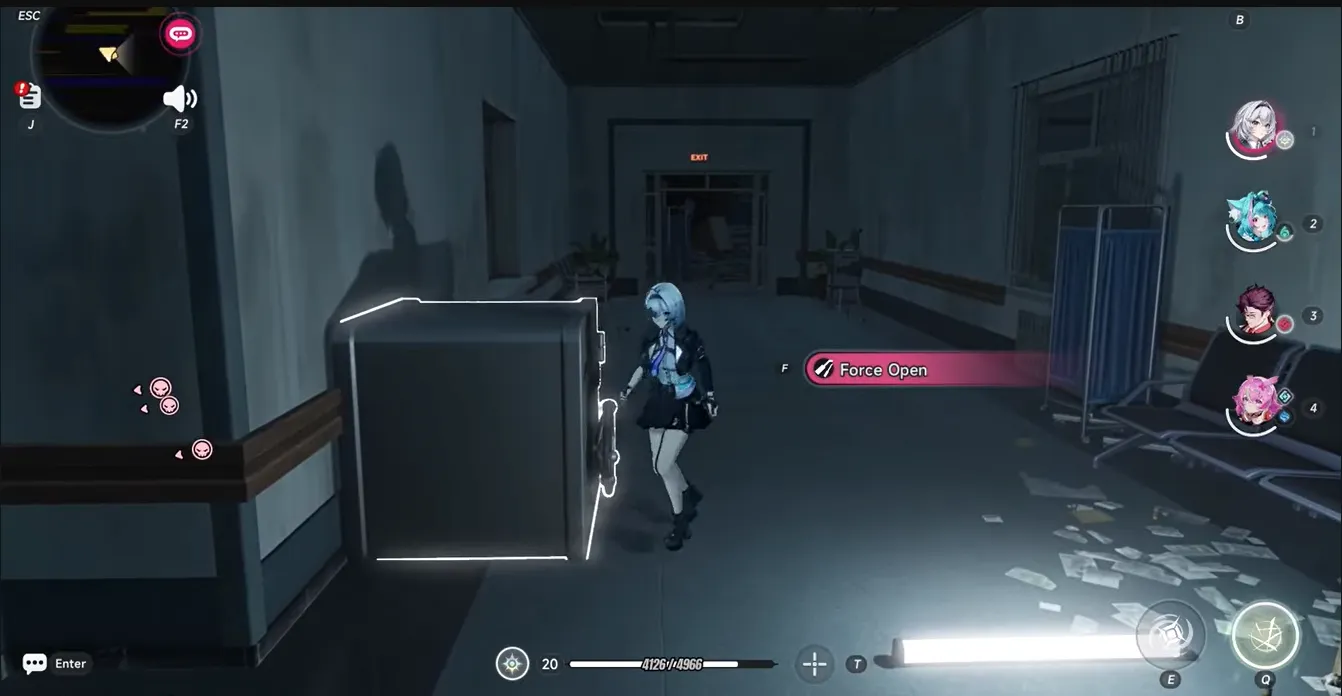
- Drop from the crack → destroy trash bags → enter the room across → right → straight → left → straight → left → right → right → exit door → left
- Safe is at the end of the c
Flood Variant
Turn on faucets first: Right corridor → straight to end → turn on any faucet in the toilet to raise the water level. This is mandatory.
2F Kitchen Key: Same room as No Flood — board is now visible without needing to touch the lights.
Safe 19 — Boom Boom Mist Safe (Flood exclusive):
- Exit room → right → enter first room on left after the wall crack
- Open the safe to get 2× Boom Boom Mist (consumable to distract the monster)
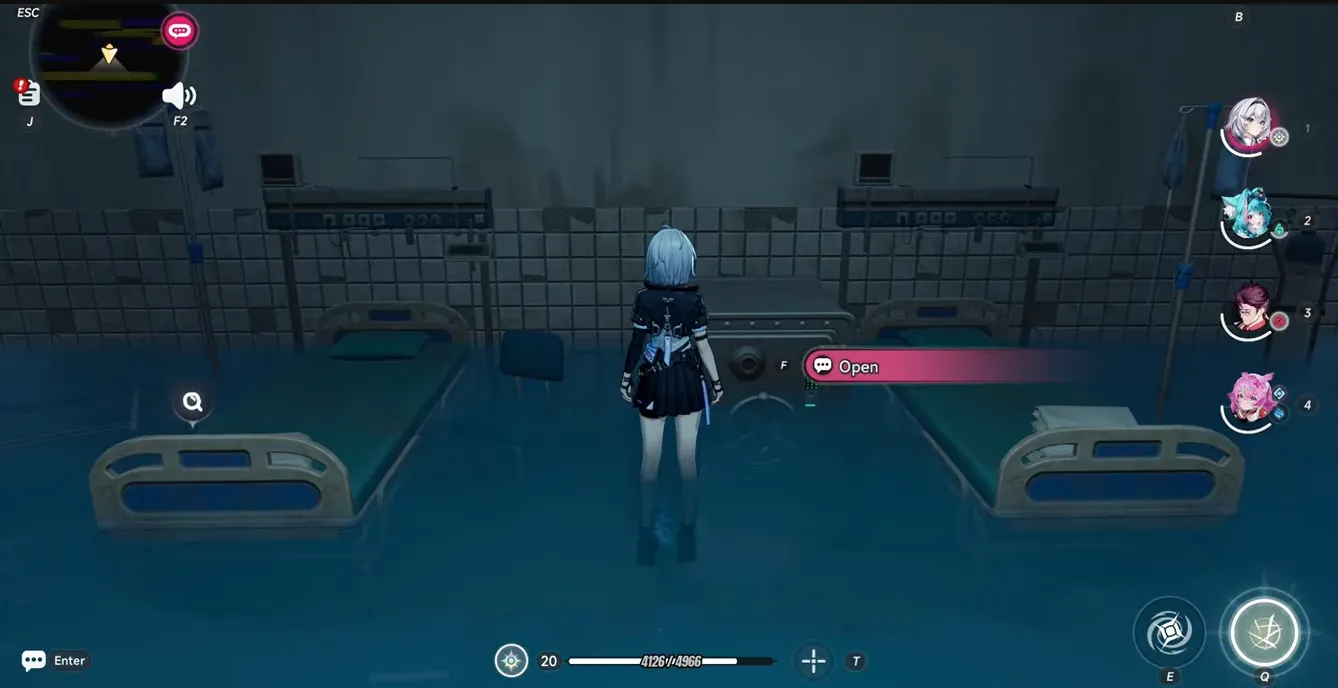
Central Ward Key (Flood):
- Exit → right → through the crack → straight to end → left → first room on left
- Key is floating between tables
Safe 17 & 18: Same 3F climb method and final corridor route as No Flood variant.
Final Thoughts
Don’t leave Fons on the table. Bookmark this guide, and mark your weekly small safes on the map. One Monday reset is all it takes to turn a few minutes of looting into thousands of Fons every week. Now go clear those safes – your next upgrade is waiting.






 TOP UP WITH DISCOUNT NOW
Nicole Experienced Game Editor
Hi, I’m Nicole, a game content writer and editor who focuses on breaking down complex game systems into clear, practical guides that players can actually use. I spend most of my time exploring how progression mechanics work in modern RPGs and live-service games—especially systems involving character building, resource loops, and upgrade structures like console setups, module systems, and gacha-style mechanics. My goal is to take all the confusing parts of a game and turn them into something simple, readable, and efficient, so you can spend less time guessing and more time progressing.
![[New User Discount] Monthly Card | NTE Top Up (Global)](https://shop.ldrescdn.com/rms/ld-space/process/img/9c38037758ea47e9becd0dcc135d7d441789629790.webp?x-oss-process=image/resize,m_fill,h_160,w_160)