


Master the new 4-star Anemo archer, Jahoda, with our dedicated build guide. Releasing in the same update as Durin, we break down how to unlock her full potential with recommendations for her best weapons, artifact sets, skill build, constellations, and team.
Table of Contents
Jahoda Overview
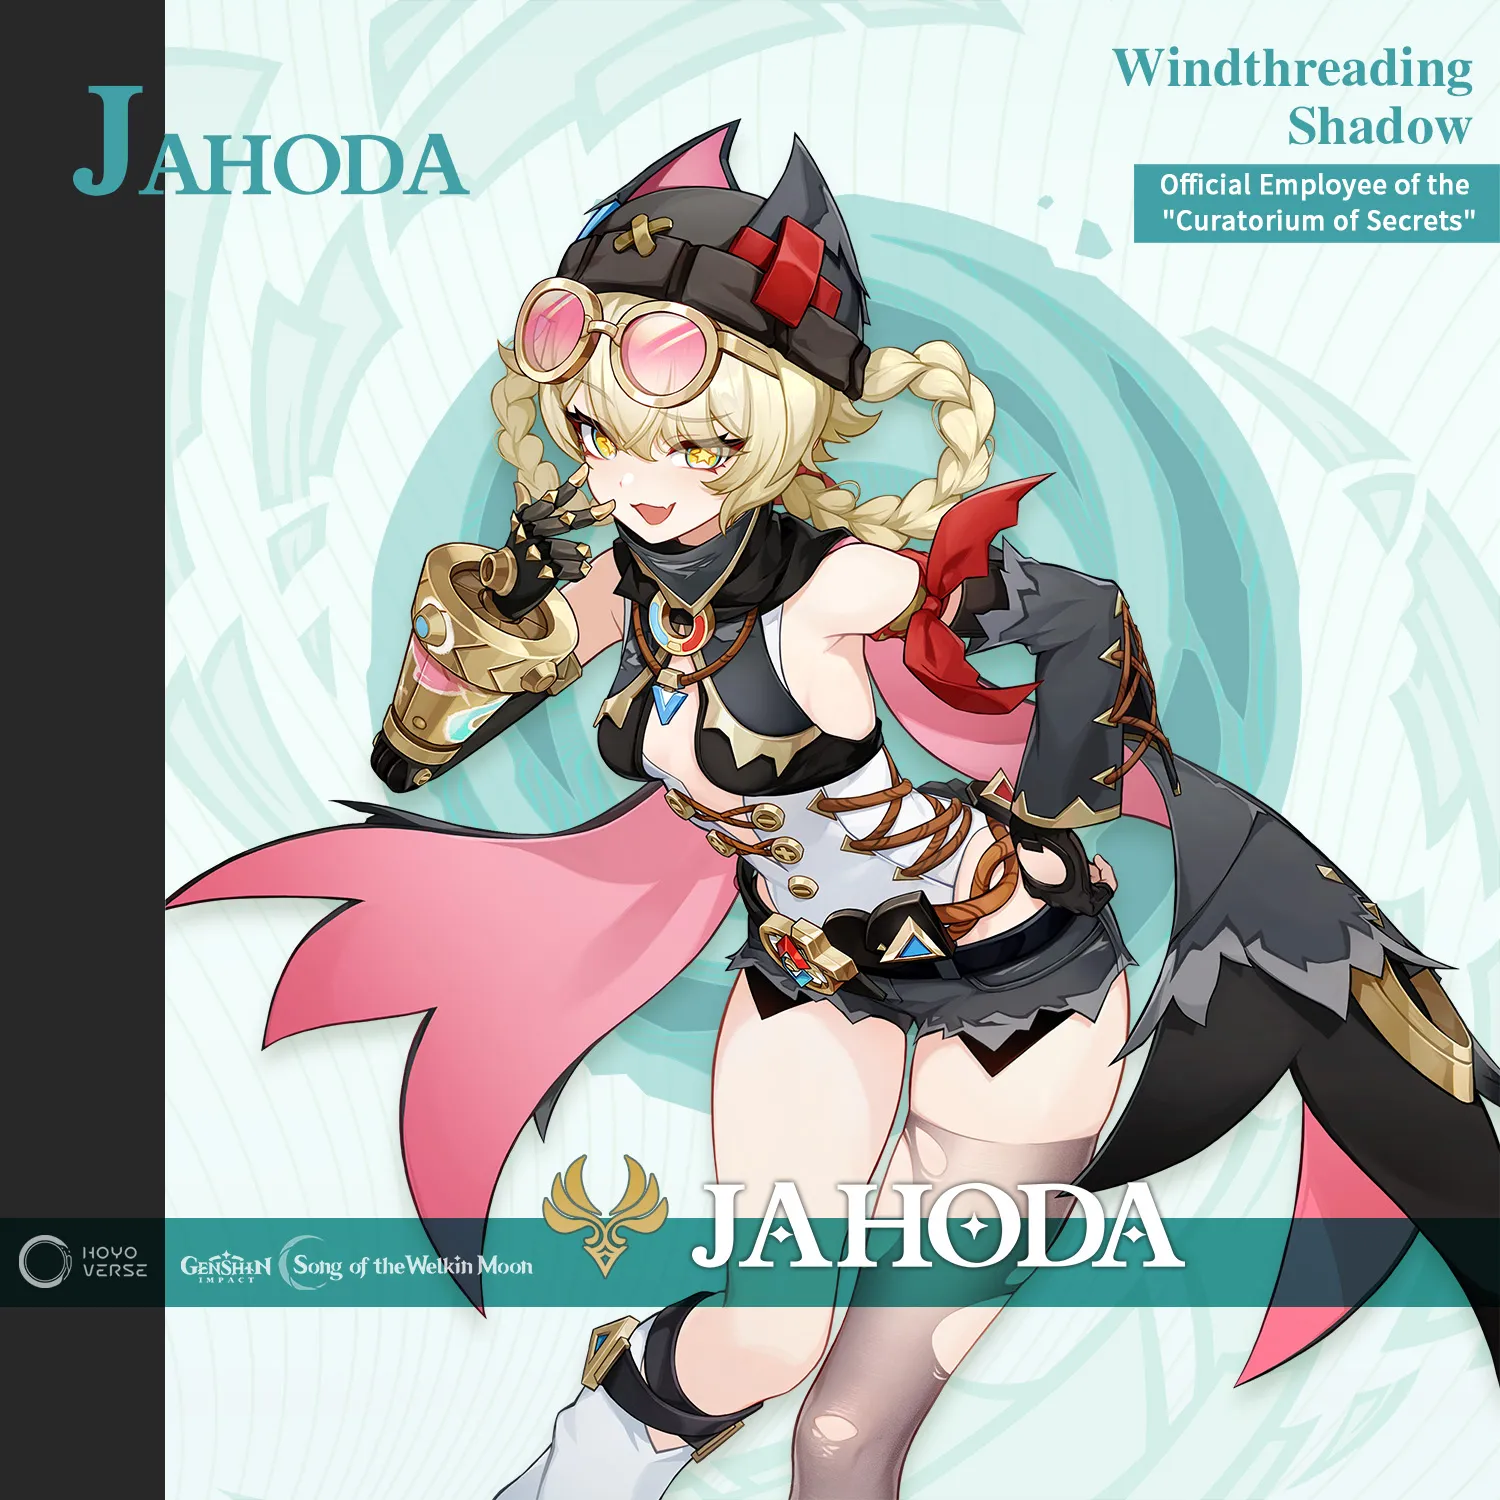
Rarity: ⭐⭐⭐⭐ | Element: Anemo | Weapon: Bow
Jahoda is a 4-star Anemo Bow support, built around healing and providing an Elemental Mastery bonus to amplify Lunar-based reactions.With HP% ascension stats that boost her healing, she synergizes exceptionally well with existing Lunar-based teams, particularly Lunar-Reaction (e.g., Electro-Charged) compositions. Her C2 unlocks an additional mechanic tied to her Elemental Burst, while her C6 provides a CRIT DMG/Rate boost that activates upon using her Elemental Skill, specifically for party members designated as "Nod-Krai" characters.
6480+1600 Genesis Crystals for Just $ 67.99

Limited-time offer: $ 67.99 | $ 99.99
No more price checking. LDShop always offers the best price.
Jahoda Kit Breakdown
According to Jahoda's Kit, she can consistently trigger Swirl reactions through her Elemental Skill, while her Elemental Burst provides healing and buffs for the team.
- Normal Attack
Mechanic: Performs up to 3 consecutive attacks with a bow.
Key Feature: A fully charged Aimed Shot deals Anemo DMG, providing her standard method of applying Anemo.
- Elemental Skill
This is Jahoda's core mechanic for elemental application, Energy generation, and on-field presence.
Mechanic: Tap to dash forward. Upon hitting an enemy, she enters the "Shadow Pursuit" state, continuously absorbing Pyro/Hydro/Electro/Cryo from nearby enemies to fill the "Purr-loined Treasure Flask."
Release: When the state ends or the skill is tapped again, the flask is drained, dealing one instance of Anero DMG to surrounding enemies based on its charge level.
Key Talent (C0): The "Moonsign: Ascendant Gleam" effect prevents a fully charged flask from being immediately released. Instead, it fires "Fluffy Meowballs" of the absorbed element at nearby enemies. When a Meowball hits an opponent, it regenerates 2 Energy for Jahoda (once every 3.5s). This serves as her core method for generating Energy and applying elements from off-field.
- Elemental Burst
This is Jahoda's primary support skill, providing off-field healing and damage.
Mechanic: Deals one instance of AoE Anemo DMG and summons 2 "Purrsonal Coordinated Assistance Robots."
Function: For their duration (12s), the robots periodically deal Anemo DMG to enemies and heal the active character.
In summary, Jahoda is a versatile Anemo support with a unique kit, particularly well-suited for elemental reaction teams that require an on-field trigger, healing, and Elemental Mastery bonuses.


Jahoda Skill Priority
|
Skill |
Priority |
|
Elemental Burst |
⭐⭐⭐⭐⭐ (Top) 9+ |
|
Elemental Skill |
⭐⭐⭐⭐ (Mid) 6+ |
|
Normal Attack |
⭐ (Low) 1 |
Jahoda Materials
Here are all materials for Jahoda, want to know more details of materials, please check out our Jahoda Materials Pre-farming Guide.
|
Key Materials |
Way |
|
Portable Bearing |
Found near Blue Amber Lake Found at the Clink-Clank Krumkake Craftshop |
|
Ascended Sample: Knight |
Lv. 70+ The Game Before the Gate Challenge Reward Obtained from the Crafting Bench Conversion Tab |
|
Lightbearing Scale-Feather |
Dropped by Lv. 30+ Radiant Moonflies |


Jahoda Weapon Recommended
Best Choice
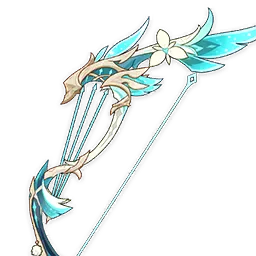
The Dawn of Distanthymn
Dawning Song of Daybreak
The equipping character gains Stirring Dawn Breeze: 3s after leaving combat, Normal Attack, Elemental Skill, and Elemental Burst DMG is increased by 60% / 75% / 90% / 105% / 120%. While in combat, this DMG Bonus will decrease by 10% / 12.5% / 15% / 17.5% / 20% per second until it reaches 0%. When the equipping character's Normal Attacks, Elemental Skills, or Elemental Bursts hit an opponent, the DMG Bonus for the corresponding DMG type is increased by 10% / 12.5% / 15% / 17.5% / 20% until it reaches 60% / 75% / 90% / 105% / 120%. This effect can be triggered once every 0.1s for each of the attack types mentioned above. This effect can be triggered even if the equipping character is off-field.
Additionally, when the party possesses Magic: Secret Rite effects, when the equipping character's Normal Attacks, Elemental Skills, or Elemental Bursts hit an opponent, the DMG Bonus for all these DMG types is increased by 20% / 25% / 30% / 35% / 40% instead.
This weapon is ideal for Jahoda because its dynamic DMG bonus mechanic perfectly suits her on-field playstyle. After briefly being off-field to gain the initial max bonus, she can quickly take the field and use her mixed damage sources (Normal Attacks, Skill, and Burst) to not only maintain but also rapidly re-stack the bonus, especially when leveraging the "Magic: Secret Rite" effect for a massive, unified damage increase to all her abilities.
Alternatives

Favonius Warbow
454 / +61.3% Energy Recharge
Windfall
CRIT Hits have a 60% / 70% / 80% / 90% / 100% chance to generate a small amount of Elemental Particles, which will regenerate 6 Energy for the character. Can only occur once every 12 / 10.5 / 9 / 7.5 / 6 s.
The Favonius Warbow is a solid optional weapon for Jahoda, particularly if your team lacks other sources of Energy generation or if you want Jahoda to use her Elemental Burst more frequently.
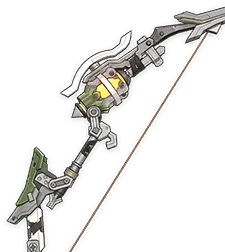
Snare Hook
454 / +61.3% Energy Recharge
Phantom Flash
Upon causing an Elemental Reaction, increases Elemental Mastery by 60 / 75 / 90 / 105 / 120 for 12s. Moonsign: Ascendant Gleam: Elemental Mastery from this effect is further increased by 60 / 75 / 90 / 105 / 120. This effect can be triggered even if the equipping character is off-field.
For Jahoda, the Snare Hook is an exceptional weapon that significantly boosts her Elemental Mastery and reaction damage while perfectly syncing with her kit, making it a useful choice, especially in reaction-focused teams.
Rainbow Serpent's Rain Bow
510 / +45.9% Energy Recharge
Astral Whispers Beyond the Sacred Throne
ATK is increased by 28% / 35% / 42% / 49% / 56% for 8s when the equipping character's attacks hit an opponent while the equipping character is off-field.
The Rainbow Serpent's Rain Bow is a specialized off-field weapon that provides a substantial ATK boost, making it an excellent choice for characters who can deploy skills and then switch out, ensuring consistent damage output even while not active.
Jahoda Artifacts

Viridescent Venerer
2P Anemo DMG Bonus +15%
4P Increases Swirl DMG by 60%. Decreases opponent's Elemental RES to the element infused in the Swirl by 40% for 10s.

Silken Moon's Serenade
2P Energy Recharge +20%.
4P When dealing Elemental DMG, gain the Gleaming Moon: Devotion effect for 8s: Increases all party members' Elemental Mastery by 60/120 when the party's Moonsign is Nascent Gleam/Ascendant Gleam. The equipping character can trigger this effect while off-field. All party members' Lunar Reaction DMG is increased by 10% for each different Gleaming Moon effect that party members have. Effects from Gleaming Moon cannot stack.

Noblesse Oblige
2P Elemental Burst DMG +20%
4P Using an Elemental Burst increases all party members' ATK by 20% for 12s. This effect cannot stack.
Jahoda Artifact Stats
Main Stats
|
Sands |
ATK % / ER |
|
Goblet |
ATK % |
|
Circlet |
Healing Bonus% / CRIT |
Sub-Stat
Energy Recharge > CRIT Rate > ATK
A Special Gift Just for You!
LDShop has a special deal for you—copy the exclusive code "LDSHOP5FF" and get a 5%OFF coupon for your next purchase! You can redeem the coupon by pasting the code in your Personal Center page, or redeem it directly at checkout. Please click the button below to top up now!


Discount code validity period: 2026.04.01 00:00:00 - 2026.07.31 23:59:59
Jahoda Best Team
Flins Team
|
DPS |
Sub-DPS |
Sub-DPS |
Support |
|
⭐⭐⭐⭐⭐ |
⭐⭐⭐⭐⭐ |
Xingqiu ⭐⭐⭐⭐ |
Jahoda ⭐⭐⭐⭐ |


In this composition, Jahoda replaces Sucrose. While she provides less of the universally-appreciated Elemental Mastery share, she offers more consistent crowd control and some healing, significantly improving the team's survivability. Jahoda should still equip the 4-piece Viridescent Venerer set.
From a Constellation 0 perspective, this isn't necessarily a direct upgrade in raw power, but rather expands team-building options for the new Spiral Abyss, allowing you to fulfill the "Moonsign: Ascendant Gleam" requirement. However, if Jahoda is at Constellation 6, the substantial CRIT buff she provides could potentially be a meaningful optimization over Sucrose.
Nefer Team
|
DPS |
Sub-DPS |
Sub-DPS |
Support |
|
⭐⭐⭐⭐⭐ |
⭐⭐⭐⭐⭐ |
⭐⭐⭐⭐ |
Jahoda ⭐⭐⭐⭐ |


The primary function of this team is to provide survivability support for a Constellation 0 Lauma. If you have a Constellation 1 Lauma, a low-constellation Jahoda becomes significantly less valuable by comparison. For artifact sets, it is recommended that: Lauma equips the Deepwood Memories set. Jahoda equips the Silken Moon's Serenade set.
As for Nilou, her main role is Hydro application. For weapons, it is highly advised to equip her with the "Key of Khaj-Nisut" to maximize her Elemental Mastery buff for the team.
Conclusion
That wraps up our build guide for Jahoda! We hope this helps you master her unique playstyle and unleash her full potential in your team compositions.For more comprehensive guides, character builds, and the latest news on Genshin Impact, be sure to visit Genshin Hub.
If you're looking to top up Primogems or other in-game currency to wish for Jahoda and her weapons, you can get a secure and fast top-up at LDShop Genshin Top-up.


 TOP UP WITH DISCOUNT NOW
Joséphine Fossey Experienced Game Editor
I’m a tactical RPG strategist obsessed with perfecting character builds and team synergies. My guides go beyond basic tier lists—I dissect talent priorities, relic/weapon interactions, and rotation timings through frame-perfect testing and stat optimization. Whether you're maximizing a support's buff uptime or crafting a hypercarry's one-shot combo, I turn complex mechanics into battle-proven strategies that dominate the meta.
