


Hey, Proxies! A fresh round of the "Deadly Assault" event is here, and I've got your back with a full guide and the best team setups to tackle it. Nine stars? We're grabbing them all!
From November 28th to December 12th, Zenless Zone Zero is hosting the latest Deadly Assault event. This event isn't too brutal overall—you can get all the film rewards as long as you get six stars in the three levels. Whether you're a new or a vet, this guide's got everything you need: Buff breakdowns, boss strategies, and team recommendations. Let's jump right in!
Table of Contents
Deadly Assault Rules
Deadly Assault is one of Zenless Zone Zero's tougher challenge modes, running from November 28th to December 12th. It refreshes every two weeks on Fridays at 04:00 (server time), alternating with the Shiyu Defense event.
Here's the catch: you can't use duplicate agents or Bangboos in your lineups. The event features three stages, with a total of nine stars up for grabs. Snagging six stars is enough to claim all the Polychrome rewards, so don't stress if you can't max it out.
To give you an edge, the event offers three buff effects to choose from: Meditation, Sever Pulse and Aberration. These buffs can seriously amp up your team's performance—it's all about picking the right one for your playstyle. Let's break them down next, along with strategies for each stage.
Deadly Assault Buffs Effects Analysis
Here's the scoop on the three buffs you'll be working with:
|
|
Meditation |
|
|
|
Sever Pulse |
|
|
|
Aberration |
|


- Meditation is ideal for Marionette because it boosts Ether/Ice damage and Ultimate uptime, directly hitting her main weaknesses. Faster ult loops let you break clones and pressure the core body consistently without losing tempo.
- Sever Pulse fits Ye Shiyuan (Thrall) since the fight revolves around stun-then-burst windows. Its amplified Ultimate and Stun damage perfectly matches his vulnerability spike during stun, letting you cash out huge punishment every cycle.
- Aberration excels against Miasmic Fiend because the boss takes more Anomaly and Disorder damage the more stacks you apply. Its enhanced buildup and Proficiency let you pile stacks rapidly, melt the Miasmic Shield, and let DoT finish the fight.
Stage 1 Boss Analysis & Team Recommendations
Boss: Notorious - Marionette
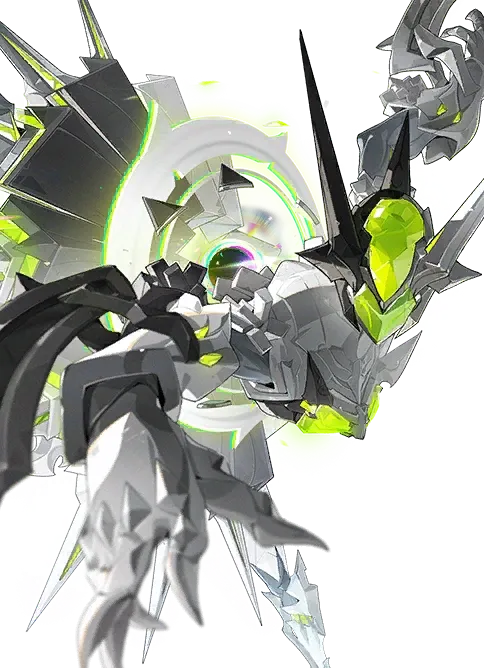
Weakness: Ether & Ice | Resistance: None
Current Intel:
- DMG dealt by Boss enemies increases by 25%. When a clone is destroyed or when the main body is stunned, 1/5 stacks of On Thin Ice is inflicted on Boss enemies respectively. Each stack of On Thin Ice decreases the DMG dealt by the Boss by 5% and increases the Ice DMG and Electric DMG dealt to the Boss by Agents by 10%. On Thin Ice, stacks will be reset when the enemy recovers from Stun.
- Successfully destroying a dance partner grants 200 Performance Points. A maximum of 5,000 Performance Points can be obtained.
Focus on clearing Marionette’s dance partners quickly with wide-area Ice or Ether carries: destroying a clone grants Performance Points and applies On Thin Ice stacks. Prioritize AOE to remove clones fast so your main carry can loop ultimates into boosted weakness windows and shred both clones and core reliably.
Avoid repeatedly stunning the main body as stacks reset when the enemy recovers from stun; instead maintain stacks via clone kills and sustain pressure. Bring at least one healer/shield because boss enemies deal +25% damage, and time your energy/ult cycles to exploit the stacked Ice/Ether bonus for maximum, low-risk payoff.
Team Recommendations
The Stage-1 roster leans on wide-area Ice/Ether carries to shred Marionette’s clones fast and reliably so your main carry can loop ultimates into boosted weakness windows. AoE characters (e.g., Miyabi) speed clone clears and trigger On Thin Ice stacks quickly, which both lowers boss damage and raises Ice/Ether damage taken — that’s the fight’s mechanical core. Include a healer/shielder (Vivian / Yuzuha) or auxiliary support to offset the +25% boss DMG and keep your ults uninterrupted during clone phases. Use a bangboo like Sharkboo for Ice Anomaly Buildup help to smooth clear rhythm.
|
Buff Aberration |
|||
|
|
|
|
Sharkboo |
|
|
|
||
|
Yuzuha |
Soukaku |
||
|
Buff Sever Pulse |
|||
|
|
|
|
Sharkboo |
|
Lycaon |
|
||
|
|
|
||
|
|
Lycaon |
Soukaku |
Butler |


Stage 2 Boss Analysis & Team Recommendations
Boss: Ye Shiyuan The Thrall
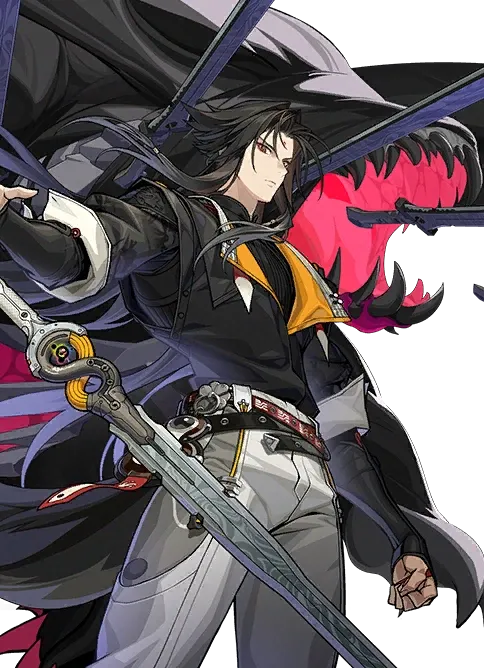
Weakness: Physical & Ice | Resistance: Eletric
Current Intel:
- When Sobek and The Thrall alternate turns, The Thrall gains 1 stack of Contract and Self-Sacrifice. Contract and Self-Sacrifice can stack up to 3 times. Each stack of Contract increases All-Attribute Anomaly RES by 15%, each stack of Self-Sacrifice increases Stun DMG Multiplier by 10%. When The Thrall is Stunned, CRIT DMG taken increases by 50%.
- When Agents inflict Weakened on Sobek and The Thrall, 1,500 Performance Points will be awarded. When an Agent eliminates Sobek, 2,000 Performance Points will be awarded. Up to a maximum of 5,000 Performance Points can be earned.
Don’t run Anomaly/DoT teams here — Ye Shiyuan stacks Contract (raises Anomaly RES) and Self-Sacrifice (boosts Stun multiplier), so bring a break-oriented physical/Ice setup. Use a dedicated agent to force stun, then let your Carry unload during the stun window (the boss takes much higher CRIT damage when stunned). Prepare for the opening airborne phase: parry the yellow light to score the phase reward and trigger the first weaken.
After the first imbalance ends Sobek spawns — he has no daze/anomaly bar, so don’t hold skills: burn burst to eliminate him fast and claim the large Performance Points. When Ye Shiyuan returns he will raise a Miasmic shield and spam yellow-light attacks again; focus on parry to score another weaken, break the shield, then cannon your carry into the final imbalance for a clean finish.
Team Recommendations
This team focuses on Physical/Ice stun and strong Daze break. Ye Shiyuan rapidly stacks Contract, raising Anomaly RES and making DoT or Anomaly teams ineffective, while Self-Sacrifice greatly boosts damage during Stun. You need reliable sub-DPS to force long stun windows and let your Carry unload, with supports providing stable buffs and setup.
|
Buff Meditation |
|||
|
|
Dialyn |
|
Miss Esme |
|
Lycaon |
|||
|
Ju Fufu |
|||
|
|
Dialyn |
Lucia |
Belion |
|
Ju Fufu |
|||
|
Qingyi |
|||


A Special Gift Just for You!
LDShop has a special deal for you—copy the exclusive code "LDSHOP5FF" and get a 5%OFF coupon for your next purchase! You can redeem the coupon by pasting the code in your Personal Center page, or redeem it directly at checkout. Please click the button below to top up now!


Discount code validity period: 2026.04.01 00:00:00 - 2026.06.30 23:59:59
Stage 3 Boss Analysis & Team Recommendations
Boss: Miasmic Fiend - Unfathomable
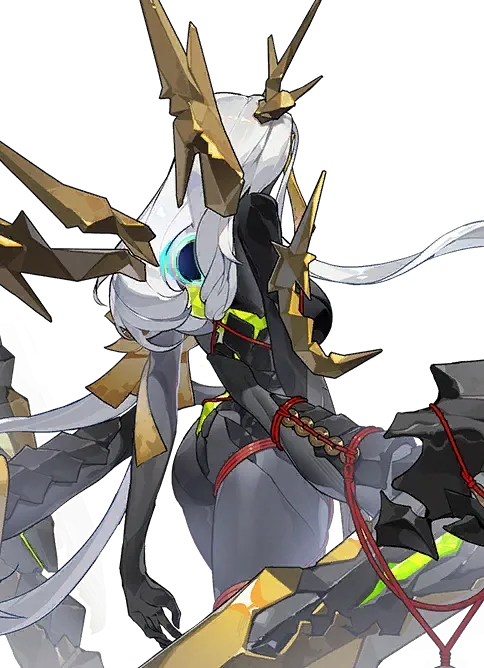
Weakness: Electric & Physical | Resistance: Ice
Current Intel:
- When Miasmic Fiend is affected by Attribute Anomaly, it takes 8% bonus Anomaly DMG from Agents, stacking up to 6 times; activating Miasmic Shield clears all stacks, with each stack increasing the reduction efficiency of Miasmic Shield by 2.5%.
- When Agents bait Miasmic Fiend's ground attack into detonating at least 5 Miasma Pools at once and avoid being hit by the attack and pool explosions, they will earn 1,700 Performance Points, up to a maximum of 5,000.
- Suitable for Agents with Anomaly specialty.
Use Anomaly specialists: Miasmic Fiend takes +8% Anomaly DMG per Attribute Anomaly stack (up to 6), so repeatedly applying Anomaly lets your specialists ramp damage rapidly. Be careful—when the Fiend activates its Miasmic Shield it clears all stacks, and each cleared stack increases the shield’s reduction efficiency by 2.5%, so time your full Anomaly ramp to avoid wasting stacks and getting a stronger shield.
Exploit the arena: lure the red warning circle to overlap Miasma Pools and detonate them (dodge the slam) to score bonus Performance Points, bring Rupture tools to break the Miasmic Shield, and include at least one healer since pool explosions punish mistakes. Fiend is weak to Electric/Physical and resists Ice—build accordingly.
Team Recommendations
Here we center on Anomaly stacking and shield management. Miasmic Fiend gains bonus Anomaly DMG per stack, but its shield clears them and strengthens defenses. Specialists repeatedly apply Anomaly for burst, while Rupture tools prevent wasted stacks. Healers mitigate Miasma Pool damage, and Electric/Physical carries maximize elemental advantage.
|
Buff Aberration |
|||
|
|
|
Yuzuha |
Robin |
|
Astra Yao |
|||
|
Vivian |
|||
|
Nicole |
|||
|
Miyabi |
Vivian |
Yuzuha |
Robin |
|
Astra Yao |
|||
|
|
|||


Conclusion
This is all for this round of the "Deadly Assault" event. As long as you use the right team and play style, you can get all the rewards.
Need a quick power boost to chase those full stars? Swing by LDShop for Monochrome top up discount. It’s the easiest way to beef up your roster and dominate Deadly Assault. Grab those discounts, level up!


 TOP UP ZZZ WITH DISCOUNT NOW
Sakura Experienced Game Editor
"Beep! Your subscription to hardcore gaming strategist 'Sakura' is now active! In this realm of fantasy and adventure, I navigate the vast landscapes of Genshin Impact, traverse the cosmic odyssey of Honkai: Star Rail, and brave the post-apocalyptic ruins of Zenless Zone Zero – uncovering hidden secrets and unlocking epic quests. As a veteran player-editor hybrid, I dissect everything from character skill synergies and tactical battle layouts to efficient resource farming and optimal team compositions. My mission? To deliver razor-sharp, comprehensive guides that empower players to dominate colossal bosses, crack intricate puzzles, and glide through gaming challenges with style. Ready to level up? Let’s rewrite the rules of victory together!
