



The nightmare hiding in the mirror is ready to become playable. Zankou arrives with NTE Version 1.3 Phase 1, on August 19, 2026, bringing her Reality–Illusion combat style and DoT-focused gameplay to Hethereau. This Zankou Build Guide covers her best Arcs, Modules, skill priorities, Awaken picks, and team comps to help you get the most out of her unique kit from day one.
Overview
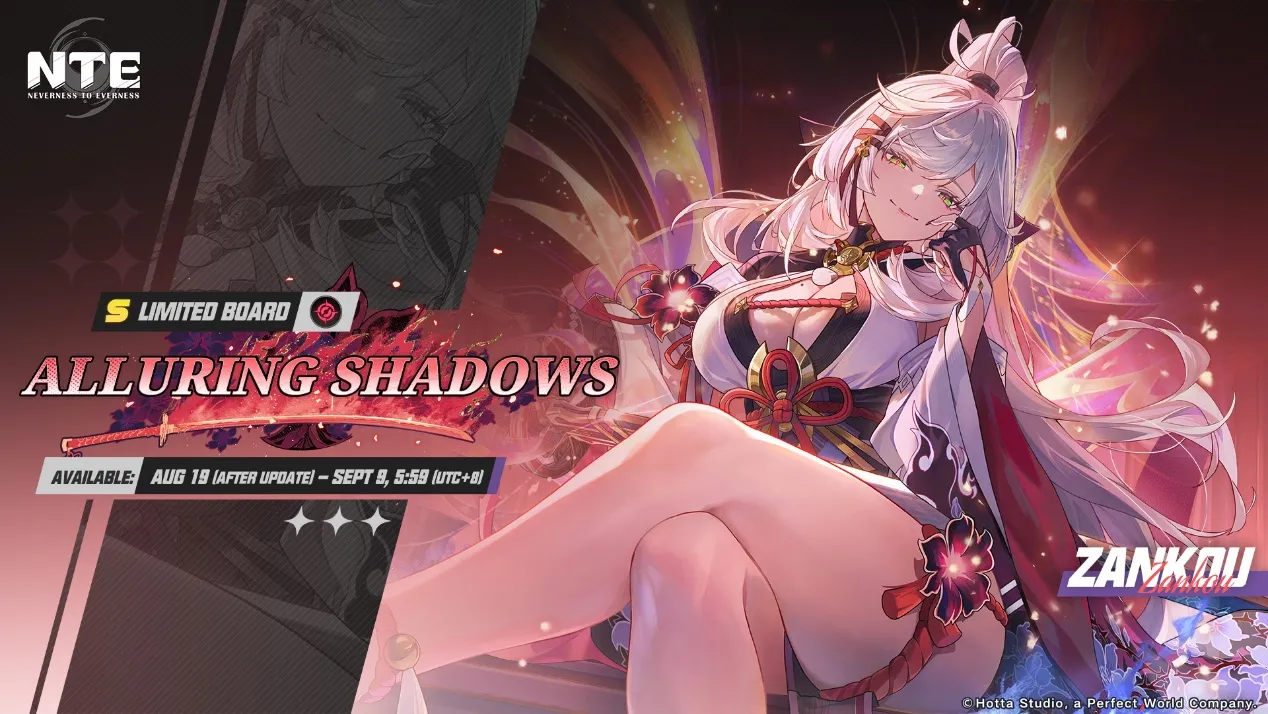
Rarity: S-Rank | Element: Incantation | Arc: Gas
Zankou is an Incantation Condensate main DPS built around dual forms, DoT spreading, and follow-up damage. Her core loop starts in Reality, uses her attacks and Redirect Skill to enter Illusion, then spreads multiple DoT effects through her enhanced attack strings while gaining Delusion to boost their CRIT DMG. Near the end of Illusion, her enhanced Redirect Skill switches her back to Reality with a powerful AoE finisher and sets up her additional Ultimate action. Because her damage scales heavily with active DoTs, she works best in teams that can consistently maintain Scorch, Hexed, and multiple DoT effects on enemies.
Skill Kit
Basic Attack: Wildfire

Basic Attack: Wildfire
Basic Attack: Nightmare Waltz
Basic Attack: Flickering Shadow
Basic Attack: Moonfall
Basic Attack: Broken Twigs
Critical Riposte: Voidstep
Redirect Skill: Sanguine Dash

Redirect Skill: Sanguine Dash
Redirect Skill: Soulcross
Grants Illusion Form for a set duration. Ends Illusion Form and returns Zankou to Reality Form when Soulcross or Bloodfeast Reverie is successfully cast, when its duration expires, or when Zankou leaves the field. Delays the removal of the Illusion Form Delusion effect when switching to Reality Form with Soulcross. Counts all DMG dealt by Soulcross and its enhanced version as Follow-up Attack DMG. Prevents the form switch if the skill is interrupted before it is complete.
Ultimate: Inferno Flamenco

Press to cast the Ultimate when Ultimate Energy is full. Has 2 Ultimates: Inferno Flamenco and Bloodfeast Reverie.
Casts Inferno Flamenco if Bloodfeast Reverie is inactive.
Prioritizes Bloodfeast Reverie if it is active. Counts DMG dealt by Bloodfeast Reverie as Follow-up Attack DMG and inflicts Vile Ash on enemies in a large area. Enables one enhanced Inferno Flamenco to be cast without consuming Ultimate Energy within a limited time after successfully casting Bloodfeast Reverie. Removes this cast opportunity when the time limit expires.
Skill Upgrade Priority
Basic Attack > Ultimate > Skill > Support
Materials
Here is an overview of Zankou’s upgrade materials.
|
Material |
Total |
|
Eternal Memory |
35 |
|
First Expectations |
40 |
|
Known Weariness |
42 |
|
Black Hat |
65 |
|
Blurred Numeral |
57 |
|
Unsolved Numeral |
58 |
|
Distorted Numeral |
79 |
|
Nest Guard Fragment |
86 |
|
Beetle Coin |
2,783,000 |
|
Dreamless Seed |
96 |
|
Fons |
38,400 |









Best Arcs
Sig Arcs
|
Spellbound Special |
ATK: +570 CRIT Rate: +24% |
|
Crit Rate +16%. When the wielder deals Incantation DMG, their CRIT DMG increases by 18% for 15s, stacking up to 7 times. This effect can be triggered once every 0.3s. Repeated triggers refresh the duration. |
|
|
Spellbound Special fits Zankou because its value peaks exactly when her rotation does. By the time she reaches the latter half of Illusion and transitions into her finishing sequence, its offensive bonuses are already fully online, making Soulcross, Oblivion, Bloodfeast Reverie, and the follow-up Ultimate hit noticeably harder. It also strengthens her DoT-heavy damage profile, so almost every important part of her rotation benefits rather than just one burst skill. |
|

Alternative
|
Fluff of Finesse |
ATK: +512 ATK: +27.5% |
|
Thief's Candy Increases wearer's damage by 14.4% for 10s after performing a Critical Dodge, up to 3 stacks. Resets the duration when triggered again. |
|
|
Fluff of Finesse works well as a budget option because Zankou spends plenty of time on field and naturally weaves dodges into her rotation. Its ATK-heavy stat line benefits her entire damage profile, while successful Critical Dodges can noticeably raise her output during longer fights. It is less consistent than her signature, but performs well if you can maintain its buff reliably. |
|
|
Contemplative Cat |
ATK: +512 Crit DMG: +44% |
|
Mammon Increases Cosmos DMG by 4.5% for every 100000 Fons the wearer holds, up to 10 stacks. |
|
|
Contemplative Cat is mainly a stat-stick alternative for Zankou. The large CRIT DMG secondary stat directly improves both her sustained damage and late-rotation burst, making it easy to balance her CRIT ratio without demanding any specific playstyle. Its Cosmos-focused passive does essentially nothing for her Incantation damage, so the value comes almost entirely from the strong raw offensive stats. |
|




Best Modules
Main DPS
|
Crimson: Twin Butterflies |
|
|
2-piece: Epic (2): Incantation DMG +10%. 4-piece: Legendary (4): Increases wearer's ATK by 6% when a nearby enemy takes Incantation DMG from the Team, up to 6 stacks. Each stack lasts 10s. Effect remains active when the character is off-field. |
|
|
Main Stat: Incantation DMG Bonus / CRIT DMG Substat: Cycle Intensity |
|
|
As a Main DPS, Zankou stays on field long enough to fully exploit her Reality–Illusion rotation, so she benefits most from a set that consistently scales her entire damage profile. Crimson: Twin Butterflies matches her Incantation-focused kit and maintains strong value throughout sustained combat, making it better for reinforcing her Basics, follow-ups, DoTs, and Ultimate sequence together rather than favoring one short window. |
|


Sub DPS
|
Lost Radiance |
|
|
2-piece: Epic (2): Cosmos DMG +10%. 4-piece: Legendary (4): Ignores 25% of enemies' DEF for 20s after the wearer casts Ultimate. Effect does not stack. |
|
|
Main Stat: Crit DMG / CRIT Rate > Universal DMG Bonus > ATK% Substat: Cycle Intensity > Crit DMG > Crit Rate > Universal DMG Bonus > ATK% |
|
|
As a Sub DPS, Zankou spends less time driving the full Illusion combo and instead focuses on setting up DoTs, Cycle reactions, and her Ultimate before rotating out. That makes Lost Radiance’s post-Ultimate DEF ignore more valuable than sustained on-field stacking, since her remaining damage can still benefit during the following window. The Cosmos 2-piece is wasted, but the 4-piece payoff suits quick-swap Zankou better. |
|


Awakening Priority
A1 / A5
A1 strengthens Zankou’s personal DoT rotation by making more attacks spread DoTs and keeping Hunt/Delusion permanent; A5 instead prioritizes massive team Break utility.
A2 + A4
A2 and A4 are the strongest two-slot package: A2 supercharges Inferno Flamenco, while A4 activates Bloodfeast Reverie early and lets it share Stored Flame.
A2 + A4 + A5
Adding A5 gives the core Ultimate package a second payoff: huge Break support, helping the whole team reach vulnerability windows faster and capitalize harder.
A2 + A4 + A5 + A1
A1 comes next because the damage core is already secured; permanent Hunt/Delusion and broader DoT spreading then improve Zankou’s entire rotation, not one window.
A2 + A4 + A5 + A1 + A3
A3 is mainly comfort: interruption resistance protects her timed Illusion sequence, while self-healing reduces field pressure. Useful, but less damage-defining than earlier picks.
All
A6 is saved for last because Oblivion’s final hit needs heavy DoT stacking; unlocking all six also grants bonus ATK and stronger Turbid Burn setup.
Best Team Comps
|
|
Zankou |
|
|




This is Zankou’s safer Scorch/DoT setup. Lacrimosa continuously feeds DoTs into Zankou’s Scorch-enhancement mechanic, while Sakiri amplifies the resulting DoT pressure and supplies offensive buffs. Iroi keeps both damage dealers comfortable through longer rotations while adding ATK and DEF Ignore support. Hexed is available through Iroi’s Anima, but it is a bonus rather than the team’s main focus.
|
Lacrimosa |
Zankou |
Sakiri |
|

This version trades sustain for a stronger Scorch–Nova–Discord loop. Lacrimosa and Zankou keep the DoT side productive, Sakiri amplifies Scorch while supplying ATK and DEF support, and Haniel adds another strong ATK buff while enabling Nova. Once Scorch and Nova overlap, Discord cuts into the enemy’s Break, giving Zankou cleaner windows to finish her rotation.
|
Zankou |
|
Sakiri |
|


Conclusion
With the right Arcs, Modules, Awakenings, and teammates in place, Zankou can turn her Reality–Illusion rotation into a relentless chain of DoTs and burst damage. If the nightmare in the mirror is already on your Version 1.3 wishlist, save on NTE top-ups at LDShop, stock up for your pulls, and bring Zankou—and her best build—home.






 TOP UP WITH DISCOUNT NOW
Savannah Reed Experienced Game Editor
I'm a game guide writer with over 20 years of experience playing all types of games, especially anime-style RPGs, gacha and sports games. I love finding smart ways to beat tough levels without spending too much money. By studying game mechanics and character systems, I create easy tips to help players save time and resources. When I'm not gaming, I watch anime to get inspiration for strategies. My goal? To help you enjoy games more and stress less – even when facing "impossible" bosses! Let’s make gaming fun and affordable together!
![[New User Discount] Monthly Card | NTE Top Up (Global)](https://shop.ldrescdn.com/rms/ld-space/process/img/9c38037758ea47e9becd0dcc135d7d441789629790.webp?x-oss-process=image/resize,m_fill,h_160,w_160)