


Hey, Trailblazers! The Memory of Chaos: “Monkey Business” for Honkai: Star Rail Version 3.8 is officially live! This round’s environmental mechanics pack a serious punch — mastering them can make all the difference in clearing the toughest stages and earning those full-star rewards.
In this guide, we’ll break down enemy behaviors, stage mechanics, and the best team setups to help you breeze through every challenge and secure a perfect score with ease!
Buff Analysis
- At the start of each wave, your team recovers 4 Skill Point(s).
- When allies use Skills or consume Skill Points, you gain 1 hit of Memory Turbulence (up to 15 hits).
- At the start of each Cycle, each hit deals 1 instance of True DMG to a random enemy.
The turbulence damage acts like % Max HP chip. From in-combat observation, each hit is roughly 15% Max HP of normal mobs and ~1.5% Max HP of bosses (so it’s a very solid “floor” for players aiming for full stars, but it won’t “solve” a true 0-cycle by itself—outside of the extra SP).
Since the target is random, you get noticeably better value if you clear summons / side enemies before a new Cycle starts, so more of the turbulence procs land on the boss.
Stage 12
First half
|
First half |
||
|
WAVE 1 |
Dark Sun Gryphon |
|
|
Ice Out of Space |
|
|
|
WAVE 2 |
Cocolia |
|
|
Bronya |
|
|


Generally, Fire > Quantum > Lightning performs best here.
Ice Out of Space and Cocolia both punish Ice teams (they’re Ice-aligned enemies; Cocolia and Ice Out of Space also have freeze pressure).
Wave 1 tips:
- If you’re running a 3-support 1-carry setup with no sustain, be careful: the Gryphon can snowball pressure with its summon pattern.
- Priority target (no-sustain clears): focus Dark Sun Gryphon first. It can summon “Archer of the Dark Sun”, and the archers will follow up after the Gryphon attacks.
- If you’re running a normal team with a sustain, you can instead delete Ice Out of Space first to reduce freeze/CC risk, and let remaining adds feed you energy from getting hit.
Wave 2 tips:
- Try to kill Bronya and any remaining summons before a new Cycle begins.
That way, the Memory Turbulence True DMG is much more likely to “roll” onto Cocolia, often adding a big chunk of free damage over multiple cycles.
This is one of the most consistent ways to speed up full-star clears this rotation.


Team Composition
Based on above analysis of enemies, we summary several teams.
|
|
|
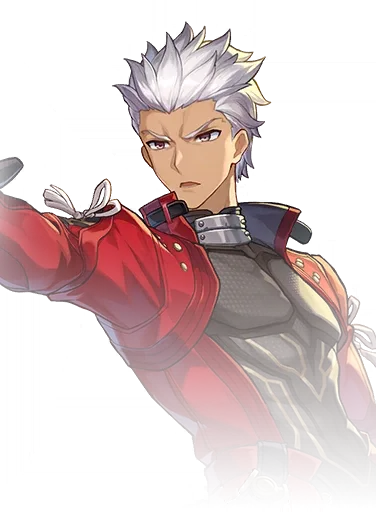
HMC |
|
|
Castorice |
|
or
|
|
|
|
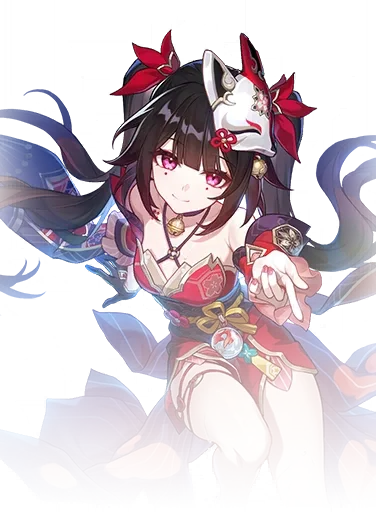
Sunday |
Cyrene |
Dan Heng PT |
|
|
Sunday |
|
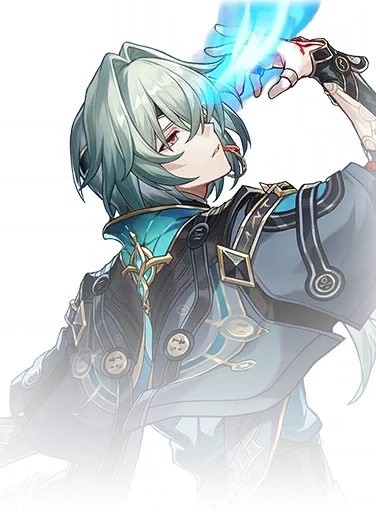
Dan Heng |
|
Archer |
Tribbie |
Sparkle |
Dan Heng PT |
|
|
Cerydra |
Cyrene |
Dan Heng PT |


Second half
|
Second half |
||
|
WAVE 1 |
Lady of Crashing Waves |
|
|
Ichor Memosprite: Winged Serpent |
|
|
|
WAVE 2 |
Harbinger of Death: Swarm Nightmare |
|


Put your Physical / Fire Characters in this node.
Wave 1 tips:
- Kill priority: Lady of Crashing Waves first.
In its special state, it can apply Black Tide Fever, which makes part of the damage you deal get “converted” into delayed DoT—this drags the fight and messes with tempo.
It can also create awkward add positioning that interferes with some bounce/spread patterns in practice. - Winged Serpent note: it can enter a Charging state with Whirl stacks; hitting it repeatedly strips stacks but triggers counterattacks and applies Corrosion pressure.
Wave 2 tips:
This boss is all about controlling its “insect” mechanic and limiting its actions.
- On its first action it summons 4 Juvenile Stings and designates one of your units (and their summon, if any) as Nemesis, immediately advancing them and giving +200% Break Effect.
- Your non-Nemesis units cannot CRIT the Juvenile Stings, which makes the fight naturally favor Break and many DoT setups.
- Juvenile Stings will prioritize attacking the Nemesis.
- The stings’ actions build stacks; once they reach the threshold, they can advance the boss (more boss actions = more risk).
- If you can efficiently AOE/splash while still hitting the boss (Blast/Bounce/Spread), you’ll naturally clear the Juvenile Stings without losing DPS uptime.
- After all 4 Juvenile Stings are defeated, the boss exits its empowered state, clears certain effects (including the corrosion-like mechanic), and becomes much easier to burst down—this also triggers an achievement condition.
Team Composition
You can absolutely reuse the teams listed for the first half here as well, though you’re of course free to try fresh setups like the ones below.
|
/ Boothill
/ Rappa |
|
HMC |
|
|
|
Cerydra |
Cyrene |
Dan Heng PT |
|
|
Sunday |
|
Dan Heng PT |
|
Mydei |
|
|
|
|
Castorice |
|
or
|
|
|
Hysilens |
Kafka |
Tribbie
/ Black Swan |
Dan Heng PT |


Conclusion
That wraps up our full guide for Honkai: Star Rail Version 3.8 Memory of Chaos! Once you understand the key mechanics and build a balanced team, clearing this stage becomes much easier. Adjust your lineup based on your own roster, experiment with different strategies, and you’ll be hitting full stars in no time.
And after you’re done, don’t forget to power up your team even further — head over to LDShop for great discounts on Oneiric Shard top-ups. Whether you’re saving up for new characters or stocking up on resources, it’s the perfect time to get ready for the next challenge!


 TOP UP WITH DISCOUNT NOW
Rich Experienced Game Editor
Savannah Reed is a senior game editor at LDShop.gg, specializing in in-depth coverage of RPG and strategy games. With a strong focus on titles like Wuthering Waves, Honkai: Star Rail and Whiteout Survival, she combines industry insight with firsthand player experience to deliver clear, informative, and actionable content. Her work is dedicated to helping gamers make smarter decisions—whether it’s understanding new updates or optimizing their in-game strategy.
